


 InteriorsA Calm, Gray Living Room Designed Around One Enormous WindowInside a Hudson Valley house where the view is the only art on the walls.
Written by
Iris Bell
Iris covers interiors, furniture and lighting — and keeps a very long list of chairs she wants.
13Articles
2026Writing since
The sideboard is the easiest place in a home to practice styling. These rules work for shelves and mantels too. It is long, low, usually near a wall where people pause, and it can be changed in five minutes without moving any furniture. If you have ever looked at a magazine interior and wondered why the surfaces look effortless while yours look cluttered, the sideboard is the place to figure it out.
Styled by Form & Frame studio · Budget Under $200 · Time One afternoon
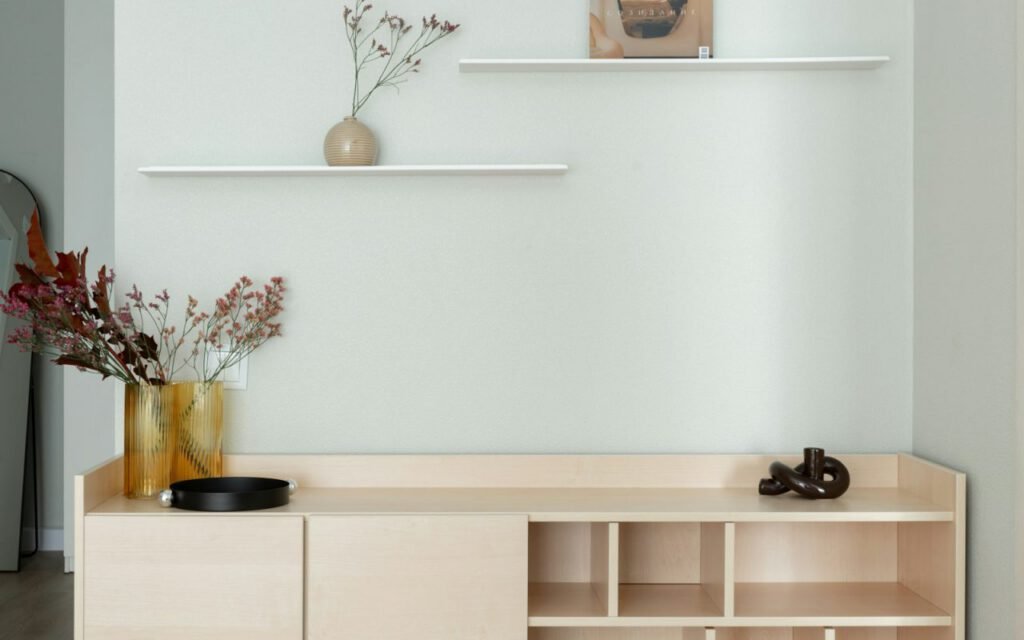
For this story, our studio team styled the same oak sideboard seven different ways, then stripped it back and built a final version using the rules that worked best. Nearly everything we used came from around the house or from local thrift stores and markets, and the new pieces cost less than $200 in total.
Before you start
Clear the sideboard completely. Wipe it down. Then take everything you might want to use and lay it out on the floor or a nearby table, so you can see your options at once. Designers call this “shopping the house,” and it is the single best way to avoid buying things you do not need.
Look at the wall above the sideboard, too. Is there art or a mirror? Is there a window? What is on either side? A sideboard never exists on its own, and the best arrangements respond to the space around them. If there is a large painting above, keep the objects lower. If the wall is bare, you may want a tall lamp or a leaning frame to give the arrangement a top edge.
Start with height
Place one tall object, a vase or lamp, off-center, then build down from it. Our first rule is also the most important. A single tall element anchors the arrangement and gives the eye a place to start. Placing it about a third of the way in from one end, rather than dead center, makes the whole composition feel relaxed instead of formal.
Good tall objects include a table lamp, a large vase with branches, a stack of framed prints leaning against the wall, or a sculptural candlestick. From there, work down in steps: a medium object, then something low, then a flat object like a tray or a book. The result is a gentle slope that the eye follows naturally from one end to the other.

Seven rules that work
After a long afternoon of rearranging, these are the rules our team agreed on. Each one is simple, and together they solve almost every styling problem we encountered:
- Start with height. One tall object, off-center, sets the shape of everything else.
- Group in threes. Three objects of different heights look natural; two look staged.
- Add something alive. A branch, a plant or a few stems from the yard.
- Mix materials. Combine wood, ceramic, glass, metal and paper so no single texture dominates.
- Use books as risers. A short stack of hardcovers lifts a small object and adds color.
- Leave empty space. At least a quarter of the surface should be bare.
- Edit once more. When you think you are done, remove one thing.
Group in threes
Three objects of different heights look natural; two look staged. This rule surprised some of our team at first, but it held up every time we tested it. A pair of matching objects reads as symmetrical and formal, which is fine in a traditional dining room but stiff in most modern homes. Add a third object of a different height and the group suddenly looks collected over time rather than placed.
Within each group, vary the shapes as well as the heights. A tall cylinder, a round bowl and a low rectangle work better together than three tall vases. Overlap them slightly, so the group reads as one unit rather than three separate items. A long sideboard can hold two or three groups, with space in between.
Always add something alive. A branch in a jar beats any sculpture.
Hannah Wren, Studio Wren
Wren, whose Hudson Valley living room appeared in Form & Frame this fall, consulted on our final arrangement. Her advice to add living things was the change that made the biggest difference. A single branch of autumn leaves clipped from the backyard, set in a plain glass jar, brought the whole sideboard to life. In spring it might be flowering dogwood; in winter, evergreen boughs or bare twigs.
Materials, color and light
A sideboard covered only in ceramics feels flat. Mixing materials adds depth. Our final arrangement included a wooden tray, a stoneware bowl, a glass jar, a small brass candlestick, two linen-covered books and a framed print. No two adjacent objects shared the same material.
Color works best when it is limited. Choose two or three tones that relate to the room, and repeat them across the arrangement. Our palette was warm white, ochre and a muted green, picked up from the rug and the curtains. Repetition is what makes a surface look intentional.
Finally, think about light. A table lamp on a sideboard is both decorative and useful, casting a warm glow that makes an entry or dining room feel welcoming at night. A pair of candles works too, but keep open flames away from dried branches and paper, and never leave them burning in an empty room.

Scale matters as much as color. On a long sideboard, a cluster of tiny objects disappears and looks like clutter, while one or two generously sized pieces read clearly from across the room. If your favorite things are small, gather them on a tray so they function as a single larger shape. A wooden tray, a marble board or even a shallow basket will do the job and makes the whole group easy to move when you need to clean.
Keep it real
Styling for a photo shoot and styling for real life are different things. A sideboard is often a working surface where keys, mail and chargers pile up. Our advice is to give those everyday items a home before you style anything else: a lidded box for chargers, a small dish for keys, a basket in the cabinet below for mail.
Key takeaway: start with one tall object, group the rest in threes, add something living and leave plenty of empty space. Then remove one thing.
Change the arrangement with the seasons, and do not be afraid to experiment. Take a photo of each version on your phone; it is much easier to see what is working on a small screen than in person. Within a few tries, you will develop an eye for it, and the same rules will start to guide every shelf, mantel and windowsill in the house.
The afternoon, in summary
By the end of our session, the sideboard held a lamp, two groups of three, a branch in a jar and a long stretch of bare oak. It looked calm, personal and lived in, and it cost far less than we expected. Most of the work was editing rather than buying.
Styling is not about owning beautiful things. It is about arranging what you already love so each piece has room to be seen. Give yourself an afternoon, a cleared surface and a little patience, and you may be surprised by what your own home has been hiding.
Written by
Iris Bell
Iris covers interiors, furniture and lighting — and keeps a very long list of chairs she wants.
13Articles
2026Writing since
Read next
InteriorsA Calm, Gray Living Room Designed Around One Enormous WindowInside a Hudson Valley house where the view is the only art on the walls. InteriorsDesigning With Shadows: How Light Shapes a RoomArchitects explain why the best rooms are not evenly lit.
 InteriorsA Marble Kitchen That Feels Like a GalleryPale stone, hidden appliances and an island built for long dinners.
 InteriorsWarm Minimalism: The Kitchen Trend That Isn’t Going AnywhereOak, plaster and cream cabinets replace all-white and high-gloss.
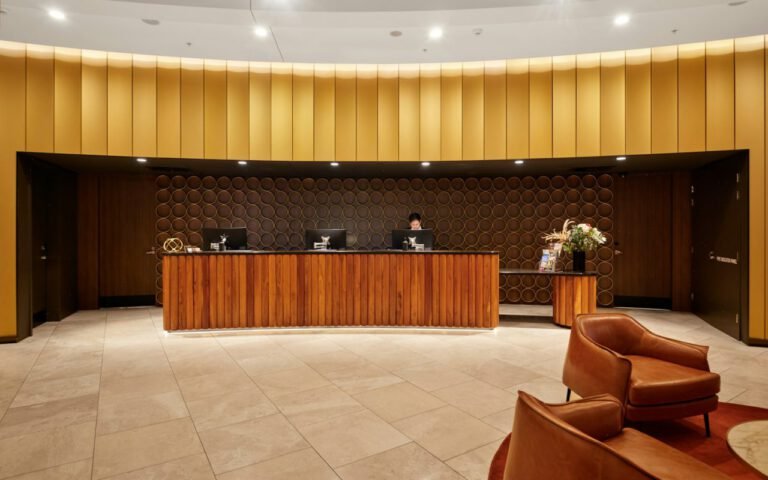 InteriorsA Hotel Lobby in Nashville Feels Like a Living Room for the CityWalnut, leather and a reception desk designed like a bar.
 InteriorsArt Takes Center Stage in a Dramatic Two-Story LobbyA suspended sculpture of 400 bronze rods anchors a new office building in Denver.
Start the conversation