Stitching Wildflowers From My Garden
A free pattern inspired by our summer meadow.
 Hannah Brooks6 min read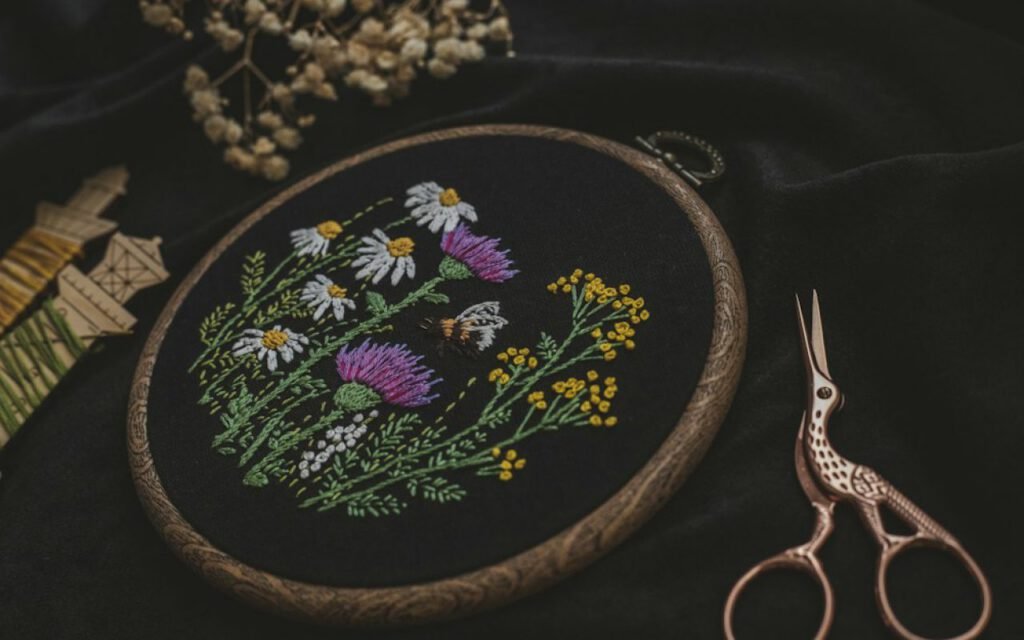

Hannah Brooks
Hannah covered state politics for twelve years before co-founding Maple & Main. She lives in the Old North End and bikes to every council meeting.


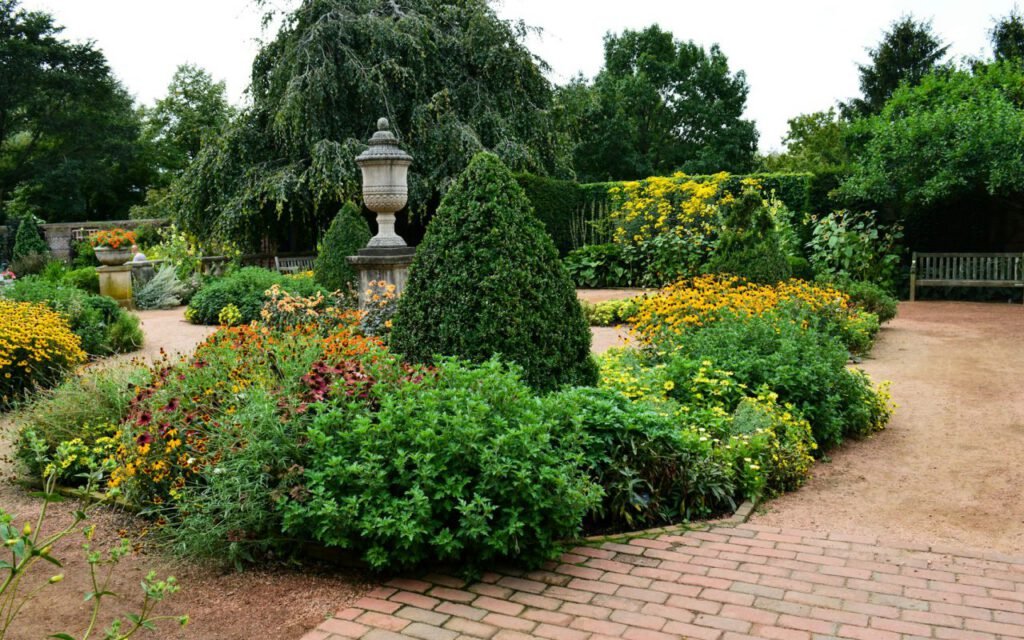
This summer our backyard turned into a meadow. I couldn’t resist stitching it. It started by accident. Last fall I scattered a packet of native wildflower seeds along the back fence, mostly to give the bees something to do, and then I forgot all about it. By June, that strip of tired lawn had turned into a waist-high tangle of purple coneflowers, black-eyed Susans, little white daisies and feathery grasses. Every evening I’d take my tea outside and just look at it. By July, I’d started sketching it. By August, it was in my hoop.
The free pattern is below: print it, trace it and make it yours. It’s a 6-inch hoop design with a loose cluster of wildflowers growing up from the bottom edge, and it uses just a handful of beginner-friendly stitches. If you’ve worked through our five-stitch beginner guide, you already know everything you need.
 Sponsored · Quilt Haven FabricsFat quarters from $3.50Thousands of prints, ships in a day.Shop fabric
From garden to sketchbook
I didn’t try to draw the meadow exactly. Real meadows are wonderfully messy, and an exact copy would be far too busy for a small hoop. Instead, I picked out the flowers I loved most and simplified them into shapes: round heads, little petals, curving stems. Then I arranged them so the tallest flowers sat in the middle and the shorter ones curved out to the sides, a bit like a bouquet someone might pick on a walk.
If you’d like to design your own version, try this. Take a few photos of flowers in your yard, a park or a farmers market bucket. Sketch each one as simply as you can, using only lines and basic shapes. Then trace your favorites onto one piece of paper inside a 6-inch circle. Leave a little breathing room between the flowers so the fabric can show through.
Colors I used
Six greens, two purples, a soft yellow and white for the daisies. That might sound like a lot of greens, but they’re what make the piece feel alive. Real stems and leaves aren’t one flat color; they range from pale silvery sage to deep olive. Using several greens gives your meadow depth, and the eye reads it as sunlight and shadow.
- Greens: a pale sage, a bright spring green, a mid grass green, an olive, a deep forest green and a soft blue-green for the grasses.
- Purples: a dusty violet for the coneflower petals and a deeper plum for their shadows.
- Yellow: a soft butter yellow for the black-eyed Susans, with a dark brown for their centers.
- White: a warm white for the daisies, with a touch of golden yellow in the middle.
Don’t worry about matching my colors exactly. Rummage through your floss box and use what you have. If your garden grows red poppies instead of purple coneflowers, stitch poppies. That’s what makes it yours.
Stitch the flowers you love, and they bloom all year.
Hannah
Getting the pattern onto fabric
Download and print the pattern at 100 percent so it fits a 6-inch hoop. I stitched mine on natural linen, which gives it a soft, cottage-garden feeling, but any light cotton works well.
The easiest way to transfer it is the window method. Tape the printed pattern to a sunny window, tape your fabric over it, and trace the lines lightly with a water-soluble pen. If your fabric is too thick to see through, try stick-on transfer paper instead. Our guide to transferring embroidery patterns walks through both methods step by step.
Once traced, place the fabric in your hoop and tighten it until it’s drum-tight. Cut your floss into pieces about 18 inches long and separate the strands. I used two strands for most of the piece and three for the bigger petals.
Stitching the meadow
I like to work from the back of the design to the front, which in this pattern means grasses and stems first, then leaves, then flowers. That way the flowers sit neatly on top of everything else.
- Grasses: long, loose straight stitches in blue-green and pale sage, fanning upward from the bottom edge.
- Stems: stem stitch in the mid and deep greens, following each curving line up to its flower.
- Leaves: fishbone or satin stitch in olive and spring green.
- Flowers: petals and centers, following the tips below.
- Details: a few French knots scattered around as tiny buds and seed heads.
Tips for petals
Lazy daisy stitches for small petals, satin stitch for big ones. That one rule takes care of almost every flower in this design.
Daisies
Make eight lazy daisy stitches in warm white, arranged in a circle like the spokes of a wheel. Fill the center with two or three yellow French knots. If your daisy looks lopsided, just add an extra petal to fill the gap. Real daisies are rarely perfect.
Coneflowers
Coneflower petals droop slightly downward, which is part of their charm. Use satin stitch in dusty violet for each petal, angling them down and out from the center. Add a line of plum along one side of each petal for shadow. Build up the raised center with a tight cluster of brown and orange French knots.
Black-eyed Susans
Satin-stitch the petals in butter yellow, keeping each one fairly short and wide. Fill the center with a solid dome of dark brown French knots, packed closely together.
Key takeaway: for smooth satin stitch, outline each petal with a tiny backstitch first, then stitch over that outline. It gives you crisp, raised edges and keeps your stitches from wandering.
Grasses and seed heads
The grasses are what make this piece feel like a meadow instead of a flower arrangement, so don’t rush them. Vary the length of each straight stitch, let a few lean in different directions, and allow some to cross over each other. For the feathery seed heads at the tips, make three or four tiny straight stitches fanning out from a single point, almost like a little bird’s footprint. A handful of single French knots in pale gold, scattered near the top of the grasses, reads as seeds catching the evening light.
Stitching on the go
This is a wonderful project to carry around. I stitched most of mine on the back porch, but plenty of the grasses were done in the car line at school pickup and at my kitchen table on rainy afternoons. Keep your greens wound on little cardboard bobbins and labeled, and tuck the hoop, floss and a small pair of snips into a zipper pouch. Loosen the hoop whenever you put the piece away for more than a day so it doesn’t leave a ring in the fabric.
Finishing and framing
When your meadow is complete, remove any visible pen lines by dabbing them gently with a damp cloth or rinsing the fabric in cool water. Let it dry flat, face down on a towel, then press lightly from the back with a warm iron.
To display it in the hoop, trim the fabric to about 1 inch beyond the hoop edge, run a gathering stitch around it and pull it tight at the back. A circle of felt glued on the back gives it a neat finish. I hung mine in the kitchen, right next to the window that looks out over the real meadow.
Now, even in January, when the yard is brown and bare, I have a little patch of summer on the wall. That’s the magic of stitching the things you love. Grab the free pattern, pick your colors, and plant a meadow of your own. I’d love to see where yours blooms.
Hannah Brooks
Hannah covered state politics for twelve years before co-founding Maple & Main. She lives in the Old North End and bikes to every council meeting.

Thanks for explaining this so clearly.
Great reporting — please keep following this story.