Sewing Your First Tote Bag
Straight lines, a sturdy canvas and a bag you’ll use every day.
 Hannah Brooks6 min read

Hannah Brooks
Hannah covered state politics for twelve years before co-founding Maple & Main. She lives in the Old North End and bikes to every council meeting.


If you can sew a straight line, you can make a tote bag. Really. It’s the project I recommend to everyone who has just unboxed their first sewing machine and is staring at it with a mix of excitement and dread. A tote is made of rectangles and straight seams, it’s forgiving of small wobbles, and when you’re done, you have something you’ll actually carry to the farmers market, the library and the beach all summer long.
This one has boxed corners and an inside pocket: fancy, but easy. Those two little details are what make a homemade bag look store-bought, and they’re both far simpler than they sound. Set aside a Saturday afternoon, put on a good playlist, and let’s sew.
 Sponsored · Quilt Haven FabricsFat quarters from $3.50Thousands of prints, ships in a day.Shop fabric
Gather your supplies
You don’t need much for this project, and you may already have most of it in your sewing basket.
- ½ yard canvas
- Matching thread
- Pins and an iron
You’ll also want fabric scissors or a rotary cutter, a ruler or measuring tape, and a fabric marker or tailor’s chalk. Canvas is my top pick for a first tote because it’s sturdy, holds its shape, and doesn’t slip around under the presser foot. Duck cloth, denim and heavy cotton twill also work well. Prewash your fabric before you cut, so the finished bag won’t shrink oddly the first time it goes through the wash.
For thread, use an all-purpose polyester in a color that matches or a bold contrasting one if you like a visible stitch. Put a fresh needle in your machine too; a size 90/14 or 100/16 handles canvas nicely. A dull needle is the most common cause of skipped stitches on heavier fabric.

Cut and press
Two rectangles of canvas, two straps. That’s the whole cutting list for the main bag, plus one small piece for the pocket. Here are the measurements I use:
- Bag body: two rectangles, 16 inches wide by 17 inches tall.
- Straps: two strips, 4 inches wide by 24 inches long.
- Inside pocket: one rectangle, 8 inches wide by 13 inches tall.
Measure twice, cut once, and try to keep your corners square. A quilting ruler and rotary cutter make this quick, but scissors are perfectly fine.
Press every seam; ironing is half of sewing. I know it’s tempting to skip the iron and go straight to the machine, but pressing is what turns home sewing into something polished. A crisp fold is easier to stitch straight, and a pressed seam lies flat instead of puffing up. Keep your iron on the cotton setting with steam and set it up right next to your machine so you’re not tempted to skip it.
Press as you go. Your iron is your best sewing tool.
Hannah
Straps and pocket
Making the straps
Take one strap strip and fold it in half lengthwise, wrong sides together, and press. Open it up, fold each long edge in to meet that center crease, and press again. Then fold it in half along the original crease so all the raw edges are tucked inside. You’ll have a neat 1-inch strap. Pin it and topstitch about ⅛ inch from each long edge. Repeat with the second strap.
Adding the pocket
Fold the pocket rectangle in half so it measures 8 by 6½ inches, right sides together. Sew around the three open sides with a ½-inch seam, leaving a 2-inch gap along the bottom for turning. Clip the corners, turn it right side out, poke the corners out with a chopstick, and press. Center the pocket on one bag piece, about 4 inches down from the top edge, and topstitch it in place along the sides and bottom. That stitching closes the turning gap at the same time. Easy.
Sew the bag
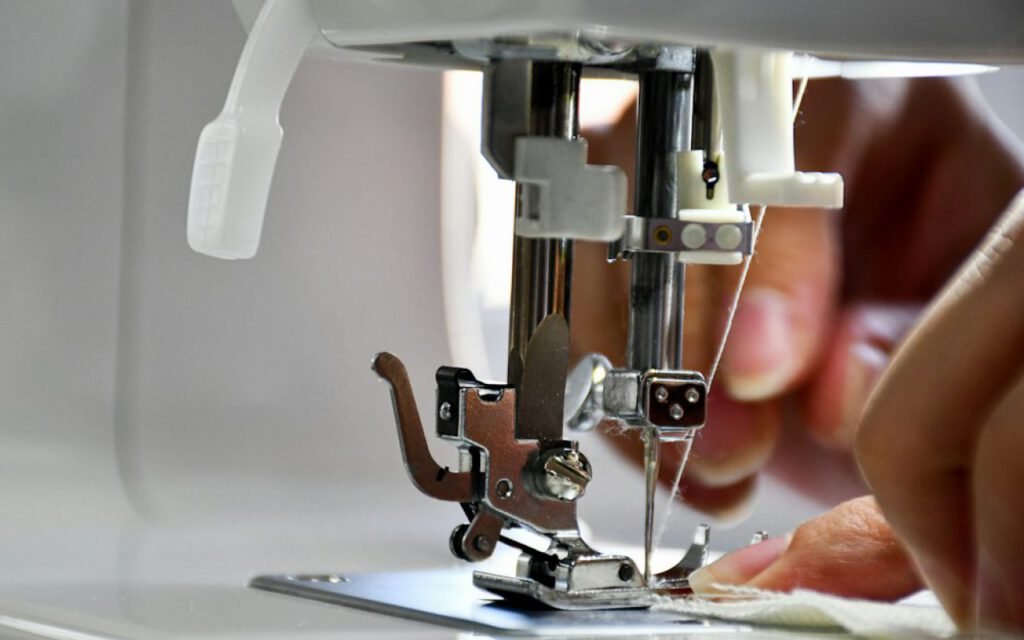
Place the two bag pieces right sides together, with the pocket tucked inside. Pin along both sides and the bottom. Sew with a ½-inch seam allowance, backstitching at the start and end. Then go back and finish the raw edges with a zigzag stitch so they won’t fray in the wash. Press the seams open.
Key takeaway: guide the fabric gently and let the machine do the pulling. If you push or tug, your seams will wander. Watch the edge of the fabric against the seam guide on the throat plate, not the needle itself.
Boxed corners
This is the magic step. Pinch each bottom corner into a triangle and stitch across. Suddenly it stands up on its own.
Here’s how. With the bag still inside out, pull one bottom corner apart so the side seam lines up with the bottom seam, forming a pointy triangle. Measure 2 inches in from the point and draw a straight line across, perpendicular to the seam. That line should be about 4 inches long. Pin, then stitch along the line, backstitching at both ends. Trim off the triangle tip, leaving ½ inch of seam allowance, and zigzag the raw edge. Repeat on the other corner.
Turn the bag right side out and push the corners out. You’ll see that flat bottom appear, and the bag will sit up on the table like it means business. Want a deeper bag? Measure 3 inches from the point instead of 2.
Finishing the top
Turn the bag inside out again. Fold the top edge down ½ inch toward the wrong side and press, then fold it down another 1½ inches and press again. This makes a clean, double-folded hem with no raw edges showing.
Tuck the ends of one strap under the hem on the front of the bag, about 3½ inches in from each side seam, making sure the strap isn’t twisted. Do the same with the second strap on the back. Pin everything well. Then topstitch around the bottom of the hem and again close to the top edge. For extra strength, fold the straps up and stitch a small box with an X inside it where each strap meets the bag. That little X is what keeps a heavy load of groceries from tearing your straps out.
Give the whole bag a final press, and you’re finished.
If something goes wrong
A few hiccups come up with almost every first tote. If your machine struggles to sew through the thick spots where the straps meet the hem, slow way down, use the hand wheel to walk the needle through the layers, and make sure you’re using that heavier needle. If a seam comes out crooked, don’t panic. A seam ripper takes it out in two minutes, and canvas forgives being resewn. If the thread keeps bunching underneath, rethread the top of the machine with the presser foot raised; that fixes the problem more often than you’d expect.
And if your boxed corners don’t quite match, nobody will ever notice once the bag is full of library books. I promise.
Make it your own
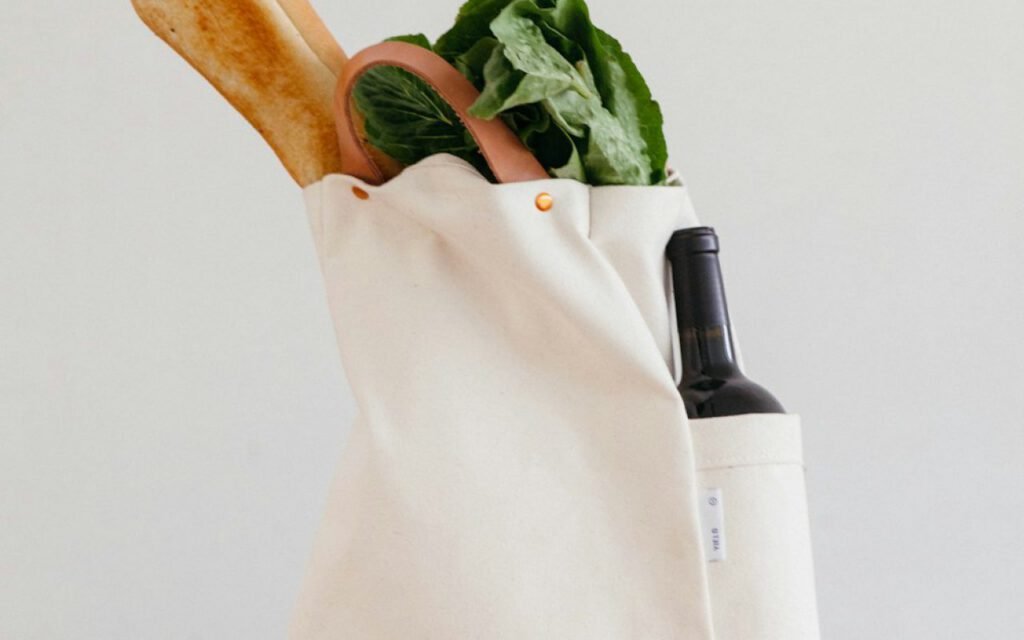
Once you’ve made one tote, you’ll want to make ten. They make wonderful gifts, and it’s easy to change things up. Try a contrasting fabric for the straps, add a lining, use a bold print for the pocket, or stitch a little embroidered initial on the front. You can also adjust the size: a tall, narrow tote for a bottle of wine, or a wide, deep one for beach towels.
Most of all, be proud of that first bag, crooked seam and all. You took flat fabric and turned it into something useful with your own hands. Carry it everywhere, and when someone asks where you got it, enjoy saying, “I made it.”
Hannah Brooks
Hannah covered state politics for twelve years before co-founding Maple & Main. She lives in the Old North End and bikes to every council meeting.

Start the conversation