 Hannah Brooks6 min read
When my nieces visit, the bead box comes out. It keeps everyone happy for hours. Lily is eight and very serious about color patterns. Ava is six and believes every bracelet needs at least four hearts. Their mom, my sister, usually ends up making one too, and so do I. Last time, even my dad wandered over from the couch, picked out some wooden beads and made himself a bracelet he wore for a week. That’s the magic of beading: it’s simple enough for a kindergartner and absorbing enough for a grandfather.
Here’s how we set up, and how to keep beads off the floor. After years of beading afternoons, I’ve learned a few tricks that make the whole thing calm, tidy and fun for every age at the table. Whether you’re planning a rainy-day activity, a birthday party craft or just an afternoon with the kids in your life, this is my complete playbook.
 Sponsored · Quilt Haven FabricsFat quarters from $3.50Thousands of prints, ships in a day.Shop fabric
Building a bead box
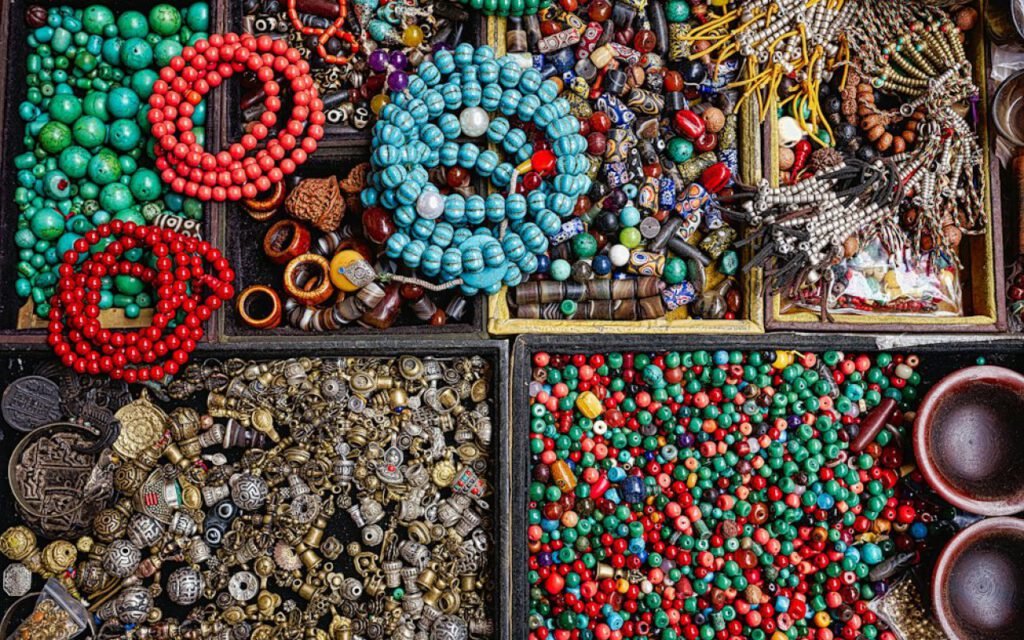
You don’t need a craft store’s worth of supplies to start. My bead box began as a single tackle box from a hardware store, and it still works perfectly. The little compartments keep colors separate, and the latch means one bump doesn’t end in a beady disaster.
Here’s what lives in ours:
- Pony beads in a rainbow of colors (big holes, great for little hands)
- Alphabet beads for spelling names and secret words
- Wooden beads in natural and painted finishes
- A handful of special beads: hearts, stars, glass and a few sparkly ones
- Elastic stretch cord in clear and a couple of colors
- Small, blunt-tipped scissors
- A few small bowls or muffin tins for sorting
Pony beads are my top recommendation for young kids. They’re big enough to pick up easily and have holes large enough that threading doesn’t turn into a test of patience. Save tiny seed beads for older kids and adults.
Use a tray
A baking sheet with a towel on it keeps beads from rolling away. This is the single best tip I can give you. Beads are round. Tables are flat. Gravity is undefeated. A rimmed baking sheet gives every crafter their own little workspace with walls, and a dish towel laid on top stops beads from bouncing and rolling. When it’s time to clean up, you just lift the towel’s corners and funnel the beads back into the box.
Give each person their own tray. It cuts down on squabbles over who has the purple beads, and it means one knocked-over bowl doesn’t scatter beads across everyone’s project. If you don’t have enough baking sheets, shallow shoe-box lids or cafeteria-style trays work too.
I also put a small bowl of each color in the middle of the table so everyone can reach. Muffin tins are perfect for this; each cup holds a different color, and the whole tin can be passed around.
The best crafts are the ones you make together.
Hannah
Stretch cord, no clasps
Elastic cord and a double knot. Little fingers can do it on their own. Clasps are fiddly, frustrating for young kids and easy to lose. Stretch cord slides right over the hand and onto the wrist, and kids can tie it themselves with a bit of practice.
Measuring and cutting
Wrap the cord loosely around the wrist and add about 4 inches for tying. For most kids, that means a piece about 10 inches long; for adults, about 12 inches. Before you start beading, gently stretch the cord a few times. This “pre-stretch” keeps the bracelet from loosening up after it’s been worn for a day or two.
Keeping beads on
Here’s a trick that saves a lot of tears: clip a small binder clip or a clothespin to one end of the cord before threading. It acts as a stopper so beads don’t slide right off the other end. Lily figured out on her own that a piece of tape folded over the end works too.
Tying it off
- When the bracelet fits comfortably around the wrist, remove the clip.
- Tie a simple overhand knot, pulling it snug.
- Tie a second knot right on top of the first. That’s your double knot.
- For extra security, a grown-up can add a tiny dot of clear craft glue to the knot.
- Trim the ends, leaving about ¼ inch, and slide the knot inside a nearby bead if it will fit.
Key takeaway: small beads can be a choking hazard. Keep them away from babies and toddlers, and stick with large pony beads for younger children, always with an adult at the table.
Ideas for every age
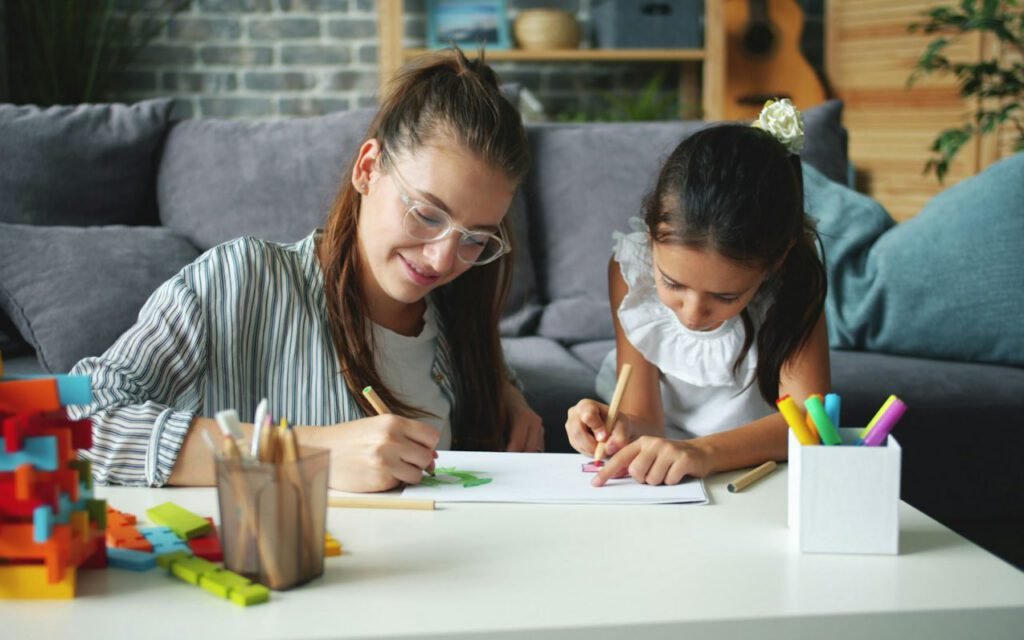
The best part of a bead afternoon is watching everyone take their bracelets in completely different directions. Here are a few ideas I set out when the girls need a nudge:
Ages 6 to 9
Name bracelets with alphabet beads, framed by a few colors on each side. Rainbow bracelets that go red, orange, yellow, green, blue, purple and repeat. Friendship bracelets made in pairs, one to keep and one to give away.
Ages 10 to 14
Patterns with a rule, like “two blue, one white” or a mirror image from the center outward. Stacks of three thin bracelets in matching colors. Bracelets using smaller glass beads and a little gold accent bead.
Ages 15 to 60 (and beyond)
Wooden and glass beads in earthy tones. A single meaningful bead, like a birthstone color, set among neutrals. My dad’s bracelet was simple wooden beads with one blue glass bead in the middle. He said it reminded him of the lake where he grew up.
Beyond bracelets
Once everyone has a wrist full of bracelets, the bead box has plenty more to offer. Longer pieces of stretch cord become necklaces; just make sure they’re long enough to slip easily over the head, and skip necklaces entirely for very young children. A short strand with a key ring on the end makes a cheerful backpack charm or zipper pull. Alphabet beads on a ribbon turn into a bookmark with a name or a favorite word. Last summer the girls made matching anklets for a trip to the lake, and Lily designed a set of “team bracelets” for her soccer friends in the team colors.
Bracelets also make lovely gifts. We’ve made them for teachers at the end of the school year, for a new baby cousin’s big sister, and for grandparents on their anniversary. A handmade bracelet tucked into a card means more than anything from a store.
A tidy finish
Cleanup can be part of the game. We use a “bead rescue” challenge: everyone gets two minutes to find stray beads on the floor and under the table, and whoever rescues the most picks the snack. It works every time.
Then the trays get tipped, the box gets latched, and everyone admires each other’s wrists. Ava usually goes home with about seven bracelets stacked up her arm. Lily goes home with one perfect one and a plan for next time.
Making memories, one bead at a time
I’ve done a lot of crafts in my life, but few are as purely joyful as an afternoon of beading with people I love. There’s no wrong way to do it, nothing to measure perfectly, and everyone leaves with something to wear. The conversation that happens over a bead tray is some of the best: stories from school, silly jokes, and questions you’d never get at the dinner table.
So set out a tray, open a box of beads and invite someone to sit down with you. It might be your kids, your nieces, your neighbors or your parents. I promise the time will fly, and you’ll all go home with a little reminder of an afternoon well spent.

Hannah Brooks
Hannah covered state politics for twelve years before co-founding Maple & Main. She lives in the Old North End and bikes to every council meeting.

Hannah Brooks
Hannah covered state politics for twelve years before co-founding Maple & Main. She lives in the Old North End and bikes to every council meeting.


Start the conversation