Your First Scarf: A Knitting Pattern for Total Beginners
Two needles, one ball of yarn and a weekend.
 Hannah Brooks6 min read
Hannah Brooks
Hannah covered state politics for twelve years before co-founding Maple & Main. She lives in the Old North End and bikes to every council meeting.


Every knitter’s first project should be a scarf. It’s forgiving, useful and done in a weekend. I made my first one at a kitchen table in Ohio with a pair of borrowed needles and a ball of bright red yarn, and I still have it, holes and all. If you have been watching knitting videos and wondering whether you could really do this, the answer is yes, and this little pattern is where you start.
This pattern uses only the knit stitch: no purling, no counting rows. When you knit every single row, you get a fabric called garter stitch. It’s squishy, it lies flat without curling at the edges, and it looks exactly the same on both sides, which means nobody can ever tell which side is the “wrong” one. For a beginner, that is pure kindness.
 Sponsored · Quilt Haven FabricsFat quarters from $3.50Thousands of prints, ships in a day.Shop fabric
What you need
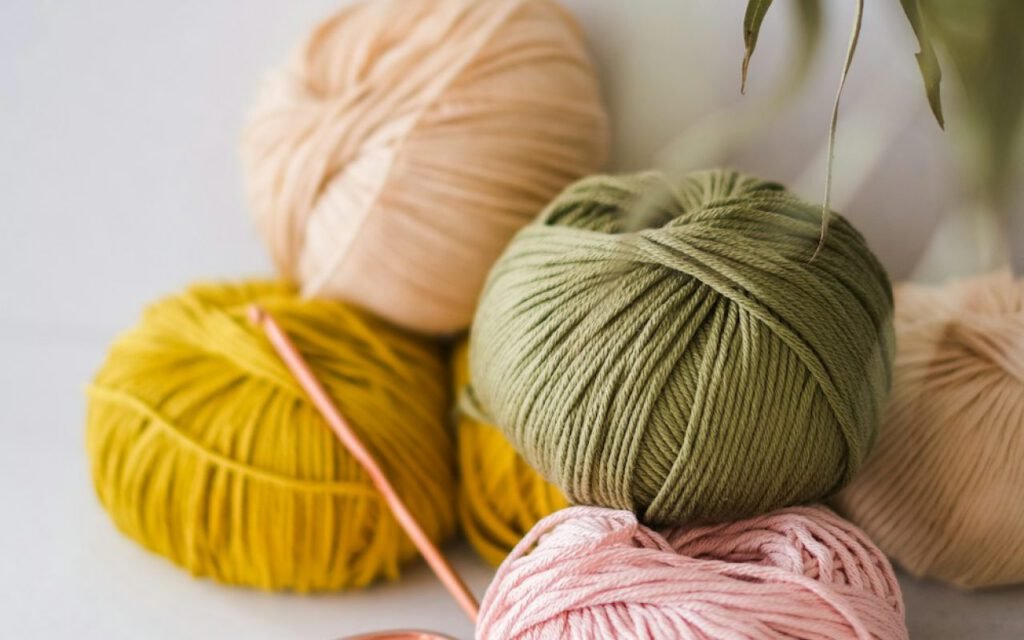
Size 10 needles and one chunky ball of wool blend. That’s it. Chunky yarn is thick, so every stitch is big enough to see clearly, and the scarf grows quickly, which keeps you motivated. A wool blend is warm and a little springy, which helps hide uneven tension while your hands are still learning.
Pick a color you love; you’ll stare at it for hours. I’d gently steer you away from very dark yarn for a first project. Black and navy are beautiful, but they make it hard to see your stitches, especially in the evening. A medium shade like mustard, teal, rust or heather gray is much easier on the eyes.
Supplies
- Size 10 (6 mm) needles
- 1 skein chunky yarn
- Scissors and a tapestry needle
Straight wooden or bamboo needles are my favorite for beginners. They’re a little grippy, so the stitches don’t slide off when you put your work down. Metal needles are faster but slippery, and that can be frustrating on day one. Check the yarn label too: it usually suggests a needle size, and for chunky yarn that’s often right around size 10.
Learning the basics
Before the pattern itself, you need two skills: casting on and the knit stitch. Both feel awkward for the first ten minutes and then suddenly click. I promise.
Casting on
Casting on puts your first row of loops onto the needle. The simplest method is the backward loop cast-on: make a slipknot on one needle, then wrap the yarn around your thumb and slide that loop onto the needle. Repeat until you have enough stitches. It’s quick and easy, though a little loose. Once you’re comfortable, try the long-tail cast-on, which gives a neater, sturdier edge.
The knit stitch
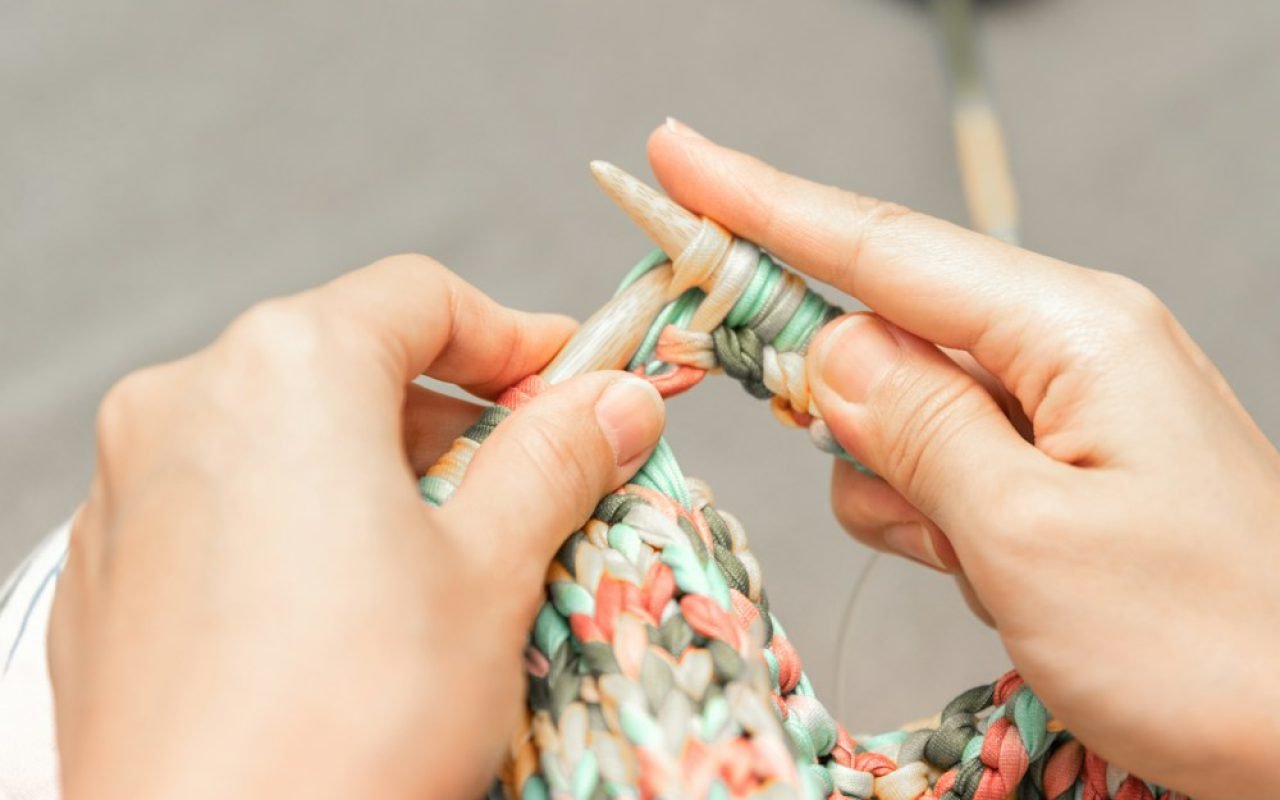
Hold the needle with the stitches in your left hand and the empty needle in your right. Then follow the little rhyme many of us learned as kids:
- In through the front door: push the right needle into the front of the first stitch, from left to right.
- Around the back: wrap the working yarn around the right needle, counterclockwise.
- Out through the window: pull the right needle, with its new loop, back through the stitch.
- Off jumps Jack: slide the old stitch off the left needle.
That’s one stitch. Do it again and again until all the stitches have moved to the right needle. Then swap hands, so the full needle is back in your left hand, and start the next row. Say the rhyme out loud for the first few rows; it really helps.
Every expert knitter once dropped every stitch. Keep going.
Hannah
The pattern
Here it is, the whole thing: cast on 24 stitches. Knit every row until it’s as long as you are tall. Bind off. Celebrate.
Twenty-four stitches in chunky yarn gives you a scarf about 6 to 7 inches wide, which is cozy without being bulky. “As long as you are tall” is an old knitter’s rule of thumb that gives you plenty of length to wrap once around your neck with the ends hanging down. If you’re 5 foot 6, aim for about 66 inches. You’ll probably need a second skein to get all the way there, so buy two from the same dye lot to keep the color matching.
Binding off
When your scarf is long enough, knit two stitches onto the right needle. Use the tip of the left needle to lift the first stitch over the second and off the needle, like a little game of leapfrog. Knit one more stitch and repeat. Keep going until only one stitch remains, then cut the yarn, leaving a 6-inch tail, and pull it through that last loop. Done.
Key takeaway: bind off loosely. A tight bind-off makes one end of the scarf pucker. If you tend to pull hard, switch to a needle one size larger just for the bind-off row.
Common hiccups (and quick fixes)
Every new knitter runs into the same few puzzles. None of them mean you’re doing it wrong; they just mean you’re learning.
- Your scarf is getting wider. You’ve probably knit into the same stitch twice at the start of a row. Count your stitches every few rows; if you have more than 24, you can knit two together to bring the number back down.
- Your scarf is getting narrower. A stitch may have slipped off. Look for a little ladder running down your work and see our fixing guide, or just knit on; a slightly wavy edge has its own charm.
- The stitches are too tight to move. Relax your grip on the yarn. Tension loosens naturally with practice.
- There’s a hole in the middle. A stray yarn-over has snuck in, usually by bringing the yarn to the front by accident. It happens to everyone.
Finishing touches
Thread each yarn tail onto your tapestry needle and weave it in and out along the edge of the scarf for a couple of inches, then trim what’s left. This is called weaving in your ends, and it keeps everything tidy and secure.
If you want to get a little fancy, add fringe. Cut a stack of 10-inch pieces of yarn, fold three together, pull the fold through the edge with a crochet hook, and tuck the ends through the loop. Do this every few stitches along both short ends. It takes about half an hour and makes a beginner scarf look like something from a boutique.
Finally, soak the scarf in cool water with a drop of wool wash, gently squeeze out the water, roll it in a towel and lay it flat to dry. This is called blocking, and it relaxes your stitches so they look even and soft.
Wear it proudly
Your first scarf won’t be perfect. Mine certainly wasn’t. There might be a wobbly edge, a few rows that are tighter than others, maybe a mystery hole. Wear it anyway. Every single one of those quirks is proof that you sat down and learned something new with your own two hands.
And once it’s done, you’ll have something even better than a scarf: you’ll know how to knit. From here, it’s a short hop to a hat, a cowl, a dishcloth or a cozy blanket. When you’re ready for the next step, take the quiz on the blog to find your next project, and drop me a note to tell me what color you chose.
Hannah Brooks
Hannah covered state politics for twelve years before co-founding Maple & Main. She lives in the Old North End and bikes to every council meeting.


Thanks for explaining this so clearly.
Great reporting — please keep following this story.