Rustic Country Loaf With a Crisp Crust
An easy yeasted loaf for sandwiches, toast and soup night.
 Tom Becker6 min read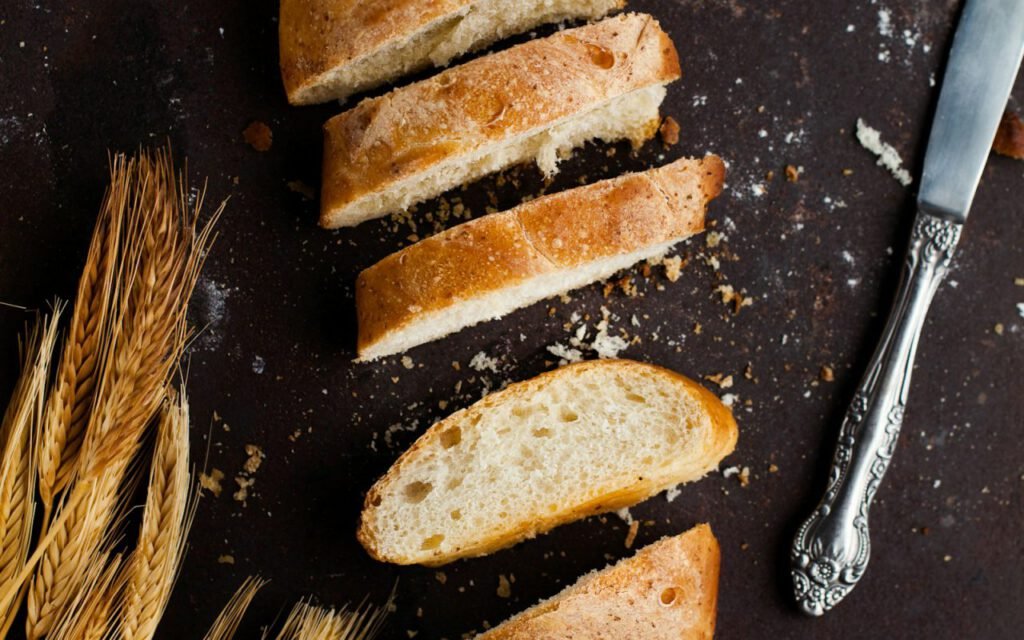

Tom Becker
Tom has kept a vegetable garden for thirty years and still gets excited about the first radish of spring.



Not ready for sourdough? This loaf uses instant yeast and is ready the same afternoon. Mix it after lunch, and by dinnertime you will have a golden, crackly loaf on the counter, its crust singing softly as it cools. It is an easy yeasted bread with a tender, slightly chewy crumb, perfect for sandwiches, morning toast and soup night. If you have never baked bread before, this is the recipe I would hand you first.
 Sponsored · Hearthside CandlesHand-poured in VermontTwelve new fall scents, out now.Shop candles
I learned to bake bread from a neighbor in Madison, Wisconsin, a retired schoolteacher who made two loaves every Saturday and gave one away. Her method was simple and forgiving, and she never measured the water temperature with anything but her wrist. This recipe is close to hers, with a few modern touches like instant yeast and a pan of water for steam. It is the bread that made me fall in love with baking, and I hope it does the same for you.
Why this loaf is beginner-friendly
Bread baking can feel mysterious, but this loaf strips it down to the essentials. There is no starter to maintain, no overnight rest and no special equipment beyond a baking sheet and an oven. Instant yeast is reliable and quick, and you can mix it straight into the flour without proofing it first. The honey gives the yeast a little extra food and adds a subtle sweetness and a deeper golden color to the crust.
It also teaches you the basic skills you will use in every bread you ever make: mixing, kneading, rising, shaping, slashing and baking with steam. Once you are comfortable with this loaf, you can move on to rolls, sandwich bread or that sourdough you have been eyeing.
Instant yeast versus active dry
Instant yeast has finer granules and can be added directly to the dry ingredients. Active dry yeast works too, but it is best dissolved in the warm water first and left for five to ten minutes until foamy. If you use active dry yeast, expect the rises to take a little longer. Whichever you use, check the expiration date. Old yeast is the most common reason a loaf refuses to rise.
Sponsored · Hearthside CandlesHand-poured in VermontTwelve new fall scents, out now.Shop candlesIngredients
- 3 1/2 cups bread flour
- 1 1/2 cups warm water
- 2 teaspoons instant yeast
- 2 teaspoons salt
- 1 tablespoon honey
Warm water should feel comfortably warm on your wrist, around 105°F to 110°F. Water that is too hot can kill the yeast, and water that is too cold will slow everything down. Bread flour gives the best chew and structure, but all-purpose flour will still make a lovely, slightly softer loaf. Spoon the flour into your measuring cup and level it with a knife, rather than scooping straight from the bag, which packs in too much flour.

How to make it
- Mix everything into a soft dough and knead 8 minutes.
- Let rise until doubled, about 1 hour.
- Shape into an oval, slash the top and let rise 45 minutes.
- Bake at 450°F for 35 minutes with a pan of water on the bottom rack for steam.
Kneading by hand
Stir the ingredients together with a wooden spoon until no dry flour remains, then tip the dough onto a lightly floured counter. Push the dough away from you with the heel of your hand, fold it back over itself, give it a quarter turn and repeat. At first it will feel sticky and rough. Keep going. After about eight minutes, it will become smooth, springy and slightly tacky, like the inside of your wrist. Resist the urge to add lots of extra flour, which makes a dry, dense loaf.
A simple test tells you when kneading is done. Pinch off a small piece and gently stretch it between your fingers. If it stretches thin enough to let light through without tearing, the gluten is well developed. If it tears quickly, knead for a few more minutes.

Letting it rise
Place the dough in a lightly oiled bowl, cover it with a damp towel or plastic wrap and set it somewhere warm and draft-free. An oven with only the light turned on is a cozy spot. After about an hour, the dough should be roughly doubled. Poke it gently with a floured finger. If the dent springs back slowly and leaves a small mark, it is ready.
Shaping and slashing
Turn the dough out and press it gently into a rectangle. Fold the top third down and the bottom third up, like a letter, then roll it into a tight oval and pinch the seam closed. Set it seam side down on a baking sheet lined with parchment paper. After the second rise, use a very sharp knife or a razor blade to make one long, confident slash about half an inch deep along the top. The slash gives the loaf a controlled place to expand in the oven, so it does not burst at the sides.
Steam for a crisp crust
Steam is the secret behind a bakery-style crust. Place an empty metal pan on the bottom rack while the oven preheats. When you slide the bread in, carefully pour a cup of hot water into the pan and shut the door quickly. The steam keeps the surface of the loaf moist for the first few minutes, so it can rise fully before the crust hardens. Use an oven mitt and keep your face away from the door, since the burst of steam is very hot.
Key takeaway: knead until the dough is smooth and stretchy, let it rise until truly doubled and use steam for a crackly crust.
Troubleshooting your first loaf
- The dough did not rise: the yeast may be old, or the water was too hot or too cold.
- The loaf is dense: the dough may need more kneading, or it was baked before it fully rose.
- The crust is soft: add more steam, bake a few minutes longer, or let it cool on a wire rack, not on a plate.
- The bottom burned: move the rack up one level or slide a second baking sheet underneath.
The bread is done when it is deep golden brown and sounds hollow when you tap the bottom. An instant-read thermometer should read about 200°F in the center. Let it cool for at least 45 minutes before slicing, so the crumb can set.
Serving and storing
This loaf was made for soup night. Thick slices are perfect for dunking into a bowl of creamy potato leek soup or a hearty chili. It also makes excellent grilled cheese, French toast and garlic bread. Store it cut side down on a wooden board for a day, or wrap it in a clean kitchen towel. Avoid plastic bags, which soften the crust. For longer storage, slice the loaf, freeze it in a zip-top bag and toast slices straight from frozen.

Make it your own
Once the basic loaf feels easy, try a few simple changes. Replace one cup of the bread flour with whole wheat flour for a nuttier loaf. Knead in a handful of chopped rosemary and some cracked black pepper, or a cup of shredded sharp cheddar and a few sliced green onions. For a softer sandwich loaf, bake the dough in a greased loaf pan. And for a beautiful, bakery-style finish, take our baker’s advice.
Brush with water and sprinkle oats or seeds on top before baking.
Baker Lena Morris
Sesame seeds, sunflower seeds, poppy seeds and rolled oats all work well. Bake this loaf a few times, and before long you will find yourself making it without a recipe, just like my neighbor did every Saturday morning.
Tom Becker
Tom has kept a vegetable garden for thirty years and still gets excited about the first radish of spring.



Start the conversation