


 StrengthStrength Training 101: The Five Moves That MatterSquat, hinge, push, pull and carry — a full-body plan in five exercises.
 Maya Brooks6 min read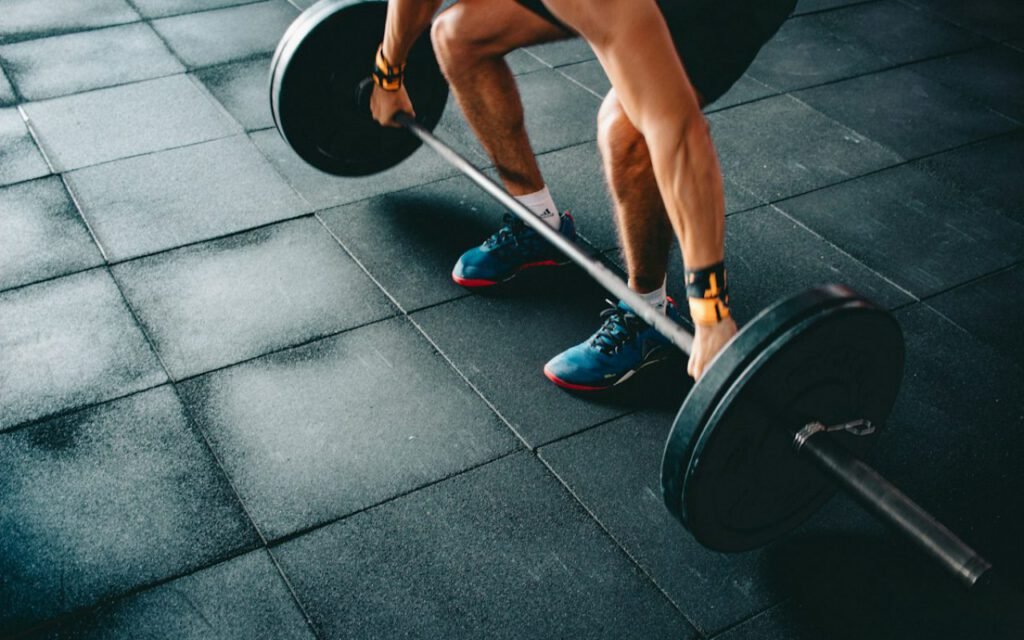
The deadlift trains your whole back side — hamstrings, glutes and back — and teaches you to lift things off the floor safely. It is one of the most useful exercises you can learn, because it mirrors a movement you do all the time: bending down to pick something up. Groceries, laundry baskets, toddlers, moving boxes and bags of mulch all ask your body to hinge at the hips and stand up with a load.
The deadlift also has a reputation. Some people call it the king of strength exercises; others worry it is bad for the back. The truth is that a well-coached deadlift, done with sensible weights and good technique, is a valuable part of many strength programs. The key is learning it step by step and respecting a few simple rules. This guide walks you through the setup, the lift and the most common mistakes, so you can approach the bar with confidence.
Learn the hinge first
Before you touch a barbell, it helps to master the hip hinge. The hinge is the movement pattern at the heart of every deadlift. You push your hips back while keeping your spine long and flat, then drive your hips forward to stand tall.
A simple drill is the wall hinge. Stand about a foot in front of a wall, facing away from it. Soften your knees slightly and push your hips back until your backside touches the wall, keeping your chest proud and your back flat. Stand up by squeezing your glutes. As you get comfortable, take a small step forward and repeat. This teaches your body to move from the hips rather than rounding through the back.
Another favorite is the dowel drill. Hold a broomstick along your back so it touches your head, your upper back and your tailbone. Hinge forward. If the stick stays in contact with all three points, your back is staying flat.
Set up
Bar over the middle of your feet, hips back, chest proud and a flat back. A good setup does most of the work for you, so it is worth taking your time on every rep.
- Feet: stand with your feet about hip-width apart, toes pointing forward or turned out slightly. The bar should sit over the middle of your feet, roughly over your shoelaces.
- Grip: hinge down and grip the bar just outside your legs with both palms facing you. Your arms should hang straight.
- Shins: bend your knees until your shins lightly touch the bar. Do not push the bar forward as you do this.
- Back: lift your chest and pull your shoulders back slightly so your back is long and flat. Imagine showing the logo on your shirt to someone in front of you.
- Brace: take a breath into your belly and gently tighten your midsection as if preparing for a light poke in the stomach.
- Tension: pull the slack out of the bar so you feel your body tighten before the weight leaves the floor.
If your back rounds, the weight is too heavy. That’s the whole rule.
Maya Brooks, certified strength coach
Lift
Push the floor away, keep the bar close to your legs and stand tall without leaning back. Instead of thinking about pulling the bar up with your back, imagine pressing your feet through the floor like a leg press. Your hips and shoulders should rise together.
Keep the bar close enough that it slides up your shins and thighs. A bar that drifts forward puts extra strain on your lower back. Once the bar passes your knees, drive your hips forward and squeeze your glutes to finish standing tall. At the top, your body should be in a straight line from head to heels. There is no need to lean back or shrug your shoulders.
Lowering the bar
Reverse the movement with control. Push your hips back first, keeping the bar close to your legs, and once it passes your knees, bend your knees to lower it to the floor. Reset your position before each new rep rather than bouncing the weight off the ground.
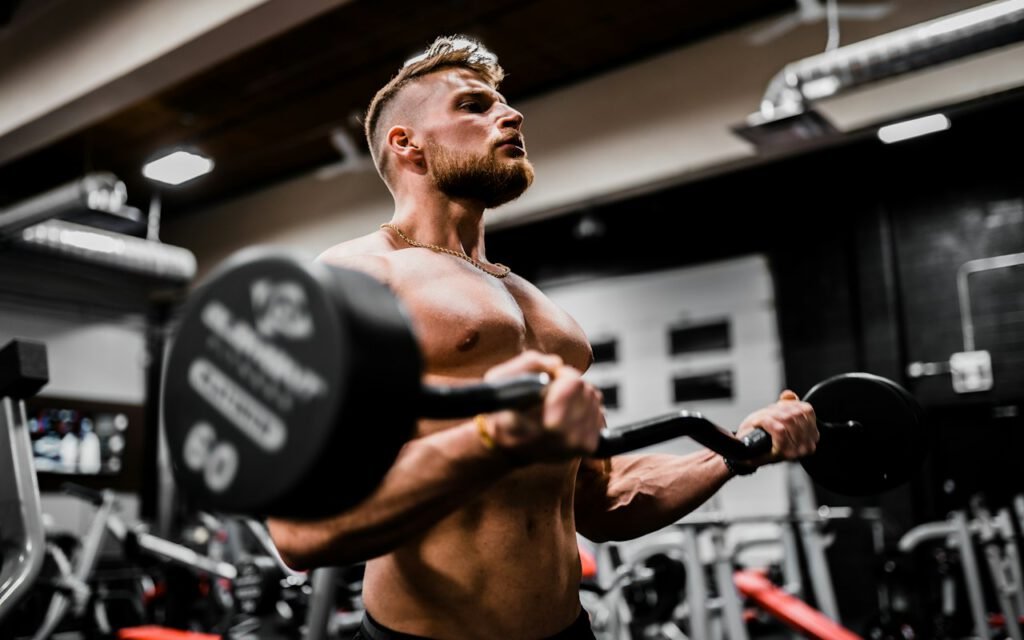
Common mistakes to avoid
Most deadlift problems are easy to spot and fix once you know what to look for. Here are the ones coaches see most often:
- Rounding the lower back, usually a sign the weight is too heavy or the setup was rushed
- Letting the bar drift away from the legs
- Squatting the weight up with the hips too low, turning the lift into a squat
- Jerking the bar off the floor instead of building tension first
- Leaning back excessively at the top
- Looking sharply up at the ceiling, which can strain the neck
Filming your sets from the side is one of the best ways to check your technique. If you are unsure what you are seeing, ask a qualified coach or experienced trainer for a quick form check. A few minutes of expert feedback can save you months of frustration.
Key takeaway: perfect your setup and keep the bar close. Most technical issues start with a rushed or sloppy first position.
Building a deadlift into your plan
For beginners, once a week is often plenty for deadlifts, since they work so many muscles at once. Start with a light kettlebell or dumbbell deadlift for two or three weeks. When the pattern feels natural, you can move to a trap bar or a barbell with light plates. Many gyms have bumper plates that raise the bar to the right height even when the weight is light.
Aim for two or three sets of five to eight reps, resting two or three minutes between sets. Add weight in small steps only when every rep of every set looks smooth and controlled. If a set feels shaky or your back starts to round, lower the weight and rebuild. There is no rush. Strength built steadily is strength that lasts.
Choosing your first deadlift variation
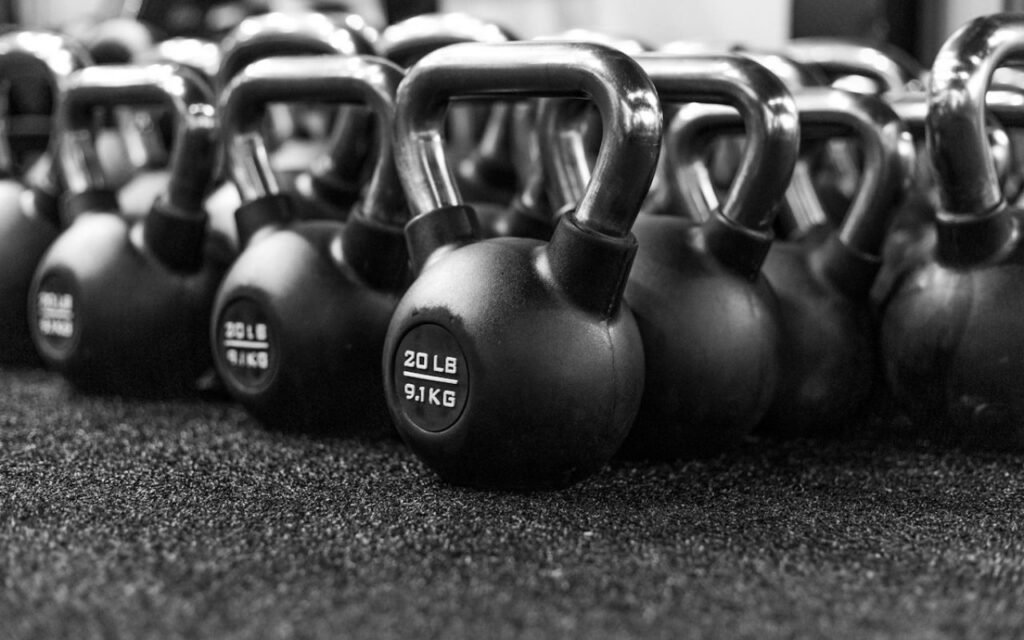
You do not have to start with a straight barbell. A kettlebell deadlift, with the bell placed between your feet, is the gentlest way to learn the pattern. A trap bar, sometimes called a hex bar, lets you stand inside the frame with handles at your sides, which many beginners find more comfortable and easier to keep balanced. The Romanian deadlift, which starts from standing and lowers only to around mid-shin, is a great way to build hamstring strength and practice the hinge without lifting from the floor. Try a few options with light weights and choose the one that feels most natural to you.
Pair the deadlift with the other foundational movements from our five-moves plan, such as squats, push-ups, rows and carries, for a balanced full-body routine.
Try this
- Learn with a light kettlebell first
- Keep the bar close to your body
- Ask a qualified coach to check your form
The deadlift can feel intimidating, but it is really just a careful, well-practiced way to pick something up. Respect the setup, start light and let your technique guide every increase in weight. If you have a history of back pain or any injury, talk with your doctor or a physical therapist before adding deadlifts to your routine. With patience, this classic lift can become one of the most satisfying parts of your training week.
General information, not medical advice. Check with your doctor before starting a new exercise or nutrition plan, especially if you have a health condition.

Written by
Maya Brooks
Maya is a certified strength coach who believes everyone should own one kettlebell and one good playlist.
20Articles
2026Writing since
Read next
StrengthStrength Training 101: The Five Moves That MatterSquat, hinge, push, pull and carry — a full-body plan in five exercises. StrengthNo Gym? The 20-Minute Home WorkoutBodyweight only, no equipment, no excuses.
 StrengthGetting Your First Pull-UpA step-by-step plan from zero to one.
 StrengthStrength Training After 50: It’s Never Too LateMuscle and bone respond to training at every age.
 StrengthKettlebells: One Tool, a Hundred WorkoutsSwings, goblet squats and carries for a full-body routine.
Written by
Maya Brooks
Maya is a certified strength coach who believes everyone should own one kettlebell and one good playlist.
20Articles
2026Writing since
Start the conversation