Embroidery for Absolute Beginners: Five Stitches
Backstitch, satin, French knot, lazy daisy and stem.
 Hannah Brooks6 min read
Hannah Brooks
Hannah covered state politics for twelve years before co-founding Maple & Main. She lives in the Old North End and bikes to every council meeting.

Five stitches are all you need to embroider almost anything. When I first picked up a needle and floss, I assumed there were hundreds of fancy stitches to memorize before I could make something pretty. There are hundreds, but almost every design I’ve stitched in the last ten years uses the same five over and over: backstitch, satin stitch, French knot, lazy daisy and stem stitch. Learn those, and you can stitch flowers, letters, little animals, borders and just about anything else you can dream up.
Grab a hoop, some cotton and a needle, and we’ll go one stitch at a time. I suggest practicing each one on a scrap of fabric before using it in a real design. Think of it like a sampler: one row for each stitch, a little messy, completely yours.
 Sponsored · Quilt Haven FabricsFat quarters from $3.50Thousands of prints, ships in a day.Shop fabric
Getting set up
Here’s the short supply list. Everything fits in a small zipper pouch, which makes embroidery the perfect take-anywhere craft.
- 6-inch hoop
- Cotton fabric
- Embroidery floss
- A sharp needle
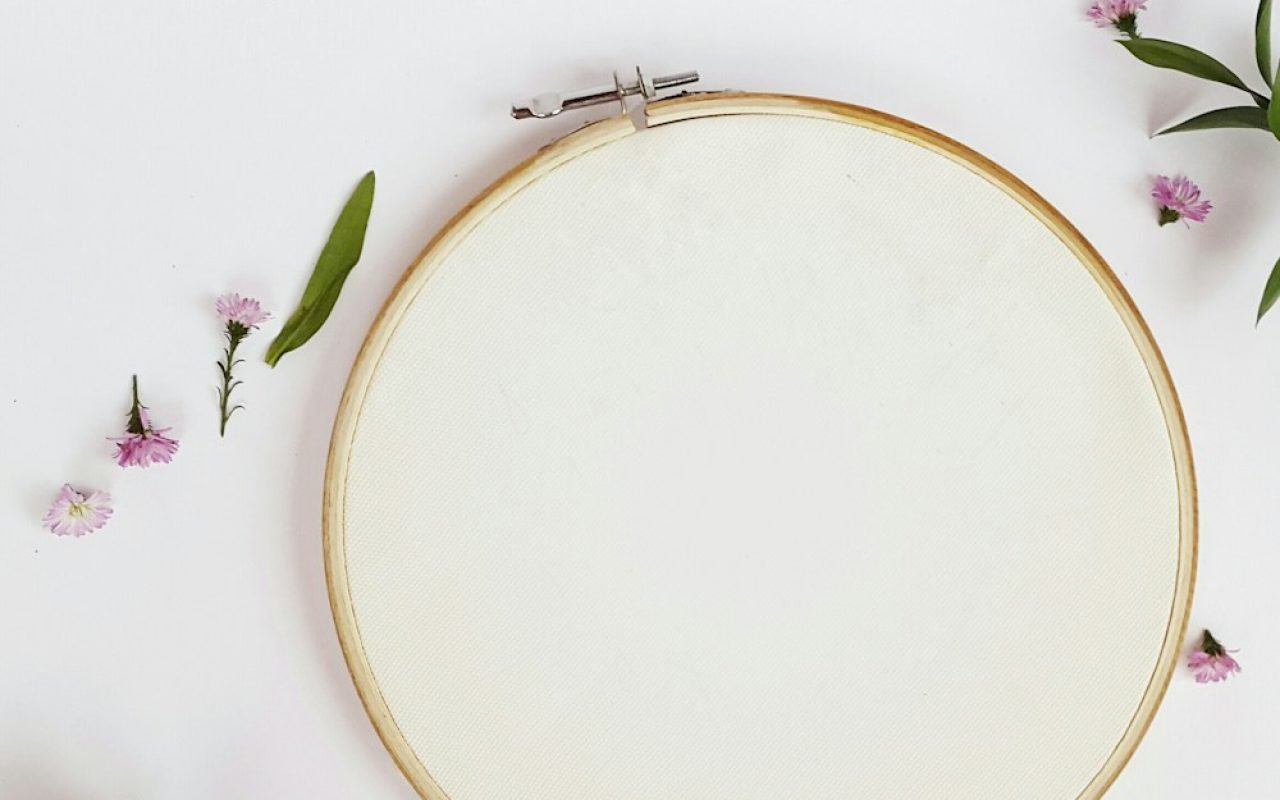
A wooden hoop with a screw at the top is inexpensive and works well. Loosen the screw, place the inner ring under your fabric, press the outer ring over it, and tighten. Pull the fabric gently around the edges until it’s drum-tight; it should make a little “tap” sound when you flick it. Loose fabric puckers, and puckers are the number one beginner frustration.
Choose a medium-weight cotton or a cotton-linen blend in a light color for your first practice. Embroidery floss comes in skeins of six thin strands twisted together. For most stitches, I separate it and use two or three strands at a time. Cut a piece about 18 inches long, roughly the length from your fingertips to your elbow. Longer pieces tangle.
Backstitch for lines
Use it for letters, stems and outlines. Backstitch is the workhorse of embroidery, and it’s the first stitch I teach everyone.
- Bring the needle up from the back at point A, a little way along your line.
- Go back down at the very start of the line, making one small stitch.
- Come up again one stitch length ahead of point A.
- Go back down into the end of your previous stitch, at point A.
Keep repeating, always stepping forward underneath and back on top. The result is a solid, unbroken line, perfect for lettering a name or outlining a leaf. Try to keep all your stitches about the same length, around ⅛ inch. For tight curves, make them shorter.
Embroidery is drawing with thread.
Hannah
Satin stitch and stem stitch
Satin stitch for filling shapes
Satin stitch fills a shape with smooth, shiny color, like a petal, a heart or a little leaf. Bring the needle up on one edge of the shape and go down directly across on the opposite edge. Come back up right next to where you started, and repeat, laying each stitch snugly beside the last like rows of piano keys. The secret is keeping the stitches close but not overlapping, and not pulling too tight. Start in the middle of the shape and work out to each side; it’s much easier to keep the angle even that way.
Stem stitch for curves
Stem stitch makes a slightly twisted, rope-like line that’s lovely for flower stems and swirly vines. Bring the needle up at the start of your line, go down a little way ahead, and then come back up halfway between those two points, just beside the first stitch. Keep the working thread below the needle each time. As you go, each stitch overlaps the one before it, and you’ll see a pretty braid form along your line. It flows around curves beautifully.
French knots and lazy daisies
French knots for dots
Wrap twice, go back in next to where you came out. Tiny, perfect dots. French knots have a scary reputation, but they’re easy once you know the trick: keep the wraps snug on the needle and hold the thread taut while you pull through.
- Bring the needle up where you want the dot.
- Hold the floss with your other hand and wrap it twice around the needle.
- Keeping the wraps snug, insert the needle back into the fabric just beside the starting point, not in the exact same hole.
- Gently pull the thread through to the back while still holding the floss taut.
Use French knots for flower centers, eyes, polka dots, snow, or the little dot above an “i.” If your knot pulls through to the back, you went into the same hole; move over a hair and try again.
Lazy daisy for petals
The lazy daisy, also called a detached chain stitch, makes a little teardrop loop that’s perfect for petals and leaves. Bring the needle up, then go back down in the same hole, but don’t pull all the way; leave a small loop. Bring the needle up at the tip of the loop, catch it, and go down just outside it to tack it in place. Make five or six in a circle, add a French knot in the middle, and you’ve stitched a daisy.
Key takeaway: don’t knot your thread at the start if you want a tidy back. Instead, leave a 2-inch tail on the back and catch it under your first few stitches. It’s neater and the back of your hoop will look lovely too.
Your first practice piece
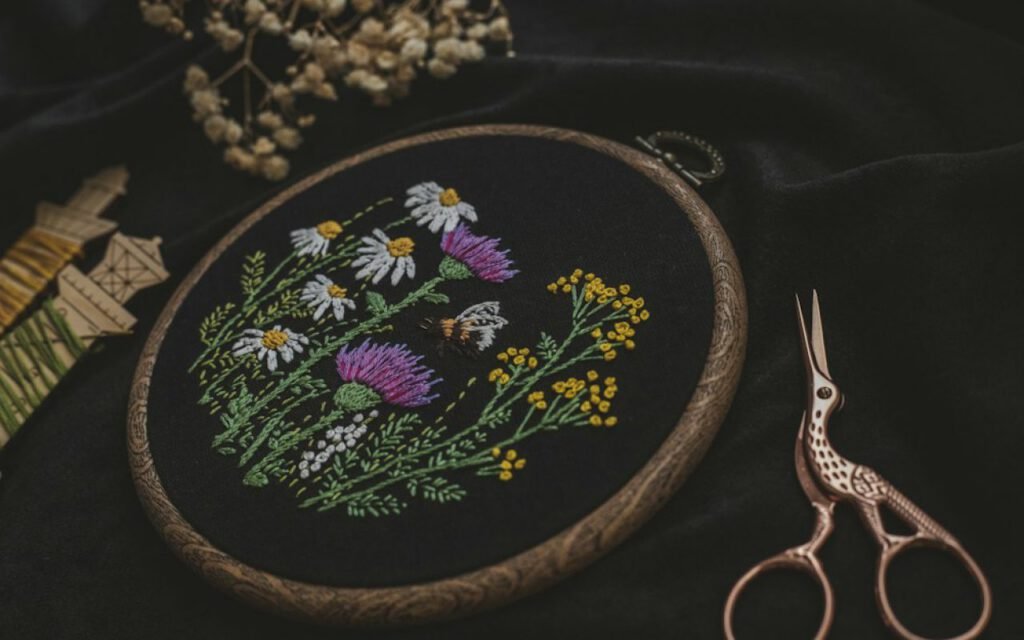
Ready to put it all together? Here’s a little design I give to every beginner. Lightly draw a curving line across the bottom of your hoop for a stem and fill it in with stem stitch. Add three short branches in backstitch. At the end of each branch, make a lazy daisy flower with a French knot center. Fill two small leaf shapes with satin stitch. Then, along the top, write your name or a short word in backstitch.
For colors, I like a soft sage green for the stem and leaves, a buttery yellow or blush pink for the petals, and a deeper gold for the French knot centers. Use a dark charcoal or navy for your lettering so it stands out clearly against the fabric. If you’re unsure, pick three colors you’d happily wear together; they almost always look good stitched side by side.
That’s all five stitches in one little hoop.It will probably take you two or three relaxed evenings. Don’t worry if your satin stitch is a bit uneven or a French knot looks more like a blob. Those are the stitches that get better the more you practice.
Keep stitching
Once you’ve got these five down, the whole world of embroidery opens up. You can add a monogram to a tea towel, stitch a flower on a denim jacket pocket, personalize a baby blanket, or frame your hoop and hang it on the wall. Finished pieces stay right in the hoop as an instant frame. Just trim the fabric and glue or lace the edges at the back.
The best part about embroidery is how calm it is. No machines, no noise, just a needle going in and out. I stitch on the couch in the evening, in waiting rooms, and on long car rides as a passenger. Tuck a hoop in your bag and you’ll always have something lovely to do with your hands. Find our free beginner patterns on the patterns page, and happy stitching.

Start the conversation