


 StrengthStrength Training 101: The Five Moves That MatterSquat, hinge, push, pull and carry — a full-body plan in five exercises.

Written by
Maya Brooks
Maya is a certified strength coach who believes everyone should own one kettlebell and one good playlist.
20Articles
2026Writing since
The first pull-up is one of the most satisfying goals in fitness. It usually takes a few months of steady practice. There is something uniquely rewarding about it: one moment you are hanging from a bar, the next you are lifting your entire body until your chin clears the top. No machine, no partner, no tricks. Just you and gravity, and for once, you win. If you have never done a pull-up, or you could do one years ago and lost it, this step-by-step plan will take you from zero to one.
Pull-ups are hard because they ask your back, shoulders, arms and grip to lift your full body weight. That is exactly why they are such a great measure of upper-body strength, and why the progress you make along the way will carry over to everyday life, from carrying groceries to lifting a suitcase into an overhead bin.
Why pull-ups feel impossible at first
Most of us spend our days pushing and reaching forward: typing, driving, lifting things in front of us. Very few daily tasks ask us to pull our body upward. The large muscles of the back, especially the ones that run along your sides from your armpits to your lower back, often get very little work. Add grip strength that has never been tested and shoulders that are not used to hanging, and that first rep can feel completely out of reach.
The good news is that each piece of the puzzle can be trained separately, and each one improves quickly with practice. Instead of jumping up and struggling at the bar, you build the base strength first and then put it together.
Build the base
Rows, dead hangs and slow lowering from the top of the bar build the strength you need. Each exercise targets a different part of the pull-up, and together they form the backbone of almost every successful beginner plan.
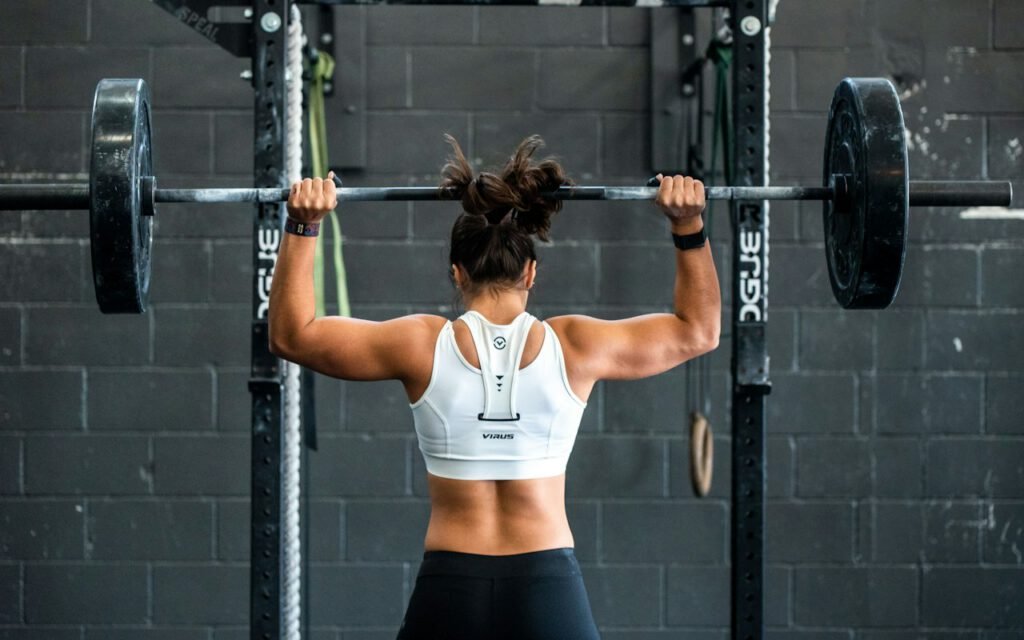
Rows
Rows train the same pulling muscles in a more manageable position. An inverted row is a great choice: set a sturdy bar at about waist height in a squat rack or Smith machine, or use a set of gym rings. Lie underneath, grab the bar, keep your body straight from head to heels and pull your chest toward it. The more upright your body, the easier it is. Lower the bar or walk your feet forward to make it harder. Dumbbell rows and cable rows work well too.
Dead hangs
Simply hanging from the bar builds grip strength and teaches your shoulders to support your weight. Grab the bar with your palms facing away, step off a box and hang with your arms straight. Start with whatever you can manage, even 10 seconds, and build up from there. For an extra challenge, practice “active” hangs: keep your arms straight but gently pull your shoulder blades down and back, lifting your body an inch without bending your elbows.
Slow lowerings
Also called negatives, slow lowerings are the single most effective pull-up builder for many people. Use a box or bench to step up so your chin is above the bar. Hold on, lift your feet and lower yourself as slowly as you can until your arms are straight. Your muscles are stronger when lowering a load than when lifting it, so you can practice the exact pull-up movement long before you can do the full rep.
Every pull-up starts with learning to hang on.
Maya Brooks, certified strength coach
Coach Maya Brooks starts every new pull-up client with hangs, even the ones who are eager to jump ahead. A strong grip and stable shoulders, she says, make every other step safer and more productive.
Practice often
Short, frequent practice beats one exhausting session a week. Pull-up strength responds well to repeated, high-quality practice spread across several days. Three or four short sessions a week, each lasting 10 to 15 minutes, will usually get you further than one long session that leaves your arms shaking for days.
Here is a simple weekly structure many beginners use. Adjust the numbers to fit your starting point.
- Day one. Inverted rows, 3 sets of 8 to 10. Dead hangs, 3 holds of as long as you can with good form.
- Day two. Slow lowerings, 3 sets of 3 reps, aiming for about 5 seconds each. Band-assisted pull-ups, 2 sets of 5.
- Day three. Inverted rows, 3 sets of 8. Active hangs, 3 sets of 5 shoulder-blade pulls.
- Day four, optional. A short mix of everything, finishing with one attempt at a full pull-up if you feel fresh.
Leave at least a day between sessions when you can, and stop each set while your form is still good. If your elbows, shoulders or wrists start to ache, take an extra rest day and scale back.

Try this
If you only remember three things from this plan, make them these.
- Hang from a bar for 20 seconds
- Do slow 5-second lowerings
- Use a resistance band for assistance
A 20-second hang is a great first milestone and a sign your grip is ready for more. Five-second lowerings are your main strength builder, so count them out loud if it helps. For band assistance, loop a large resistance band around the bar and place one knee or foot in it. The band gives you a boost at the bottom where the pull-up is hardest. As you get stronger, switch to a thinner band until you need very little help at all.
Key takeaway: You do not get a pull-up by attempting pull-ups. You get it by building the pieces, rows, hangs and slow lowerings, and practicing them often.
Where to practice
You do not need a fancy gym to train for a pull-up. Many neighborhood parks have a set of monkey bars or an outdoor fitness station with a pull-up bar. Playgrounds often work too, as long as you share the space politely and practice when kids are not using it. At home, a doorway pull-up bar is an affordable option, but follow the installation instructions carefully and check that your door frame is sturdy enough to hold your weight. For rows, a sturdy table can stand in for a bar: lie underneath, grab the edge and pull your chest up, only if the table is heavy and stable enough not to tip.
Wherever you practice, make sure you have a safe way to step up and down, such as a sturdy box or bench, and a clear landing area below the bar.
Tracking your progress
Write down your hang times, the number and speed of your lowerings, and which band you used each session. Progress can feel slow from day to day, but looking back over four or six weeks usually tells a very different story. A useful checkpoint: once you can do three slow lowerings of 8 to 10 seconds each, you are often close to your first full rep. Add it to your Stride strength plan as a monthly test, and log the result so you can see the trend.
The day it happens
One day, on a fresh morning after a rest day, you will grab the bar, pull and keep going. Your chin will clear the top, and you will probably drop down laughing. Enjoy it. Then rest, keep practicing and start working toward two. If you have a history of shoulder or elbow pain, ask a doctor or physical therapist before starting, and remember that steady, patient work wins this race every time.
General information, not medical advice. Check with your doctor before starting a new exercise or nutrition plan, especially if you have a health condition.
Written by
Maya Brooks
Maya is a certified strength coach who believes everyone should own one kettlebell and one good playlist.
20Articles
2026Writing since
Read next
StrengthStrength Training 101: The Five Moves That MatterSquat, hinge, push, pull and carry — a full-body plan in five exercises. StrengthHow to Deadlift SafelyThe king of strength exercises, step by step.
 StrengthNo Gym? The 20-Minute Home WorkoutBodyweight only, no equipment, no excuses.
 StrengthStrength Training After 50: It’s Never Too LateMuscle and bone respond to training at every age.
 StrengthKettlebells: One Tool, a Hundred WorkoutsSwings, goblet squats and carries for a full-body routine.
Start the conversation