Crochet a Granny Square (Then Make a Blanket)
The little square that turns into something big.
 Hannah Brooks6 min read

Hannah Brooks
Hannah covered state politics for twelve years before co-founding Maple & Main. She lives in the Old North End and bikes to every council meeting.


The granny square is the gateway to crochet. Learn one and you can make a blanket, a bag or a cardigan. It’s the little block that crocheters have been passing down for generations, the one you probably remember from a colorful afghan draped over a grandparent’s couch. And the best part? Once you’ve made one, you’ve learned nearly everything you need for hundreds of projects. It’s just the same few steps, repeated round after round, until something wonderful takes shape.
Here’s my step-by-step, with photos of every round. I’ll walk you through the stitches, the first round, how to grow your square, and how I join them into a cozy blanket without a single seam to sew at the end. Grab a hook and some yarn, and let’s make one together.
 Sponsored · Quilt Haven FabricsFat quarters from $3.50Thousands of prints, ships in a day.Shop fabric
What you’ll need
A granny square is a perfect beginner project because it uses very little yarn, and you can practice with scraps. For a first square, here’s what I suggest:
- Worsted-weight (medium, number 4) yarn in two or three colors
- A size H-8 (5 mm) crochet hook
- Scissors
- A tapestry needle for weaving in ends
Choose a smooth, light-colored yarn for your first try so you can clearly see each stitch. Acrylic or a wool blend works great. Fuzzy or very dark yarn makes it tricky to find where your hook should go.
The stitches you need
You only need to know three things to make a granny square: the chain, the slip stitch and the double crochet. If you’ve never held a crochet hook before, practice each on a scrap of yarn first.
Chain (ch)
Make a slipknot on your hook. Wrap the yarn over the hook from back to front, then pull it through the loop on your hook. That’s one chain. Repeat to make a row of little V shapes.
Slip stitch (sl st)
Insert your hook into a stitch, wrap the yarn over, and pull it through both the stitch and the loop on your hook in one motion. It’s used to join rounds and move across the work without adding height.
Double crochet (dc)
Wrap the yarn over your hook once, insert the hook into the stitch or space, yarn over and pull up a loop (three loops on the hook). Yarn over and pull through two loops (two remain). Yarn over and pull through the last two. That’s one double crochet, a tall stitch that grows your square quickly.
Round one
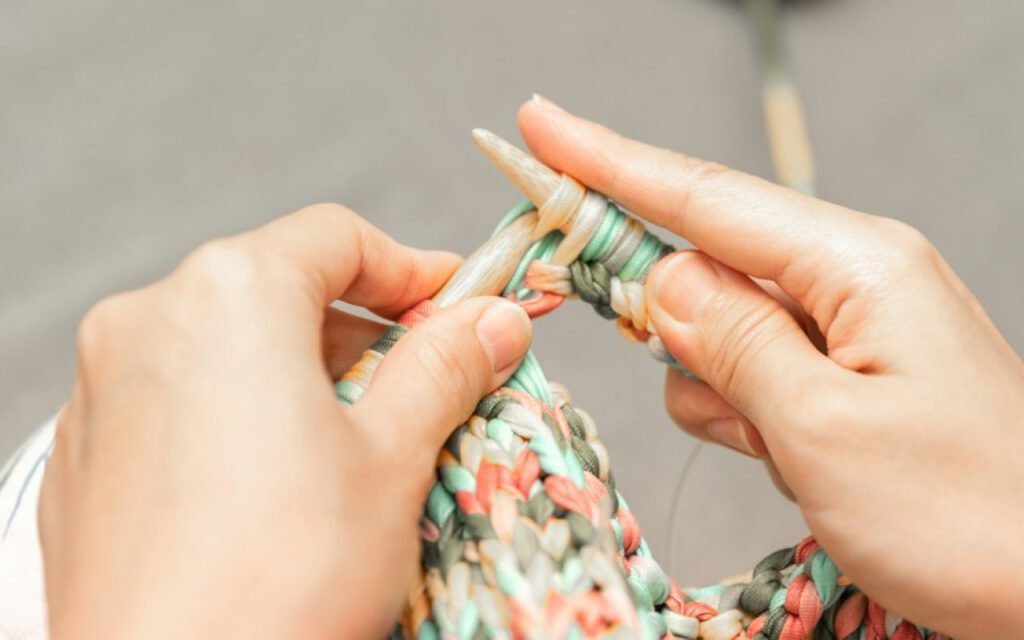
Chain four, join, then three clusters of three double crochets. That’s your center. Here’s the full round in plain English, using US crochet terms:
- Chain 4 and join with a slip stitch to the first chain to form a small ring.
- Chain 3. This counts as your first double crochet.
- Work 2 double crochets into the center of the ring. That’s your first cluster of three.
- Chain 2. This makes a corner.
- Work 3 double crochets into the ring, then chain 2. Repeat this two more times.
- Join with a slip stitch to the top of the starting chain 3.
You’ll now have four clusters of three double crochets with a chain-2 corner between each one. Look closely and you’ll see a little square already forming. Gently pull the starting yarn tail to close the center hole if you’d like it tighter.
Growing the square
Round two
Slip stitch over to the first chain-2 corner space. Chain 3, then work 2 double crochets, chain 2 and 3 double crochets all into that same corner space. Now chain 1 and move to the next corner space. In every corner, work 3 dc, ch 2, 3 dc. Between corners, chain 1. Join at the end with a slip stitch.
Round three and beyond
From here, the pattern is wonderfully simple. Each corner gets “3 dc, ch 2, 3 dc.” Each chain-1 space along the sides gets “3 dc,” with a chain 1 before and after. With every round, there’s one more cluster along each side. Keep going until your square is the size you want. Four rounds make a square about 5 inches across, perfect for a blanket.
Key takeaway: count your clusters at the end of every round. Each side should have one more cluster than the round before. If a side has too many or too few, it’s much easier to fix now than three rounds later.
Changing colors
To start a new color, finish your round, cut the old yarn, and pull it through your last loop. Then join the new color in any corner space with a slip stitch, chain 3, and carry on. Starting each round in a different corner helps hide the joins. Weave in your ends as you go; trust me, your future self will thank you.
A blanket is just a lot of small, happy squares.
Hannah
Joining squares
I join as I go: no sewing at the end, which is my least favorite part. Most blankets are made by crocheting a pile of squares and then sewing or crocheting them all together, which can feel like a mountain of finishing work. Join-as-you-go connects each new square to its neighbors during the very last round.
Here’s how it works. Make your first square completely. On the second square, work every round except the last one normally. On the final round, when you reach a corner that touches the first square, work 3 dc, then instead of chaining 2, chain 1, slip stitch into the corner space of the first square, chain 1, and continue. Along the shared side, replace each chain-1 space with a slip stitch into the matching space on the neighboring square. The squares lock together like puzzle pieces.
A couple of things help it go smoothly. Lay the finished square face up on your lap, right next to the one you’re working on, so the corners and spaces are easy to find. Line up the spaces before you start the last round and count them, so you know exactly where each slip stitch will land. And when you’re joining a square that touches two neighbors at one corner, slip stitch into the corner space where the other squares meet rather than into a single square, which keeps all four corners snug and flat.
It takes a few squares to feel natural, so practice with two before planning a big project. Once it clicks, you’ll never want to sew squares again.
Planning your blanket
A lap blanket of about 40 by 50 inches needs roughly eighty 5-inch squares, eight across and ten down. A baby blanket might be six by six. For a bed-sized blanket, plan on well over a hundred. Lay your finished squares on the floor and rearrange them until you love the color layout, then take a photo so you remember it while joining.
When all your squares are joined, finish with two or three rounds of double crochet around the entire edge for a clean border. Give it a gentle wash, lay it flat to dry, and it’s ready to wrap around someone you love.
One square at a time
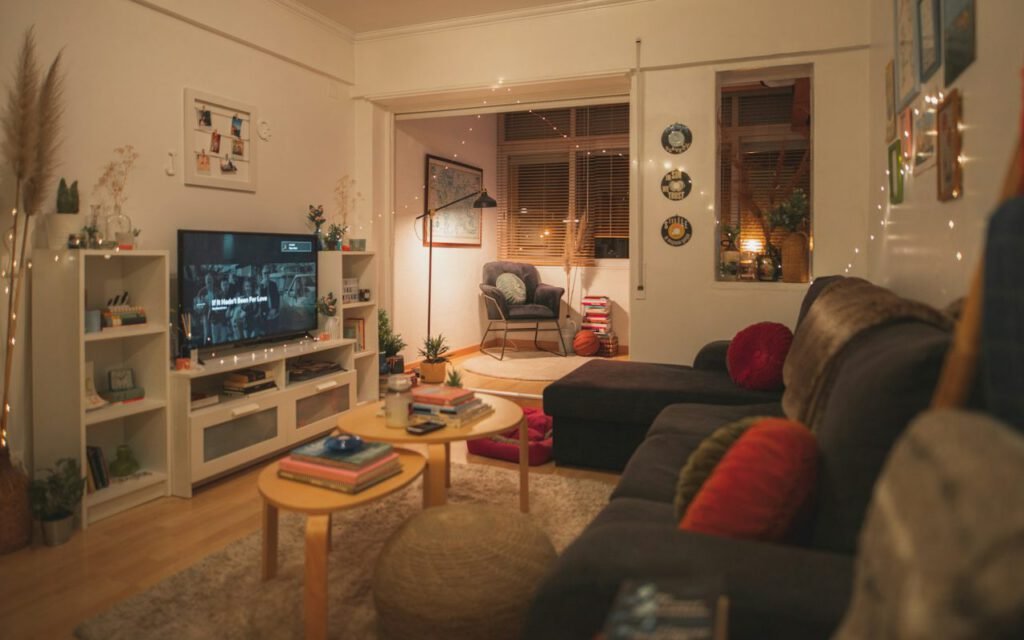
The beauty of the granny square is that it never feels overwhelming. A whole blanket sounds like a huge project, but one square takes about twenty minutes. You can make one during a TV episode, one while waiting for dinner to cook, and two on a lazy Sunday morning. Before you know it, there’s a stack of them in your basket, and then a blanket on your couch.
So start with one. Then make another. Keep a little pile going in a basket by your favorite chair. If you’d like help along the way, join one of our crochet workshops on the calendar. We’d love to see your first squares.
Hannah Brooks
Hannah covered state politics for twelve years before co-founding Maple & Main. She lives in the Old North End and bikes to every council meeting.


Start the conversation