Hiking With a Map, Not Just an App
Why we carry paper — and how we learned to read it.
 Maya Ortiz6 min read

Maya Ortiz
Maya designs websites from the passenger seat and takes most of our photos.

Our phone died halfway up a trail once. We had no paper map. It was a long, nervous walk down. The trail was well marked on the way up, but in the late afternoon light every fork looked the same, and we spent a quiet, slightly scared hour guessing at junctions and hoping the next bend would look familiar. It did, eventually. We made it to the car just before dark, and we drove to the nearest ranger station the next morning to buy our first real topographic map.
Now we carry both, and we practice using the paper one. We still love our hiking app. It is fast, it shows our blue dot and it makes planning easy. But we no longer treat it as the only thing standing between us and a bad night in the woods. This post is about why we changed, what we carry now and the handful of skills that turned a folded sheet of paper from a souvenir into a tool we actually trust.
 Sponsored · Cooler Co.Ice for five daysRotomolded coolers with a lifetime warranty.Shop coolers
Paper never runs out
No battery, no signal, no problem. That is the short version. The longer version is that phones fail in all kinds of ordinary ways on a trail. Cold weather drains batteries fast. Steep canyon walls block signals. Screens crack when you slip on a wet rock, and they become hard to read in bright sun or rain. Even when the phone works, a downloaded map can be a few years out of date, missing a reroute or a closed bridge.
A paper map has none of those weaknesses. It works at ten degrees and at a hundred. It does not care how many bars you have. It shows the whole area at once, so you can see the ridge you are on, the creek below and the road a few miles away that could get you out in an emergency. That big-picture view is something a small screen simply cannot match, and it is the reason we now plan every hike with the paper map spread across the van table the night before.
Technology is great until the battery hits zero.
Sam
What lives in our map pocket
- A waterproof topographic map of the park or area, bought locally when we can.
- A simple baseplate compass with a rotating dial.
- The park’s free trail map from the visitor center, folded to our route.
- A pencil and a zip-top bag to keep it all dry.
- A small battery bank and cable for the phone, as a backup to the backup.
Learn three basics
Find north, find where you are, find where the trail goes. That’s most of it. You do not need to be a wilderness expert to use a map well. You need to practice three simple skills until they feel natural, and you need to practice them somewhere easy before you ever need them somewhere hard.
1. Find north
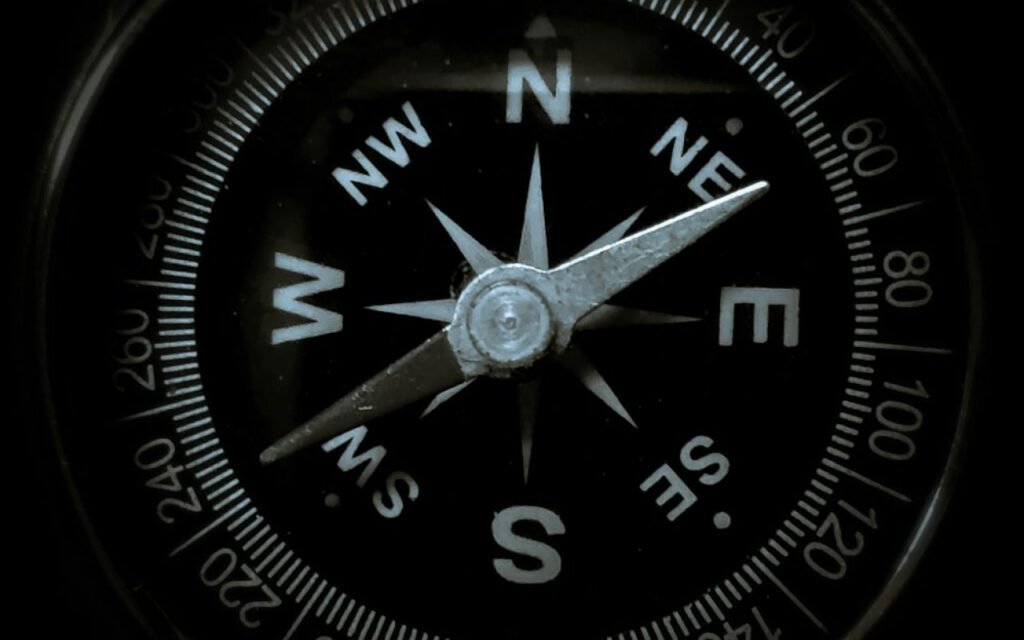
Lay the map flat and turn it until the top of the map points the same direction as the north end of your compass needle. This is called orienting the map. Once it is oriented, the world in front of you and the map in your hands line up. The lake on your left on paper is the lake on your left in real life. Most maps also note a small difference between true north and magnetic north. Your compass will point to magnetic north, and on many US maps the difference is a few degrees. For basic trail use, knowing that the difference exists and checking the map’s margin is a good start.
2. Find where you are
Look for things you can identify on both the map and the ground: a trail junction, a stream crossing, a sharp bend, a summit, a lake. We call these handrails. Every time we pass one, we touch it on the map with a finger and say it out loud. It feels a little silly, but it means we always know our last confirmed spot. If we get confused, we only have to work back to the last handrail rather than starting from nothing.
3. Find where the trail goes
Once you know where you are and which way is north, the map shows you what comes next. Are you about to climb? Look at the contour lines, which bunch up where the ground is steep. Is there a fork ahead? Check which branch heads toward your destination before you reach it. We also note a few bail-out points, like a side trail back to the road, so we have a plan if the weather turns.
How we practice before it counts
Reading a map in a calm living room and reading one while tired, cold and a little worried are very different things. So we practice on easy, popular trails where getting it wrong costs nothing. Here is our routine, and it works well for beginners.
- Before the hike, trace the route on paper and guess how long each section will take.
- At the trailhead, orient the map and point to the first landmark.
- Leave the phone in the pack for the first hour and navigate by paper only.
- At each junction, decide the turn using the map, then check the app to confirm.
- After the hike, compare your guesses with reality and note what surprised you.
The first few times, we checked the app constantly. By our tenth practice hike, we barely looked. It turned into a game, and Maya now insists on calling every junction before Sam can open his mouth.
Key takeaway: a map only helps if you know how to use it. Spend a few easy afternoons practicing, and the skill will be there when you actually need it.
Apps still have a place
We are not anti-technology. Our hiking app is wonderful for planning, for recording our routes and for that comforting blue dot on a confusing stretch. We download offline maps before every trip, keep the phone in airplane mode to save battery and carry a small power bank. The difference now is that the phone is one tool among several, not the whole plan.
We also tell someone where we are going and when we expect to be back, every single time. Many parks offer trailhead registers or backcountry permits, and we fill them out honestly. It costs nothing and gives rescuers a starting point if something goes wrong.
The walk down, revisited
We went back to that trail a year later with a map in our pocket. We walked the same route, stopped at the same confusing forks and found that, with paper in hand, they were not confusing at all. The junction that had scared us was clearly marked on the topo. We had simply had no way to see it.
That is the quiet magic of a paper map. It does not make hiking more complicated. It makes it calmer. If you only take one thing from this post, let it be this: buy the local map, learn the three basics and practice on an easy day. Your future self, standing at a fork in fading light, will thank you.
Road and park conditions change. Always check official park alerts and weather before you go.
Maya Ortiz
Maya designs websites from the passenger seat and takes most of our photos.

Start the conversation