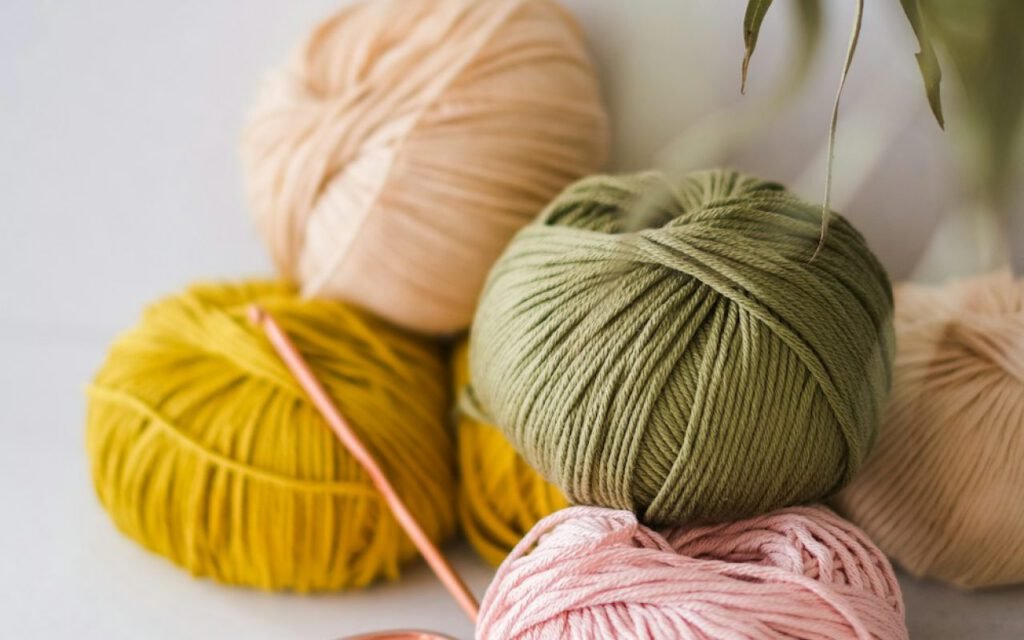
How to Pick Yarn Without Getting Overwhelmed
Fiber, weight and color — explained simply.
 Hannah Brooks6 min read
Walking into a yarn shop for the first time is dizzying. So many colors, so many words on the labels. Worsted, DK, fingering, merino, superwash, dye lot, yardage. I remember standing in front of a wall of yarn in a little shop in Madison, Wisconsin, holding three skeins in each hand and having absolutely no idea which one was right for the hat pattern in my bag. I ended up buying the prettiest one, and it was completely the wrong thickness. The hat came out the size of a mixing bowl.
Here’s how to read a label and choose well, so your first trip goes better than mine did. Once you know what to look for, the yarn shop goes from overwhelming to one of the happiest places in town.
 Sponsored · Quilt Haven FabricsFat quarters from $3.50Thousands of prints, ships in a day.Shop fabric
Start with your pattern
Before you even think about colors, look at your pattern. Almost every knitting or crochet pattern lists the yarn the designer used, how much of it you’ll need, and the gauge, which is the number of stitches and rows in a 4-inch square. That information is your shopping list. You don’t have to buy the exact yarn the designer used, but you do want something that behaves like it.
Write down three things before you leave the house: the yarn weight, the total yardage, and the needle or hook size. With those in your pocket, you can walk past nine-tenths of the shop with confidence.
Weight first
The label tells you thickness, from lace to super bulky. Match it to your pattern. In knitting, “weight” doesn’t mean how heavy a ball is; it means how thick the strand is. The yarn industry uses a simple numbered system, and most labels show a little symbol of a skein with a number on it.
- 0 Lace: very fine, used for delicate shawls.
- 1 Super fine (fingering or sock): socks, light shawls and baby clothes.
- 2 Fine (sport): light sweaters and baby items.
- 3 Light (DK): a great all-rounder for garments and accessories.
- 4 Medium (worsted or aran): the most popular weight, perfect for beginners.
- 5 Bulky (chunky): quick hats, scarves and cozy sweaters.
- 6 Super bulky and 7 Jumbo: fast blankets and very thick accessories.
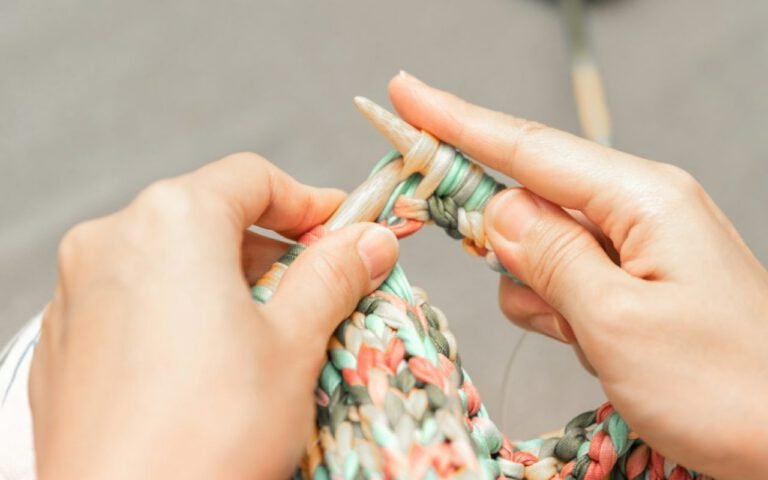
If you’re brand new, pick a medium (4) or bulky (5) yarn. Thicker yarn is easier to see, quicker to knit, and more forgiving of uneven stitches. The label will also suggest a needle or hook size; use that as your starting point.
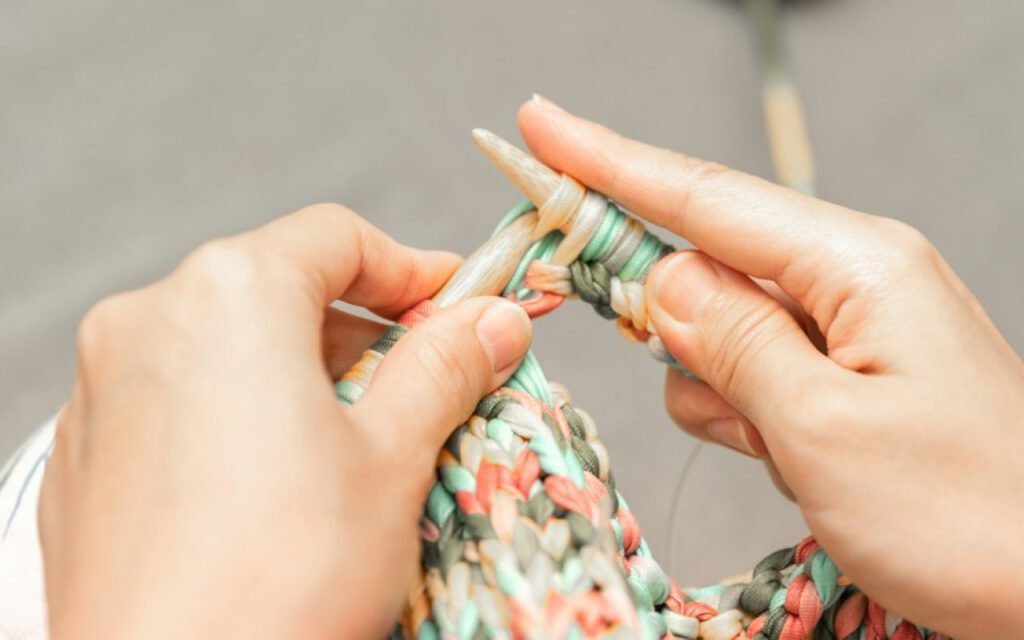
Buy one skein you love more than you need. Everyone does.
Hannah
Fiber second
Wool is warm and forgiving. Cotton is crisp and great for summer. Acrylic is easy-care and affordable. Those three cover most beginner projects, but it helps to know a little more about each, plus a couple of others you’ll see on the shelves.
Wool
Wool is springy, so it bounces back and hides uneven tension, which makes it ideal for learning. It’s warm even when damp, and it blocks beautifully. Merino is a soft, fine type of wool that most people find comfortable against their skin. Look for the word “superwash” if you want something you can put in the washing machine; regular wool can felt and shrink if it’s washed warm and agitated.
Cotton
Cotton has no stretch, so it feels a little stiffer on the needles and shows every stitch clearly. It’s breathable, absorbent and perfect for dishcloths, summer tops and market bags. It can be slightly harder on the hands, so take breaks.
Acrylic and blends
Acrylic is a synthetic fiber that’s affordable, comes in every color imaginable and is easy to wash and dry. It’s a great choice for baby blankets, kids’ hats and anything that will see a lot of laundry. Wool-acrylic blends give you some of the warmth and spring of wool with the easy care of acrylic. They’re one of my favorite beginner picks.
You’ll also see alpaca, which is very soft and very warm, and linen or bamboo, which drape nicely for summer garments. Save those for your second or third project, once you know how your hands like to work.
Reading the rest of the label
Beyond weight and fiber, the label holds a few more pieces of useful information. Here’s what to look for:
- Yardage: how many yards are in the skein. Divide your pattern’s total yardage by this number and round up to find how many skeins to buy.
- Dye lot: a number showing which batch the yarn was dyed in. Buy all your skeins from the same dye lot so the color matches perfectly.
- Gauge: the suggested stitches per 4 inches with the recommended needle size.
- Care instructions: little symbols for washing and drying. Snap a photo of the label or keep it with your project.
Key takeaway: always buy one extra skein from the same dye lot. Running out halfway through a sweater and discovering the shop no longer has your dye lot is a heartbreak you can easily avoid. Many shops will let you return an unused skein with the receipt.

Then, color
Now for the fun part. With your weight and fiber picked, let yourself wander toward the colors. A few tips from my years of happy yarn shopping:
For a first project, choose a medium, solid color. Very dark shades make stitches hard to see, and variegated (multicolored) yarn can hide your stitches and make it tough to spot mistakes. Hold the skein up to your face in natural light by the shop window, especially if you’re making something to wear. Store lighting can change how a color looks.
If you’re working with more than one color, place the skeins side by side and take a black-and-white photo with your phone. If they all look the same shade of gray, they may blend together more than you expect. A mix of light, medium and dark shades usually looks best.
Swatch before you commit
Here’s the step most beginners skip and most experienced knitters swear by: knit a small swatch before you start the real project. Cast on enough stitches to make a square a little bigger than 4 inches, knit for about 5 inches, then wash and dry it the same way you’ll treat the finished piece. Lay it flat and count how many stitches fit in 4 inches.
If you have more stitches than the pattern calls for, your knitting is tight, so switch to a larger needle. If you have fewer, go down a size. It feels like a detour, but twenty minutes of swatching can save you from a sweater that fits a toddler or a hat that slides over your eyes. A swatch also tells you whether you actually like how the yarn feels and looks once it’s knit up, which isn’t always what you’d expect from the skein. Some yarns that look plain in the ball turn gorgeous in stitches, and some dazzling ones turn out a bit flat.
Keep your swatches, too. Pin the label to each one and store them in a box. Over time you’ll build your own little library of yarns you’ve tried.
Enjoy the hunt
Picking yarn gets easier every time. After a few projects, you’ll know how a DK merino feels on your needles and when a cotton blend is just right. You’ll start recognizing your favorite colors from across the shop. And yes, you’ll come home with that one skein you love more than you need. We all have a basket of them.
If you’re still not sure, take our “what should you make next?” quiz on the blog. It suggests a beginner project and the yarn weight to go with it, so you can walk into the shop with a plan and walk out with a smile.

Hannah Brooks
Hannah covered state politics for twelve years before co-founding Maple & Main. She lives in the Old North End and bikes to every council meeting.


Start the conversation