How to Transfer an Embroidery Pattern
Window tracing, water-soluble pens and stick-on paper.
 Hannah Brooks6 min read

Hannah Brooks
Hannah covered state politics for twelve years before co-founding Maple & Main. She lives in the Old North End and bikes to every council meeting.

Getting the design onto fabric is the step most beginners worry about. I hear it in every workshop. Someone has picked out a gorgeous pattern, bought the perfect floss, and set up their hoop, and then they freeze. How do you get those lines from paper onto cloth without smudging, without permanent marks, and without it looking wobbly? It feels like the one step where you could ruin everything before you’ve even made a stitch.
Here are three easy methods, from cheapest to most convenient. I use all three, depending on the fabric and the project. Once you know them, you’ll be able to transfer just about any design onto just about any fabric, and you can get back to the fun part: stitching.
 Sponsored · Quilt Haven FabricsFat quarters from $3.50Thousands of prints, ships in a day.Shop fabric
Before you start
No matter which method you choose, a few simple steps make transferring easier and give you cleaner results.
- Prewash your fabric if it’s a garment or something you’ll launder later, so it won’t shrink after you stitch.
- Press it flat. Wrinkles distort your lines.
- Print the pattern at the right size. Check that it fits inside your hoop with at least an inch to spare on every side.
- Center it. Fold your fabric in quarters and lightly crease it to find the middle, then fold the pattern the same way and line up the creases.
- Test your pen or pencil on a scrap of the same fabric first, to make sure it washes out.
That last tip is the one people skip, and it’s the one that saves projects. Some fabrics, especially those with finishes or sizing, hold onto marks more stubbornly than others.
Resizing a pattern
Sometimes a pattern you love is designed for a 4-inch hoop and you want it bigger, or it’s meant for a pillow and you want it on a pocket. Most home printers let you scale a page up or down in the print settings; try 125 percent to go from a 5-inch to roughly a 6-inch design. Keep in mind that shrinking a pattern a lot can crowd the details together, so tiny lettering may turn into a tangle. When in doubt, print a test page and hold your hoop over it before you commit. It’s much easier to reprint a sheet of paper than to unpick an afternoon of stitches that don’t quite fit.
Window tracing
Tape the pattern and fabric to a sunny window and trace. Free and surprisingly good. This is the oldest trick in the book, and it’s still one of my favorites.
- On a bright day, tape your printed pattern to a window with painter’s tape.
- Center your fabric over it, right side facing you, and tape it down smoothly.
- Trace the lines with a water-soluble fabric pen or a sharp pencil.
- Peel everything off and place your fabric in the hoop.
It works best with light-colored, thin fabrics like cotton, linen or muslin. If the light isn’t strong enough, wait for a sunnier time of day or try a different window. In the evening, a tablet screen turned to full brightness with a blank white page works as a mini light box. Lay it flat, place the pattern and fabric on top, and trace gently so you don’t press too hard on the screen.
Choosing a marking tool
Water-soluble pens are my everyday choice: blue ink that disappears with a damp cloth or a quick rinse. Heat-erasable pens vanish with a warm iron, though on some fabrics they can leave faint ghost lines in cold weather. A regular mechanical pencil works well too, though graphite can smudge on light fabric, so trace lightly. Avoid ordinary ballpoint or felt-tip pens completely; they’re permanent.

The best method is the one that gets you stitching today.
Hannah
Carbon transfer paper
The window method doesn’t work well with thick or dark fabric, because you can’t see the pattern through it. That’s where dressmaker’s carbon paper comes in. It’s an inexpensive sheet coated with a chalky or waxy color that transfers when you press on it.
Lay your fabric flat on a hard surface, right side up. Place the carbon sheet on top, colored side down, then lay your pattern on top of that. Tape the edges so nothing shifts. Trace over the pattern lines with a ballpoint pen that has run out of ink, a stylus or a sharp pencil, pressing firmly. Lift one corner every so often to check that the lines are coming through clearly.
Carbon paper comes in several colors, so you can choose white or yellow for dark fabrics and blue or red for light ones. Look for the kind labeled washable or for fabric. Some craft carbons are hard to remove, so test it first. It’s my go-to for denim jackets and tote bags.
Key takeaway: press firmly but evenly. Light pressure gives you faint, broken lines, and uneven pressure gives you lines that are dark in some spots and invisible in others.
Stick-and-stitch paper
Print, stick, stitch, then rinse it away. Perfect for dark fabric. This is the most convenient method of all, and it has completely changed how I embroider clothing and fabrics with texture.
Stick-and-stitch paper, sometimes called water-soluble stabilizer, is a thin sheet that you can print or draw on. It has a sticky back, like a sticker. Here’s how to use it:
- Print your pattern directly onto the paper using a home inkjet printer, or trace it by hand.
- Cut around the design, leaving a little margin.
- Peel off the backing and smooth it onto your fabric.
- Hoop the fabric and stitch right through the paper, following the lines.
- When you’re done, soak the piece in lukewarm water. The paper dissolves completely.
It works on dark fabric, fuzzy fabric, stretchy knits and even towels. The stabilizer also gives thin or stretchy fabric some extra body, so your stitches lie smoother. The only downsides are the cost, since it’s more expensive than the other two methods, and the soak at the end, which means you can’t use it on fabric that shouldn’t get wet.
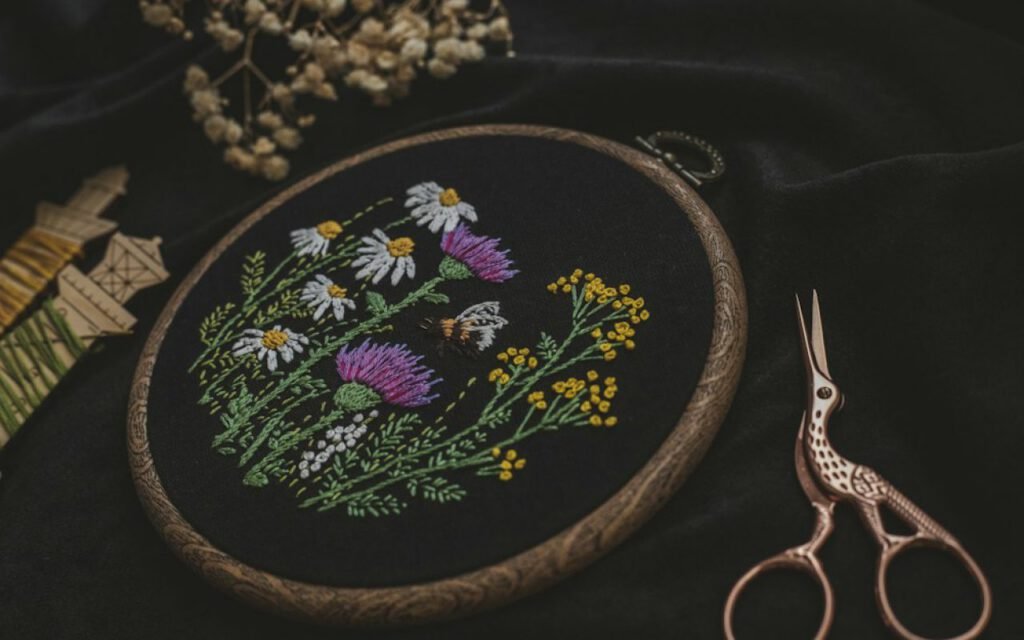
Which method should you use?
Here’s my quick cheat sheet, based on the fabric in front of you:
- Light cotton or linen: window tracing with a water-soluble pen.
- Thick fabric like canvas or denim: carbon transfer paper.
- Dark fabric: white carbon paper or stick-and-stitch paper.
- Towels, sweaters or stretchy knits: stick-and-stitch paper, every time.
- A finished garment you can’t easily lay flat: stick-and-stitch paper.
Cleaning up
When your stitching is finished, remove any visible lines before framing. For water-soluble pen, dab gently with a damp cotton swab or rinse the whole piece in cool water. Avoid ironing over water-soluble pen lines before rinsing; heat can set them. For pencil, a gentle wash with mild soap usually does the trick. Let everything dry flat on a towel, then press from the back.
Just get started
Transferring a pattern isn’t a test, and there’s no single right way to do it. Pick the method that suits your fabric and the supplies you already have. If a line comes out a little crooked, you can adjust it as you stitch. Embroidery is forgiving, and your needle has the final say.
All our free patterns on the blog are designed to print on standard letter-size paper and fit inside a 6-inch hoop, so you can try any of these methods right away. Pick one, trace it, and start stitching tonight.
Hannah Brooks
Hannah covered state politics for twelve years before co-founding Maple & Main. She lives in the Old North End and bikes to every council meeting.


Start the conversation