Fixing Mistakes: Dropped Stitches, Holes and Tangles
Every knitting disaster has a fix. Here are mine.
 Hannah Brooks6 min read

Hannah Brooks
Hannah covered state politics for twelve years before co-founding Maple & Main. She lives in the Old North End and bikes to every council meeting.
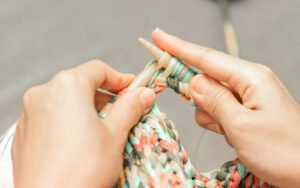

I have dropped stitches, knit holes and tangled whole skeins into knots that looked like modern art. Once, on a long road trip through Colorado, I pulled a stitch too hard while the car hit a bump and watched a ladder run six inches down the front of a sweater I’d spent three months on. Another time, my cat got into my yarn basket while I was at work and turned two balls of merino into a single furry nest. I’ve ripped out entire sleeves, re-knit collars and stared at mystery holes with no idea how they got there.
Every one of them was fixable. That’s the most important thing I want new knitters to know. Mistakes are a normal, everyday part of knitting, even for people who’ve been doing it for fifty years. The difference between a beginner and an expert isn’t that experts don’t make mistakes. It’s that they know how to fix them. Here are the fixes I use most often.
 Sponsored · Quilt Haven FabricsFat quarters from $3.50Thousands of prints, ships in a day.Shop fabric
Your fixing kit
A few small tools make almost every repair faster and calmer. I keep these in a zipper pouch in my knitting bag:
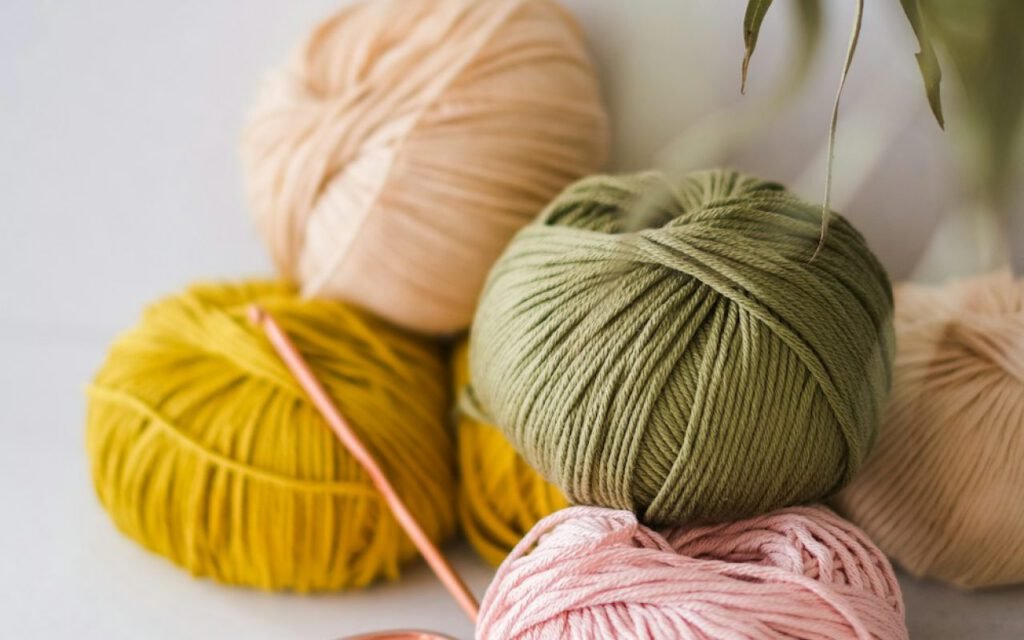
- A crochet hook slightly smaller than your knitting needles
- Locking stitch markers (the kind that open and close like little safety pins)
- A tapestry needle
- A length of smooth scrap yarn in a contrasting color
- Small scissors
- A spare circular needle a size or two smaller than your project needles
Locking stitch markers are especially useful. The moment you see a dropped stitch, clip a marker onto the loose loop. It stops the stitch from running any further while you figure out what to do.
The dropped stitch
A crochet hook can climb a dropped stitch back up the ladder in seconds. When a stitch falls off your needle, it unravels downward, leaving a little loop at the bottom and a series of horizontal strands above it. Those strands look like the rungs of a ladder, which is why knitters call it a ladder.
Fixing it on the knit side
- Work across your row until you reach the column where the stitch dropped.
- Insert your crochet hook into the loose loop from front to back.
- Catch the lowest ladder rung with the hook and pull it through the loop.
- Repeat, climbing up one rung at a time, until you reach the top.
- Place the final loop back on your left needle, making sure it’s not twisted, and knit on.
On the purl side, the method is the same, but you’ll hook from back to front. Many knitters simply turn the work around and fix it from the knit side, which is easier.
Key takeaway: check that the stitch sits on the needle the same way as its neighbors, with the right leg in front. A twisted stitch looks slightly crossed and tight.
Mistakes are just stitches you haven’t fixed yet.
Hannah
Mystery holes
Sometimes you’ll notice a small hole in your fabric that wasn’t supposed to be there. Most of the time, it’s an accidental yarn over. That happens when the yarn wraps over the needle by mistake, usually when you move it from the back to the front between stitches. It adds an extra stitch and leaves a little eyelet behind.
If you catch it on the very next row, simply drop the extra loop off your needle when you reach it. The hole will mostly close up. If you find it many rows later, you have two options. You can drop the stitch above it down to the hole, then fix it with your crochet hook, skipping the extra strand. Or, if the hole is small, leave it and close it later by weaving a strand of matching yarn around it with a tapestry needle on the back of the work. Nobody will ever know.
Holes can also appear where you switched colors or where two stitches pulled apart. A few small duplicate stitches on the back with matching yarn will close those right up.
Lifelines
Thread a piece of scrap yarn through a row every few inches. If you mess up, rip back to it. A lifeline is the best insurance policy in knitting, and it costs nothing.
To add one, thread your tapestry needle with smooth scrap yarn in a contrasting color. Slide it through every stitch on your needle, right alongside the needle itself, without catching the stitch markers. Leave long tails on each side. Then keep knitting as usual. The lifeline sits quietly in that row, holding every stitch in place.
If you discover a big mistake a few inches later, slide your stitches off the needle and gently pull out the yarn. It will unravel down to the lifeline and stop. Then slide your needle back through those held stitches, and you’re back on track. When the project is finished, simply pull the lifeline out.
One handy trick: many interchangeable circular needles have a tiny hole near the cable join. Thread your scrap yarn through that hole, knit a row as usual, and the needle pulls the lifeline through every stitch for you. It’s faster than threading by hand, and it’s especially nice on long rows like the body of a sweater or the edge of a blanket.
I add a lifeline every 3 to 4 inches on lace or cables, and before any tricky section of a pattern. It takes two minutes and has saved me countless hours.
Tangles and knots
Tangles are frustrating, but they almost always come undone with patience. The worst thing you can do is pull hard. That only tightens the knots.
Here’s my calm approach. Find a well-lit spot and loosen the whole mess gently, spreading it open with your fingers. Find one end of the yarn and slowly work it through the tangle, winding a new ball as you go. Use a knitting needle or crochet hook to loosen tight spots. When you hit a snarl, stop and open it up again rather than tugging. Put on music or a podcast; this is a slow job.
To prevent tangles in the first place, wind hanks into balls or cakes before you knit, keep your working yarn in a bowl or bag at your feet, and store yarn away from curious pets. My cat taught me that one the hard way.
When to cut
Sometimes a knot is simply too tight, or a tangle has gone on for an hour. It’s perfectly okay to cut it out. Join the new end where you need it, using a weaver’s knot or by overlapping a few inches of yarn and knitting with both strands for a few stitches. Weave in the ends later. Your project won’t mind.

Keep calm and knit on
When you first learn to fix your knitting, something magical happens. Mistakes stop being scary. Instead of panicking at a dropped stitch, you’ll clip on a marker, grab your hook and have it sorted in thirty seconds. That confidence makes knitting so much more relaxing.
So the next time a stitch runs or a hole appears, take a breath. Grab your fixing kit, follow the steps, and remind yourself that every expert knitter has been exactly where you are. If you’re stuck, bring your project to one of our workshops. We’ll fix it together.
Hannah Brooks
Hannah covered state politics for twelve years before co-founding Maple & Main. She lives in the Old North End and bikes to every council meeting.


2 Comments
Thanks for explaining this so clearly.
Great reporting — please keep following this story.