Framing Your Embroidery in the Hoop
The neat back, the felt circle and the hanging loop.
 Hannah Brooks6 min read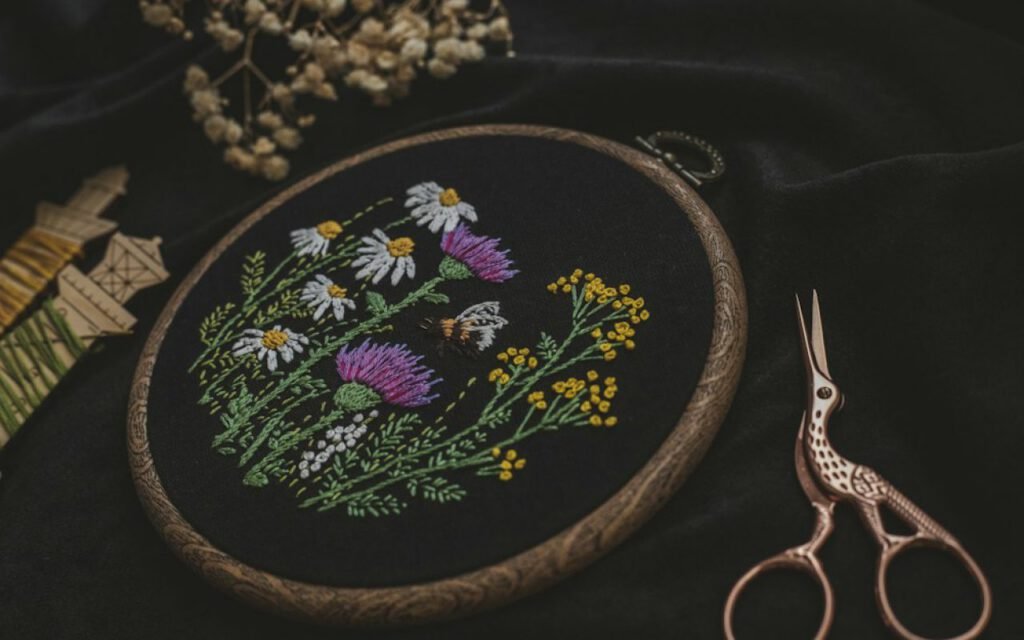

Hannah Brooks
Hannah covered state politics for twelve years before co-founding Maple & Main. She lives in the Old North End and bikes to every council meeting.

A finished hoop makes a lovely gift — if the back looks as nice as the front. I learned that the hard way when I handed a friend a wildflower hoop I had spent three weeks stitching, and she flipped it over to reveal a tangle of knots, trailing floss and raw fabric edges sticking out like a frayed collar. She loved it anyway, but I went home determined to finish every hoop properly from then on.
Here’s how I finish every hoop in about twenty minutes. It is a simple method that needs nothing more than the supplies already on your craft table, and it turns a work-in-progress into something you can wrap, hang or sell at a craft fair with total confidence. Grab your finished piece and let’s get it ready for the wall.
 Sponsored · Quilt Haven FabricsFat quarters from $3.50Thousands of prints, ships in a day.Shop fabric
Before you start
Finishing begins before you put the hoop away for the last time. Take a slow look at the front of your work under good light. Are there any stray pencil or water-soluble pen marks to remove? Any stitches that need a final tidy? This is the moment to fix them, because once the back is closed up, it is far harder to go back in.
If your fabric has visible hoop creases or marks from handling, you can remove the piece and give it a gentle press from the back on a fluffy towel, which protects the texture of your stitches. Then put it back in the hoop, centering the design carefully and tightening the screw until the fabric is drum-tight. Pull the fabric evenly from all sides as you tighten so the weave stays straight. A wonky grain line is one of the most common reasons a finished hoop looks slightly off.
Here is what you will need for the rest of the process:
- Your stitched piece, mounted in its final hoop
- Sharp fabric scissors
- A needle and strong thread in a color close to your fabric
- A piece of felt a little larger than the hoop
- Craft glue or a glue gun (optional)
- A pencil or chalk pencil
- Ribbon or twine for a hanging loop
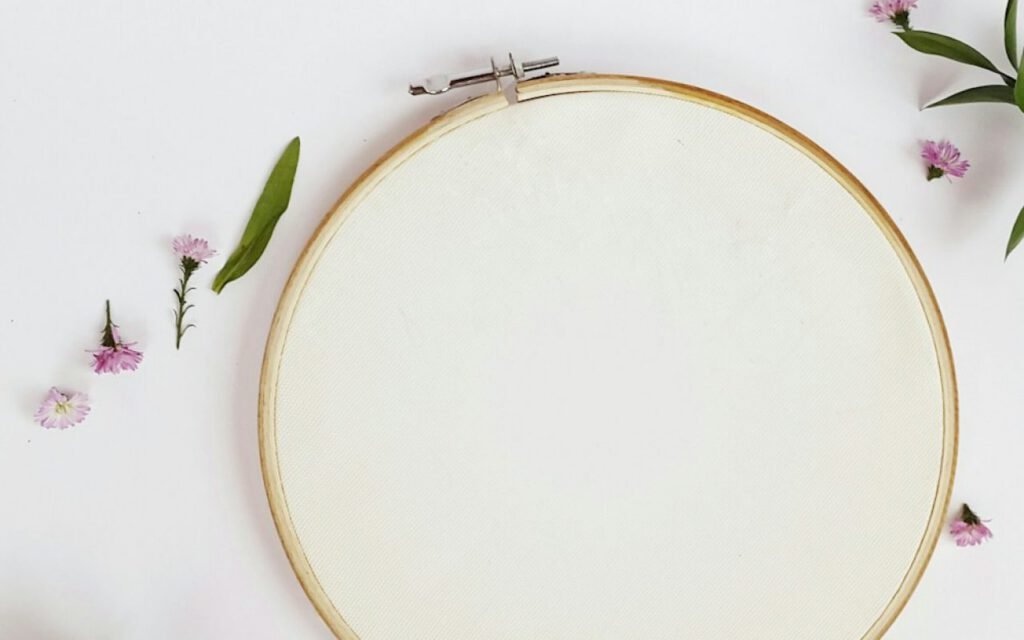
Gather the fabric
Turn the hoop over and trim the excess fabric to leave a margin of about one to one and a half inches all the way around. Too little, and you will struggle to gather it; too much, and you will end up with a bulky lump at the back.
Run a running stitch around the edge and pull it tight like a drawstring. I use a doubled length of strong thread and stitch about a half inch in from the cut edge, taking stitches roughly a quarter inch long. When you have gone all the way around, gently pull both thread ends. The fabric will gather neatly toward the middle of the hoop and hug the inner ring.
Tips for a smooth gather
Pull slowly and work the gathers evenly around the circle with your fingers as you go. If one side bunches more than another, ease the folds around before tying off. Once you are happy, tie a secure knot and trim the tails. For larger hoops, I sometimes add a second round of lacing straight across the back, zigzagging from one side of the gathered edge to the other, which keeps everything firmly in place.
Some stitchers prefer to glue the excess fabric to the inner ring instead. That works well for very thin fabrics, but I find the drawstring method easier to undo if I ever want to wash the piece or change the frame.
Finishing well is how a project becomes a gift.
Hannah
Felt on the back
Glue or stitch a felt circle over the back. Neat, soft and ready to hang. This is the step that makes people gasp a little when they turn your hoop over, because it looks so polished.
- Lay the hoop on your felt and trace around the outside edge of the inner ring with a pencil or chalk.
- Cut out the circle just inside your line, so it sits snugly within the hoop rather than overlapping the wood.
- Position the felt over the gathered fabric and hold it in place with a couple of pins.
- Whip stitch around the edge, catching the felt and the gathered fabric beneath it with each stitch. Keep your stitches small and evenly spaced.
- If you prefer glue, run a thin bead around the gathered fabric only, never on the back of your embroidery, and press the felt down firmly.
Stitching takes a little longer than gluing, but I find it more forgiving and easier to repair later. If you are making a gift for a little one or a piece that might get handled often, stitching is definitely the sturdier choice.
Feeling extra fancy? Embroider your initials and the year in the corner of the felt before you attach it. It is a small detail that turns a decoration into a keepsake, and future you will love knowing exactly when each piece was made.
Adding a hanging loop
Most embroidery hoops have a little screw at the top, which is handy for hanging. The simplest option is to loop a length of ribbon or baker’s twine through the screw hardware and tie a bow. Choose a ribbon that picks up one of the colors in your design, and the whole piece instantly feels coordinated.
If you would rather hide the hardware, you can wrap the outer ring with a strip of fabric or ribbon before you mount your piece, then add a loop at the top. Washi tape wrapped around the outer ring is another quick, cheerful look, especially for children’s rooms or seasonal decorations.
For a gallery wall, I like to hang hoops of different sizes at slightly different heights using small removable hooks. A cluster of three or five hoops in a matching color story looks wonderful above a bed or a reading chair, and it is a lovely way to show off a season’s worth of stitching.
Caring for finished hoops
Embroidery lasts for decades if you treat it kindly. Keep finished hoops out of strong direct sunlight, which can fade floss over time. Dust them occasionally with a soft, clean makeup brush, and avoid hanging them in steamy bathrooms or right above the stove.
Key takeaway: taking twenty extra minutes to gather the fabric, add felt and tie on a loop makes your work look professional and keeps it protected for years.
If you are giving a hoop as a gift, tuck a small note inside the wrapping with simple care instructions. It is a thoughtful touch, and it lets the recipient know you put just as much care into the finishing as into the stitching itself.
Your next hoop
Once you have finished one hoop this way, you will never want to leave a raw back again. It quickly becomes part of the rhythm of every project: stitch, press, gather, felt, loop, done. I keep a little stack of precut felt circles in my most-used hoop sizes so the last step feels effortless.
If you are looking for something new to stitch, take a peek at the free patterns on the blog, or try the quiz to see which project suits your mood this week. And if you finish a hoop using this method, I would love to see both the front and the back. Share it in the comments, and happy stitching.
Hannah Brooks
Hannah covered state politics for twelve years before co-founding Maple & Main. She lives in the Old North End and bikes to every council meeting.

Start the conversation