
The Two-Bucket Wash, Explained
The cheapest way to avoid swirl marks.
 Andre Lewis6 min read
Andre Lewis
Andre has detailed Miami cars since 2016.


Most swirl marks come from washing, not from driving. That surprises a lot of people. They assume the fine circular scratches they see on their paint in direct sunlight come from road debris or parking lots. Some do. But the vast majority come from the same well-meaning routine many drivers follow every weekend: one bucket of soapy water, one sponge or mitt, and a lot of scrubbing. Each pass drags tiny bits of grit across the paint, and over months and years, those tiny scratches add up to a dull, hazy finish.
Two buckets fix that. The two-bucket wash is the simplest and cheapest technique in car care, and it is the one we teach every client at Shine Lab Detailing who wants to wash their own car. You do not need expensive tools or a professional setup. You need two buckets, a good mitt and a few habits. Here is how it works.
Why one bucket causes swirls
Imagine washing the lower door of your car with a mitt. That mitt picks up road grime, sand and brake dust. Now you dip it back into your single bucket. Some of that grit comes off into the water, but much of it stays in the mitt or settles into the water you are about to use again. The next time you load the mitt and move to the hood, you are rubbing that grit across your cleanest, most visible panel.
Every one of those particles acts like fine sandpaper. One pass will not ruin your paint. Hundreds of passes over dozens of washes will. That is how a new car ends up looking tired after a couple of years, even if it has never been in an accident.
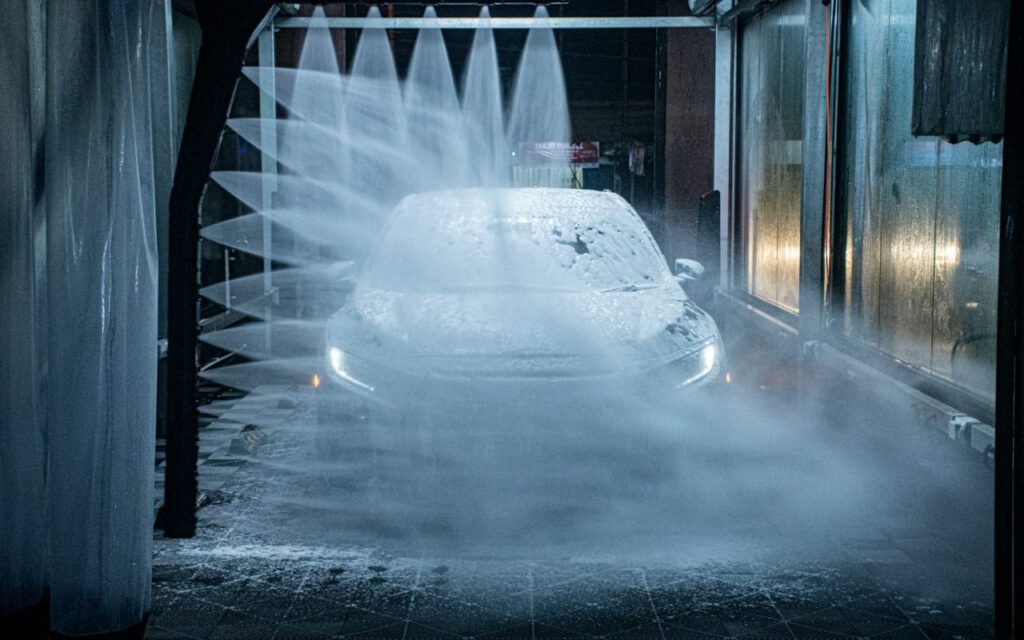
Automatic car washes with spinning brushes can cause the same problem on a larger scale, since the brushes clean car after car. Touchless washes are gentler, but they often struggle to remove bonded grime. A careful hand wash remains the safest option for your paint.
One soap, one rinse
Dip the mitt in soap, wash one panel, rinse it in the clean bucket, repeat. That is the entire idea. One bucket holds your soapy wash solution. The other holds plain, clean water. After each panel, you rinse the dirty mitt in the plain water bucket first, wringing it out and agitating it to release the grit. Only then do you dip it back into the soap.
The result is simple: your soap bucket stays much cleaner, and the mitt that touches your paint carries far less grit with every pass.
What you need
- Two buckets, ideally labeled “wash” and “rinse” so you never mix them up
- Grit guards for the bottom of each bucket, which trap debris below the water line
- A pH-balanced car shampoo, never household detergent
- A soft microfiber or lambswool wash mitt
- A separate brush and mitt for wheels and tires
- Several clean, plush microfiber drying towels
- A hose with a spray nozzle, or a pressure washer on a gentle setting
Grit guards are optional but worth it. They sit at the bottom of the bucket and let dirt fall below them, so when you dip your mitt, it does not stir the grit back up. They are inexpensive and last for years.
Never use a dish sponge. Ever.
Mia, detailing specialist
Mia handles many of our maintenance washes and client training sessions, and she has seen what kitchen sponges and dish soap do to paint. Sponges have a flat surface that traps grit against the paint instead of pulling it away, and dish soap is designed to cut grease, which means it can also strip wax and sealants from your car. A soft mitt with deep fibers lifts dirt up and away, and a dedicated car shampoo cleans without removing your protection.
Top down
Roof first, rockers last, so the dirtiest parts go at the end. The order you wash matters almost as much as the buckets. The top of your car is usually the cleanest. The lower panels, behind the wheels and along the rocker panels under the doors, collect the most road grime and grit. If you start low and move up, you will carry that heavy dirt onto the upper panels.
The full two-bucket method, step by step
- Park in the shade. Make sure the paint is cool to the touch. Hot paint dries soap and causes spots.
- Clean the wheels first. Use a separate bucket or brush, since wheels are the dirtiest part of the car.
- Rinse the whole car. A thorough rinse from top to bottom removes loose dirt before you touch the paint.
- Fill your buckets. Soap and water in one, plain water in the other, grit guards in both.
- Wash the roof. Use straight, gentle lines rather than circles. Light pressure only.
- Rinse the mitt. Swish it in the rinse bucket and rub it against the grit guard. Wring it out.
- Reload with soap. Dip it in the wash bucket and move to the next panel.
- Work down the car. Glass, hood, trunk, upper doors, then lower doors, bumpers and rockers last.
- Rinse again. Rinse each section before soap dries, especially on warm days.
- Dry gently. Lay a microfiber towel flat and pat or drag it lightly. Do not scrub.
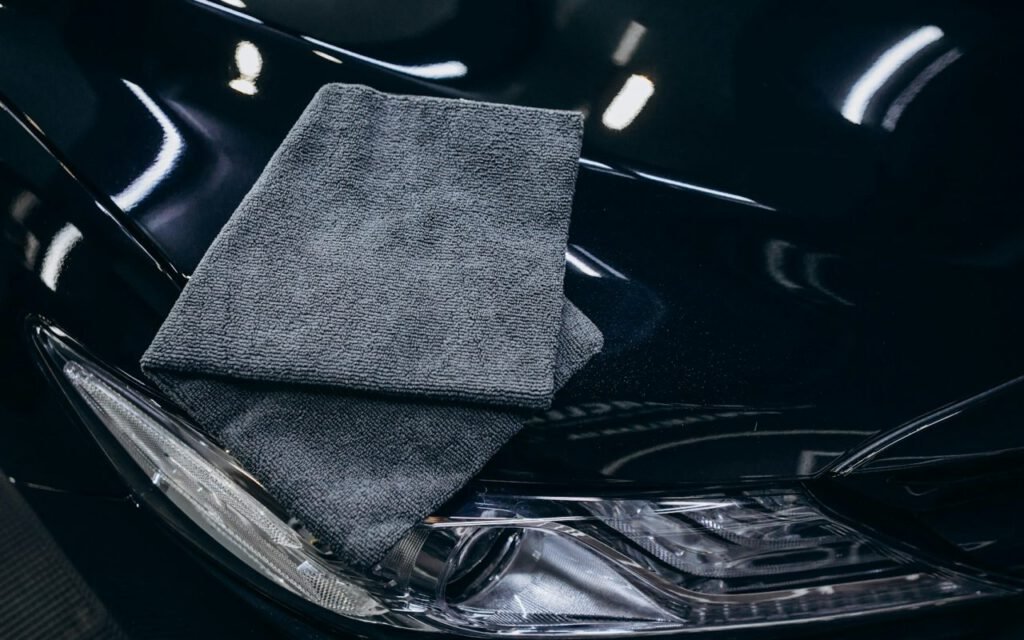
If the rinse water in your second bucket gets very dirty partway through, dump it and refill. Fresh water is cheap. Paint correction is not.
Common mistakes to avoid
Even with two buckets, a few habits can still cause swirls. Watch out for these:
- Dropping your mitt on the ground and using it again without a deep clean
- Pressing hard on stubborn spots instead of letting the soap work
- Using the same mitt on wheels and paint
- Drying with an old bath towel or a chamois that has collected grit
- Washing in direct afternoon sun
Water quality matters, too. In many parts of the country, tap water is hard, which means it carries minerals that leave spots when it dries. If you notice white rings after washing, work in smaller sections, rinse often and dry each panel right away. Some owners use a simple inline water filter on the hose for the final rinse. It is an inexpensive upgrade that saves a lot of buffing later, especially on dark paint that shows every mark.
If your mitt does touch the ground, swap it for a spare. Keep two or three in your kit for exactly this reason. And wash your microfiber towels separately from household laundry, without fabric softener, which clogs the fibers.
Key takeaway: One bucket for soap, one for rinsing, and work from the roof down. That small change prevents most of the swirl marks people blame on driving.
The cheapest way to avoid swirl marks
The two-bucket wash will not fix swirls that are already there. Once paint has fine scratches, only polishing can level them. But it will stop you from adding new ones, and that is the most important thing you can do for your car’s finish at home.
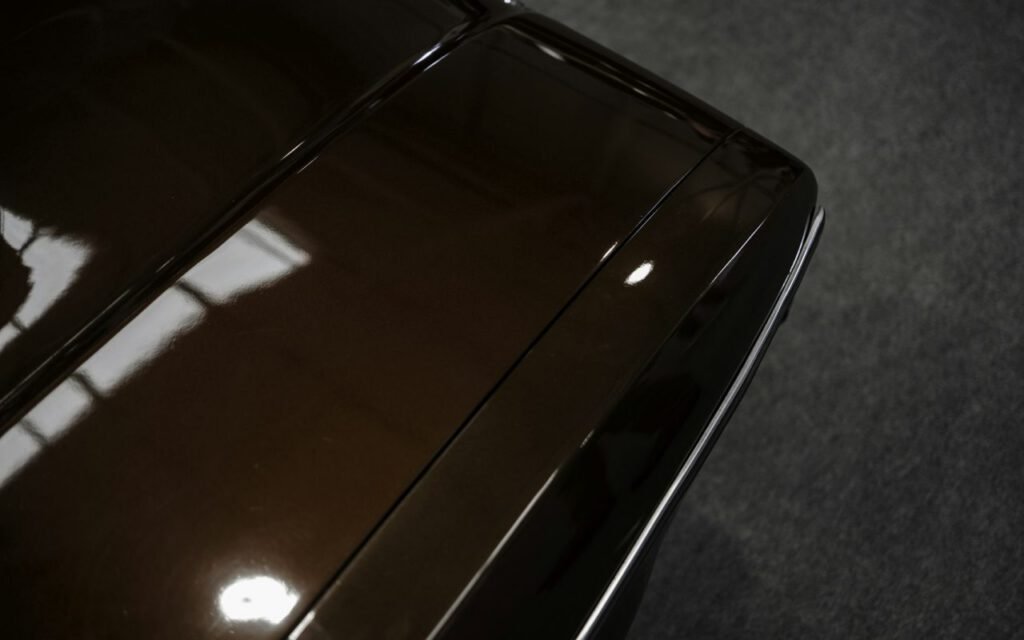
If your paint already looks hazy or swirled, Shine Lab Detailing can help with paint correction to restore the gloss, then show you how to keep it that way. Bring your questions, or book one of our hands-on wash lessons. Two buckets, a good mitt and the right order. It really is that simple.

Start the conversation