Paint Correction: Why Your Car Looks Hazy
Swirls, oxidation and a little polishing magic.
 Andre Lewis6 min read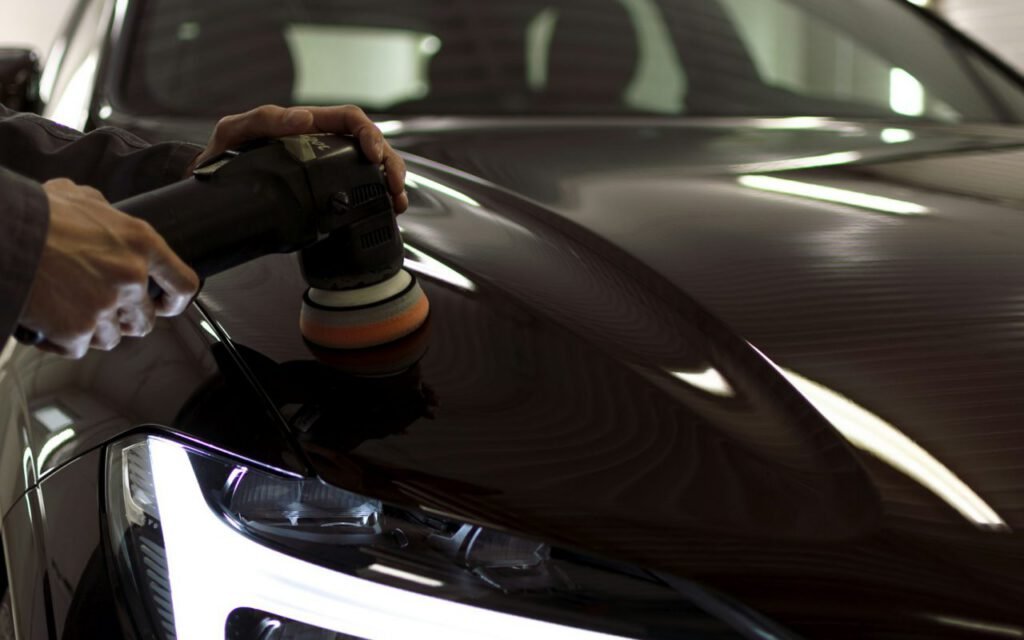
If your car looks dull in the sun, it is probably not dirty. It is scratched. You can wash it, dry it and even wax it, and it still looks flat, as if someone laid a thin sheet of wax paper over the color. Under a gas station canopy light or in bright afternoon sun, you might see fine circular lines spiraling around each reflection. That is not grime. Those are thousands of tiny scratches in the clear coat, and no amount of washing will make them go away.
Paint correction levels those tiny scratches. It is one of the most transformative services we offer at Shine Lab Detailing, and also one of the least understood. In this guide, we explain why paint loses its shine, how correction works, how many steps your car might need and why we measure before we ever turn on a polisher.
Why paint goes hazy
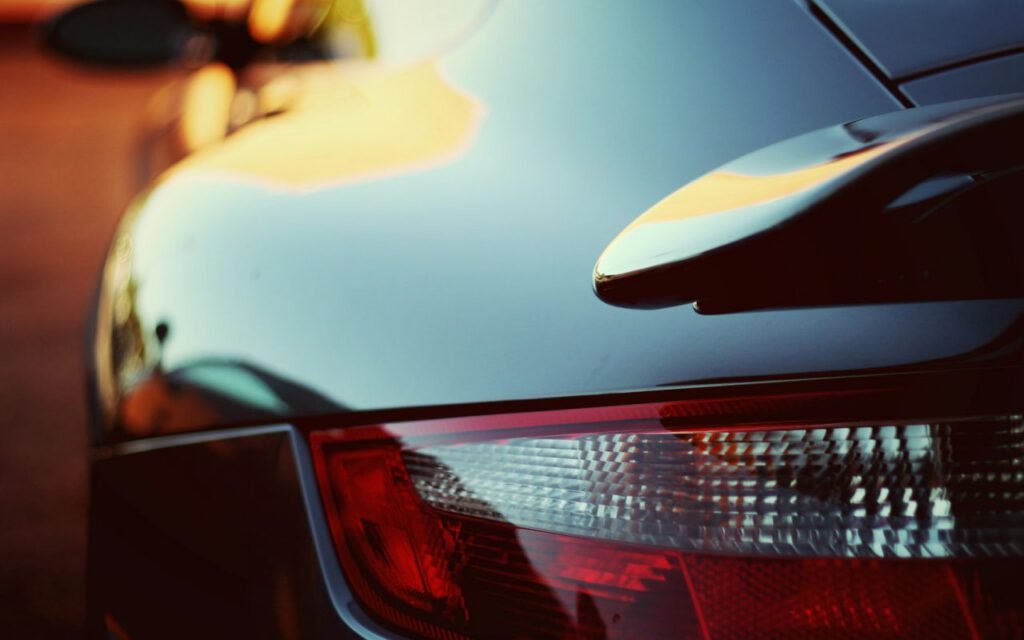
Modern car paint has several layers. On top is the clear coat, a transparent protective layer that gives the color its depth and gloss. When the clear coat is smooth and flat, light hits it and reflects back cleanly, and your eye sees a crisp, mirror-like shine.
Over time, that surface picks up damage. The most common types include:
- Swirl marks: fine circular scratches, usually from washing with dirty mitts, sponges or brush-style car washes.
- Light scratches: marks from fingernails near door handles, bags, branches or careless drying.
- Oxidation: a chalky, faded look caused by long sun exposure, especially on older or single-stage paint.
- Water spot etching: rings left when mineral-heavy water dries on the paint and slightly eats into the surface.
- Holograms: wavy trails left behind by poor machine polishing.
Each of these makes the surface uneven at a microscopic level. Instead of bouncing back cleanly, light scatters in every direction. That scattering is what you see as haze, dullness or swirls.
How paint correction works
The shine you see is light hitting a perfectly flat surface.
Andre, lead detailer
Andre explains it this way to every client because it gets to the heart of the process. Paint correction does not fill scratches or hide them under a glaze. It carefully removes an extremely thin layer of clear coat until the surface is level with the bottom of the scratches. Once the surface is flat again, light reflects cleanly, and the gloss returns.
The work is done with a machine polisher, a polishing pad and an abrasive compound or polish. The detailer works one small section at a time, moving the machine slowly in overlapping passes. Heavier compounds and firmer pads cut faster and remove deeper defects. Finer polishes and softer pads refine the surface afterward, removing the light haze left by the heavier step and bringing out maximum clarity.
Throughout the process, the detailer inspects the paint under strong lighting designed to reveal defects. Many shops use several light colors and angles, because some swirls only show under certain conditions. This step-by-step checking is what separates a careful correction from a quick buff.
One step or two
Most daily drivers look great after a one-step polish. Show cars get two or three. The number of steps depends on how much damage there is and how close to perfect you want the finish.
One-step polish
A one-step uses a single polish that cuts enough to remove light swirls while finishing down to a high gloss. It typically removes a large share of visible defects and dramatically improves the look of the paint. For a daily driver that sees grocery runs, commutes and road trips, this is usually the best balance of results, time and cost.
Two-step correction
A two-step begins with a heavier compound to remove deeper swirls and scratches, then follows with a finishing polish to refine the surface. It takes more time but delivers a more complete correction. This is a good choice for dark-colored cars, which show every flaw, or for vehicles that have been washed improperly for years.
Multi-step correction
Show cars, collector vehicles and enthusiasts chasing a flawless finish may get three or more stages, sometimes with wet sanding for deeper defects. This level of work is slow and detailed, and it is not necessary for most cars.
Some scratches are simply too deep to correct safely. If you can catch a scratch with your fingernail, it has likely gone through the clear coat, and polishing alone will not remove it. In that case, touch-up paint or a body shop may be the right answer, and a good detailer will tell you so honestly.
Measure first
We check paint thickness before polishing so we never take off too much. Clear coat is thin, often only a few thousandths of an inch, and it does not grow back. Every polishing pass removes a tiny amount. Done carefully, correction takes only what is needed. Done carelessly, it can thin the clear coat until it fails, which leads to peeling and requires a repaint.
Before we start, we use a paint thickness gauge at several points on each panel. These readings tell us how much material is there to work with and flag any areas that may have been repainted or polished heavily before. Edges, body lines and previously repaired panels often have less paint, so we treat them more gently or avoid aggressive work there entirely.
Our correction process
- Thorough wash and decontamination to remove dirt and bonded particles
- Clay treatment so the paint is perfectly smooth
- Paint thickness readings on every panel
- Test spot to choose the right pad and polish combination
- Correction, section by section, with inspection lights
- Panel wipe to reveal the true finish
- Protection with a sealant or ceramic coating
Expect the work to take time. A one-step polish on a midsize sedan is usually a full day in the shop, and a two-step correction can stretch to two days or more depending on the size of the vehicle and the hardness of the paint. Rushing a correction is how holograms and burned edges happen, so we would always rather keep a car an extra afternoon than send it home with a finish we are not proud of.
That test spot matters. Every car’s paint is different, even between models from the same manufacturer. We start with the gentlest combination that might work and only move to something stronger if needed.
Protect what you corrected
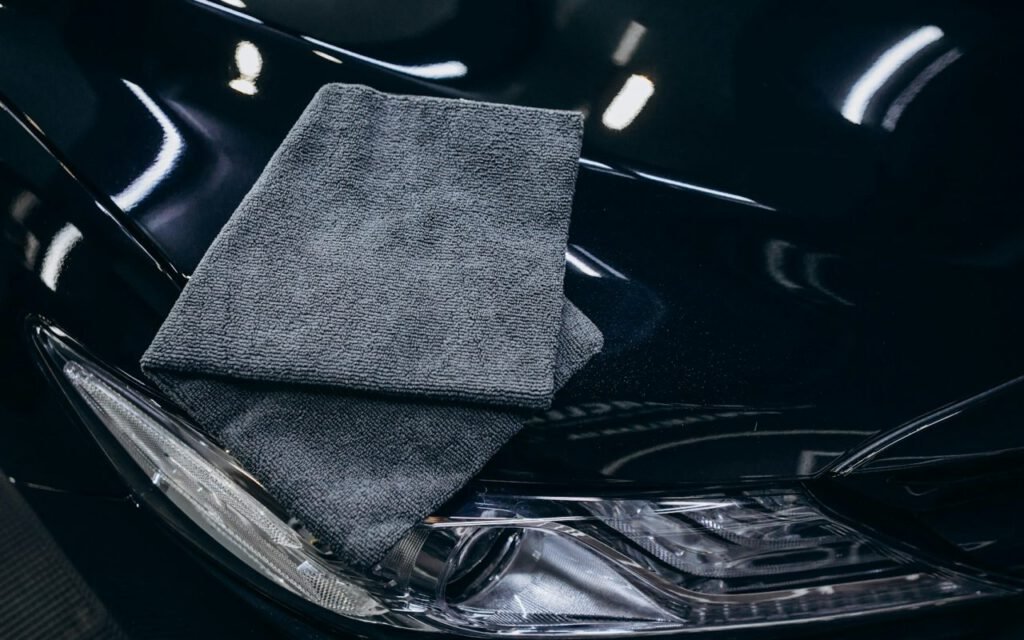
After correction, your paint is at its best, and it deserves protection. A paint sealant or ceramic coating helps preserve the finish, adds gloss and makes future washing easier. Just as important, switch to a safer wash routine. The two-bucket method, a soft mitt and clean microfiber towels will keep new swirls from forming. Otherwise, the same habits that caused the haze will bring it right back.
Key takeaway: Dull paint is usually scratched, not dirty. A careful polish levels the surface so light reflects cleanly again, and measuring first keeps your clear coat safe.
Swirls, oxidation and a little polishing magic
Paint correction can make a car look years newer in a single day. Most daily drivers need only a one-step polish, while dark cars and long-neglected finishes benefit from two steps, and show cars may get more. Whatever the level, the work should always begin with measuring and end with protection.
If your car looks hazy in the sun, bring it by Shine Lab Detailing for an inspection. We will show you the defects under our lights, measure the paint and recommend the right level of correction for your car and your budget. The shine is still in there. It just needs a flat surface to come back.

Andre Lewis
Andre has detailed Miami cars since 2016.





2 Comments
Sharing this with my friends.
Saved this one for later. Really useful.