Parallel Parking in Five Calm Steps
The method we teach every student.
 Tom Nguyen6 min read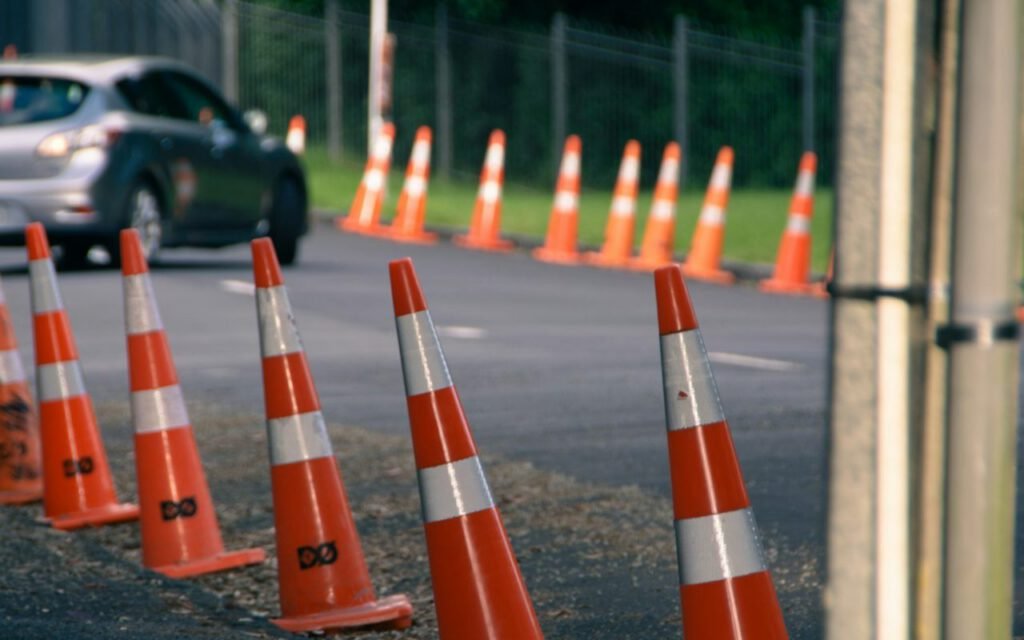

Tom Nguyen
Tom teaches freeway and parking skills.

Parallel parking is just a few reference points. Learn them once and it becomes easy. We say that to every nervous student who climbs into our training car, and most of them look at us like we are joking. They have heard horror stories from friends, watched a parent circle the block three times to avoid a tight spot or seen a video of someone bumping the car behind them. Then, after an afternoon of practice, they slide into a space between two cones on the first try and break into a huge grin. Here is the exact method we teach at GreenLight Driving School, broken into five calm steps.
Why parallel parking feels so hard
Parallel parking asks you to do several new things at once. You are driving in reverse, steering in a direction that can feel backward, judging distances you cannot see directly and doing it all while other cars wait behind you. No wonder it feels stressful. The good news is that the movement itself is simple and repeatable. Once you know where to look and when to turn, the pressure fades.
The secret is using reference points. A reference point is a spot on your car, like a side mirror or a back window, that lines up with something outside, like the bumper of the car beside you. Instead of guessing, you wait for the line-up and then make your move. Every car is a little different, so we always help students find the exact reference points for the vehicle they will drive on test day.

Before you start
Good parallel parking begins before you shift into reverse. First, make sure the space is big enough. A comfortable target is about one and a half times the length of your car. With experience, you can fit into tighter spots, but there is no shame in passing a space that looks too small.
Next, check your mirrors and signal right away to let drivers behind you know what you are doing. Slow down gradually instead of stopping suddenly. Most drivers will give you room once they see your signal and understand your plan. Adjust your seat and mirrors so you can see the curb in your passenger-side mirror. Some drivers tilt that mirror down slightly before parking, then return it afterward.
Line up and reverse
Pull up beside the front car, about two feet away. Reverse slowly until your back seat lines up with its bumper. These are the first two of our five steps, and getting them right makes everything after them easier.
Step 1: Pull up beside the front car
Stop alongside the car parked in front of the empty space, with your car roughly parallel to it and about two feet away. Your back bumper should be about even with its back bumper. Two feet is closer than many new drivers expect. Too far away and you will end up far from the curb. Too close and you risk scraping a mirror.
Step 2: Reverse until your back seat lines up
Shift into reverse, check over your right shoulder and around the car, and back up slowly, straight back, with the wheel centered. Watch out your passenger window. When the back seat area of your car lines up with the rear bumper of the parked car, stop. This is your first and most important reference point.
Slow is smooth. Smooth is fast.
Tom
Tom has taught driving for more than fifteen years, and that line is printed on a sticker on the dashboard of every GreenLight car. Speed causes most parking mistakes. If you creep backward at a walking pace or slower, you have plenty of time to make corrections. Use the brake to control your speed instead of the gas.
Turn, straighten, center
Full lock toward the curb, then straighten when your car is at 45 degrees, and turn away to tuck in. These are steps three, four and five, and they are where the car actually slides into the space.
Step 3: Turn the wheel all the way toward the curb
While stopped, turn your steering wheel all the way to the right, which we call full lock. Then reverse slowly. The back of your car will swing toward the curb, and the front will angle out toward the street. Keep checking your mirrors and the space around you.
Step 4: Straighten at 45 degrees
When your car is at about a 45-degree angle to the curb, stop and straighten the wheel. A helpful reference point: in many cars, this is when you can see the entire front of the car behind the space in your driver-side mirror. Then continue reversing straight back, slowly, until your front bumper clears the back bumper of the car in front.
Step 5: Turn away from the curb to tuck in
Now turn the wheel all the way to the left while still reversing slowly. The front of your car will swing in toward the curb, and your car will straighten out in the space. Once you are parallel, stop, center the wheel and pull forward a little if needed to leave room in front and behind.

Common mistakes and quick fixes
Even with a good method, everyone makes mistakes while learning. Here are the ones we see most often, along with the fix.
- Too far from the curb: You probably started more than two feet from the front car, or straightened too early. Pull out and try again, or make a small forward-and-back correction.
- Hitting the curb: You likely turned too early in step three or reversed too far before straightening. Stop, pull forward a little and readjust.
- Front end sticking out: You turned left in step five too late. Next time, start turning a little sooner.
- Going too fast: Cover the brake and let the car creep. There is no prize for speed.
Remember, it is completely fine to pull out and start over. In most states, road test examiners allow a small number of corrections during the parking maneuver, but local rules vary, so always check your state’s driver handbook. Restarting calmly is far better than forcing a bad angle.
Key takeaway: Parallel parking is a pattern, not a talent. Two feet away, back seat to bumper, full lock, 45 degrees, tuck in. Repeat it until your hands know the rhythm.
How to practice
The best place to start is an empty parking lot with two cones or two empty trash cans standing in for parked cars. Set them up about one and a half car lengths apart, plus a cone to mark the curb line. Practice the five steps ten times in a row, then take a break. Once you can park between cones consistently, move to a quiet residential street with real parked cars and very little traffic.
Practice on both sides of the street if you can, since some cities have one-way streets with parking on the left. And practice in the car you will use for your road test, because reference points shift slightly from car to car.
At GreenLight, every behind-the-wheel package includes a dedicated parking lesson on our cone course, plus time on real streets with an instructor beside you. If you are feeling nervous, book a parking-only session and spend an hour working on nothing else. By the end, those horror stories will feel like a distant memory, and you will be the one telling your friends that parallel parking is easy.
Tom Nguyen
Tom teaches freeway and parking skills.



2 Comments
Thanks for explaining this so clearly.
Great reporting — please keep following this story.