Getting Your Deposit Back: The Move-Out Clean
What landlords actually check.
 Hannah Wells6 min read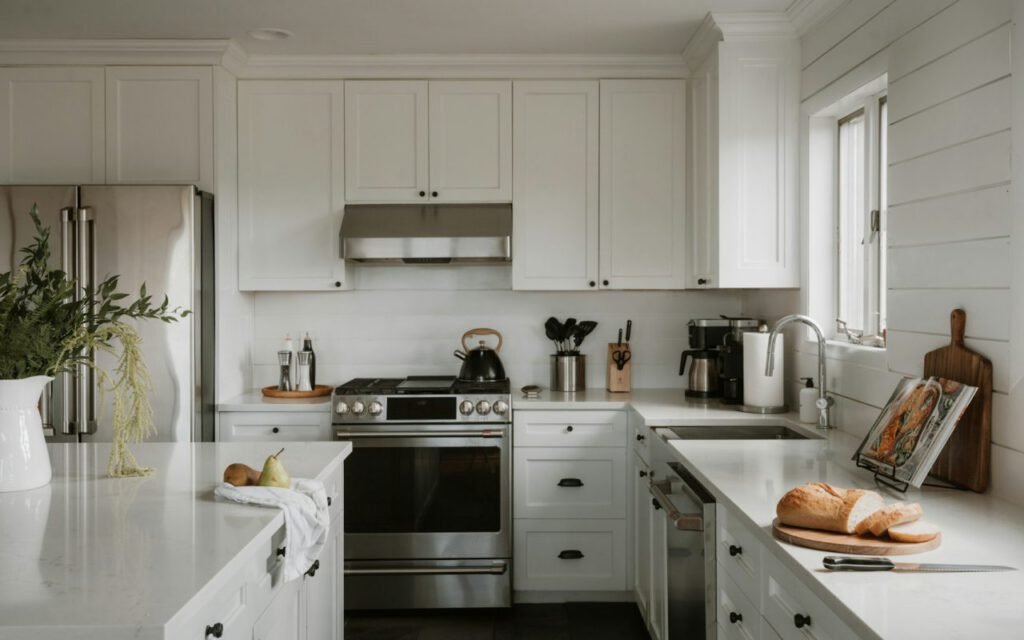
Moving out is stressful enough without worrying about your security deposit. After hundreds of move-out cleans, our team has learned a simple truth: most deposit deductions come from the same five places. We clean them first. If you are planning to clean the home yourself, or just want to know what to expect from a professional move-out service, this guide walks through what landlords and property managers typically look for and how to get each area ready.
Every lease is different, so read yours carefully and check for a move-out checklist. Many landlords provide one. If yours does, use it as your guide, and keep a copy for your records. If you have questions about what you owe or what can be deducted, your landlord or a local tenant resource can explain the rules where you live.
The five places landlords check
When a landlord or property manager walks through an empty home, they tend to look in the same spots. In our experience, these are the areas that cause the most deductions:
- Inside the oven and refrigerator
- Walls, baseboards and door frames
- Bathroom fixtures, grout and the toilet base
- Floors, especially corners and edges
- Window tracks, blinds and light fixtures
Getting these five right will not guarantee a full refund, since damage and lease terms also play a part. But it removes the most common reasons for cleaning charges.
Inside the oven and fridge
Landlords open them every time. It is one of the first things they do, because buildup inside an oven or a forgotten container in the back of a fridge is easy to spot and easy to charge for.
For the oven, remove the racks and soak them in hot, soapy water in the tub or a large sink. Spread a paste of baking soda and water over the inside, avoiding the heating elements, and let it sit for several hours or overnight. Wipe it out with a damp cloth, then scrub any stubborn spots with a non-scratch pad. Do not forget the inside of the oven door and the drawer below.
For the fridge, empty it completely, then remove shelves and drawers and wash them by hand. Wipe the interior with warm water and a little dish soap, and dry it well. Clean the door seals, where crumbs and spills love to hide, and wipe the outside, including the top. If you can safely pull the fridge out, sweep and mop the floor underneath.

We guarantee our move-out cleans pass inspection, or we come back free.
Hannah
Walls and baseboards
Scuffs and dust on baseboards are the most common deduction. They are easy to overlook when furniture is in place, but once a room is empty, every mark is visible.
Start by dusting the baseboards with a dry microfiber cloth or a vacuum brush attachment. Then wipe them with a damp cloth and a gentle all-purpose cleaner. For walls, test any cleaner in a hidden spot first. Many scuffs come off with a damp cloth or a melamine sponge, but go gently. Scrubbing too hard can remove paint and create a bigger problem than the mark you started with.
Pay attention to light switches, outlet covers, door handles and door frames. These collect fingerprints and grime over time, and they are right at eye level when someone walks through. A quick wipe makes a big difference.
Small holes and touch-ups
Nail holes from pictures are often considered normal wear, but rules vary by lease and by state. Ask your landlord before patching or painting. A mismatched touch-up can look worse than a small hole, and some landlords prefer to handle paint themselves.
Bathrooms, floors and the finishing details
Bathrooms are the third big area. Scrub the tub, shower walls and grout, and remove soap scum and hard water spots from glass doors and fixtures. Clean the toilet thoroughly, including the base and the area behind it, where dust and grime gather. Wipe out the medicine cabinet and vanity drawers, and polish the mirror.
Floors come last. Vacuum carpets slowly and carefully, using the crevice tool along the edges. Sweep and mop hard floors, paying special attention to corners and the spaces where appliances or furniture once stood. Those outlines of dust are a giveaway that a floor was cleaned around things rather than under them.
Finally, look up and around. Dust blinds slat by slat or wipe them with a damp cloth. Vacuum window tracks, where dirt and dead insects collect, and wipe them clean. Dust light fixtures and ceiling fans, and replace any burned-out bulbs if your lease requires it.
Your move-out checklist
Here is a short version to print and keep on the counter during your last week:
- Oven, racks and drawer cleaned inside and out
- Fridge emptied, washed and dried, including seals
- Cabinets and drawers emptied and wiped
- Baseboards, switches and door frames wiped
- Bathrooms scrubbed, including grout and toilet base
- Blinds dusted and window tracks cleaned
- Floors vacuumed and mopped, corners included
- Trash removed and bins rinsed
Key takeaway: Clean the places landlords check first, then take dated photos of every room before you hand over the keys.
Plan your last week
The biggest mistake we see is leaving the cleaning until the final afternoon, after the moving truck has pulled away and everyone is exhausted. A little planning spreads the work out and makes the final clean much easier.
Start about a week before your move. Use up food in the fridge and freezer so there is less to throw away. Clean the oven early, since it needs time to soak. As you pack each room, wipe down the shelves and closets you have just emptied. By moving day, a lot of the detail work is already done, and the final clean is mostly floors, bathrooms and the kitchen.
Keep a small cleaning kit separate from your packed boxes. Label it clearly and put it in your car, not the moving truck. It should include cloths, an all-purpose spray, a scrub brush, trash bags, paper towels, a vacuum and a mop. Nothing is more frustrating than finishing the last room and realizing the vacuum is already on its way to the new house.
If you share the home with roommates, agree on who cleans which areas well before moving day. Shared spaces like the kitchen and living room are where deductions often happen, and a quick written split avoids last-minute arguments about whose job the fridge was.
Document everything
Once the home is clean, walk through with your phone and take photos or a short video of every room, including the inside of appliances, closets and cabinets. Save them with the date. If there is ever a disagreement about the condition of the home, those photos can be very helpful. If your landlord offers a final walk-through, try to attend so you can address any concerns on the spot.
When to call in help
Doing a full move-out clean yourself is absolutely possible, but it often takes a full day or more, right when you have the least time. Many of our customers book a professional move-out clean so they can focus on packing, moving and settling into their new home.
When our team handles a move-out, we work from a detailed checklist built around the five areas above, and we are happy to follow your landlord’s list as well. If anything does not pass inspection, we come back and make it right at no charge. That way, you can hand over the keys with confidence and look forward to getting your deposit back.

Hannah Wells
Hannah has kept Seattle homes fresh since 2015.







2 Comments
Sharing this with my friends.
Saved this one for later. Really useful.