Creative Play: Ten Art Projects With Things You Already Have
Watercolors, paper plates and a big roll of paper on the floor.
 Owen Blake6 min read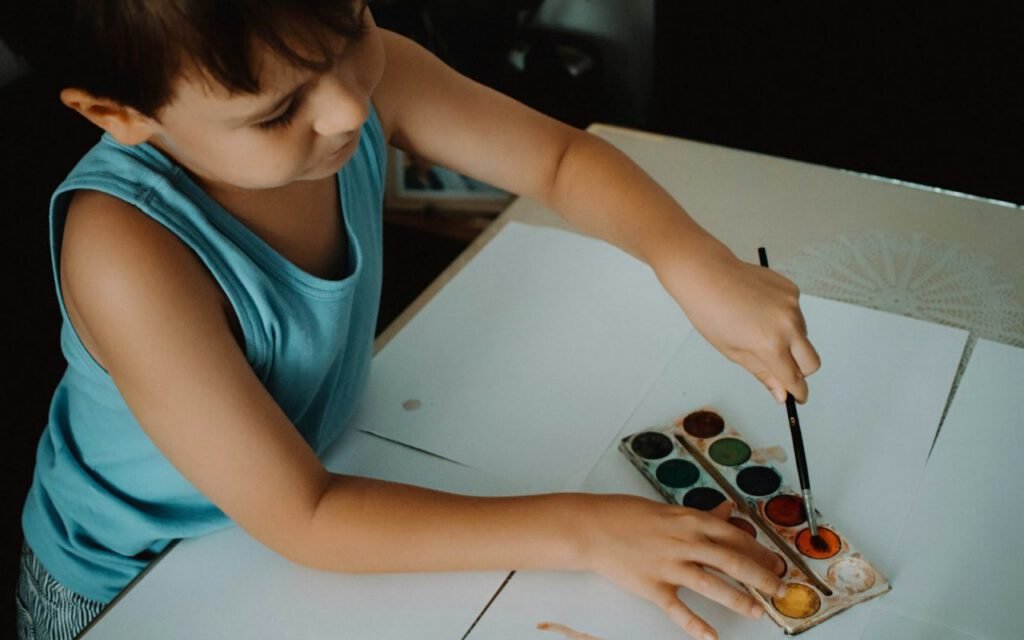

Owen Blake
Owen covers toddlers, big kids and the art of getting everyone out the door on time.



Art does not need a craft store. These ten projects use paper, paint and what is already in your recycling bin. On a rainy Saturday, when the screens have been on too long and everyone is a little restless, a stack of paper plates and a few jars of watercolor can turn the afternoon around. The projects below have been tested on real kitchen tables by real big kids, roughly ages five to ten, and every one of them can be started in under ten minutes. Some are quiet and focused, some are gloriously messy, and all of them are more about the making than the finished piece.
Set up for mess
An old sheet on the floor and a box of supplies make it easy to say yes. The biggest barrier to art at home is not a lack of materials. It is the dread of cleanup. Solve that once, and you will find yourself saying yes far more often.

Pick a spot that can handle drips: the kitchen floor, a corner of the garage or a picnic table outside. Lay down an old shower curtain, a flattened cardboard box or a sheet you no longer use for beds. Keep an old button-down shirt on a hook as a smock, and set a damp towel nearby for hands. Then build a single art box that lives on a low shelf, so kids can get started without asking you to dig through closets.
What goes in the box
- Plain paper, construction paper and a roll of brown packing paper
- Washable watercolors, tempera paint and a few brushes in different sizes
- Crayons, markers, colored pencils and oil pastels
- Glue sticks, white school glue, tape and child-safe scissors
- Paper plates, cupcake liners, yarn, string and a few clothespins
- A shoebox of clean recyclables: cardboard tubes, egg cartons, bottle caps and cereal boxes
Ten projects to try this month
Each of these uses materials you likely have right now. Choose one a week, or put the list on the fridge and let your kids pick.
- Paper plate faces. Hand over paper plates, yarn for hair and scraps for features. Kids make self-portraits, family members or imaginary creatures, then hang them in a row.
- Watercolor resist. Draw with a white crayon on white paper, then paint over it with watercolor. The hidden picture appears like magic, which never gets old.
- Floor mural. Roll out a long sheet of packing paper and let everyone draw a city, an ocean or a jungle together. It can stay out all weekend.
- Cardboard tube creatures. Paint toilet paper tubes, then add paper ears, wings or tails. A family of owls or a row of robots takes shape fast.
- Egg carton gardens. Cut the cups apart, paint them in bright colors and glue them onto cardboard as flowers.
- Nature collage. Collect leaves, petals and small sticks on a walk, then glue them onto paper and add drawn details around them.
- Cereal box sketchbooks. Cut the front and back of a cereal box as covers, fold paper inside and staple or tie the spine. Kids love having their own book.
- Bottle cap mosaics. Arrange clean caps on a piece of cardboard to make a pattern or picture, then glue them down.
- Salt painting. Draw with white glue, sprinkle salt over the lines, shake off the extra and drip watercolor on top. The color spreads along the salt in a way kids find fascinating.
- Clothespin people. Paint wooden clothespins as a cast of characters, then use them to clip finished artwork to a string across the wall.
Process over product
Ask about what they made rather than praising how it looks. It is tempting to say “That’s beautiful!” every time a painting is handed over, and there is nothing wrong with enthusiasm. But when the praise is always about the result, children can start to worry about getting it right, and the playful experimenting fades.
Ask “tell me about it” instead of “what is it?” Children love explaining their art.
Marcus Hale, elementary school teacher
Mr. Hale, who teaches second grade, says that one small change in wording opens up remarkable conversations. A blob of purple might be a storm, a dragon’s shadow or “how I felt when the dog ran away.” Asking “tell me about it” invites a story, while “what is it?” can make a child feel they have failed to make something recognizable.
Other phrases that work well include “How did you make this part?”, “What was the hardest bit?” and “What would you change if you made another one?” You can also simply describe what you see: “You used a lot of blue here, and the lines go all the way to the edge.” Kids light up when they know you really looked.

When they say “I can’t draw”
Somewhere around age seven or eight, many children start comparing their drawings to a classmate’s or to pictures in books, and the dreaded phrase appears. This is a normal stage, and the best response is to shift the focus away from realism. Projects like salt painting, watercolor resist and bottle cap mosaics are perfect here, because there is no “right” way for them to look. Collage, printmaking with sponges and abstract painting to music all let kids enjoy color and texture without worrying about accuracy.
It also helps to make art alongside them. When a grown-up sits down with a brush, makes a few wobbly lines and laughs about it, children see that art is something you do for fun, not a test you pass or fail. You do not need to be good at it. You only need to be willing to join in.
Make it a habit
Art projects tend to happen in bursts and then vanish for months. A little structure keeps them coming back. Some families pick one afternoon a week, say Sunday after lunch, and keep it loose: the art box comes out, music goes on and anyone who wants to join can. Others rotate who chooses the project, which gives each child a turn to lead.
Older kids often enjoy a small challenge. Try a “three-material” rule, where they can use only three items from the box, or a theme for the week such as “something that flies” or “a place I want to visit.” Constraints like these spark surprisingly inventive work, and they keep the art box from emptying in one sitting.
Key takeaway: The cheapest supplies and a predictable time slot do more for creativity than any expensive kit.
Show it off, then let it go
Children notice where their work ends up. Display their work at eye level, their eye level, on a low corkboard, a string with clothespins or the bottom of the fridge. Rotate it every week or two so there is always something new.
Of course, nobody can keep every piece. Save a few favorites in a folder, and let your kids help choose. Some families photograph each piece before it goes into the recycling bin, then print a small photo book at the end of the year. It takes up a fraction of the space and becomes a treasured record of how their style changed.
Quick tips
- Keep a weekly art afternoon
- Display their work at eye level
- Save a few favorites in a folder
The next time the afternoon stretches out ahead with nothing planned, skip the trip to the store. Spread out the old sheet, open the art box and see what your kids make with a paper plate, a cardboard tube and a little paint. Then ask them to tell you all about it.
This article is general information, not medical advice. Talk to your own doctor or midwife about your family.
Owen Blake
Owen covers toddlers, big kids and the art of getting everyone out the door on time.

Start the conversation