Mending: How I Repair Instead of Replace
Visible patches, darning and a jar of buttons.
 Hannah Brooks7 min read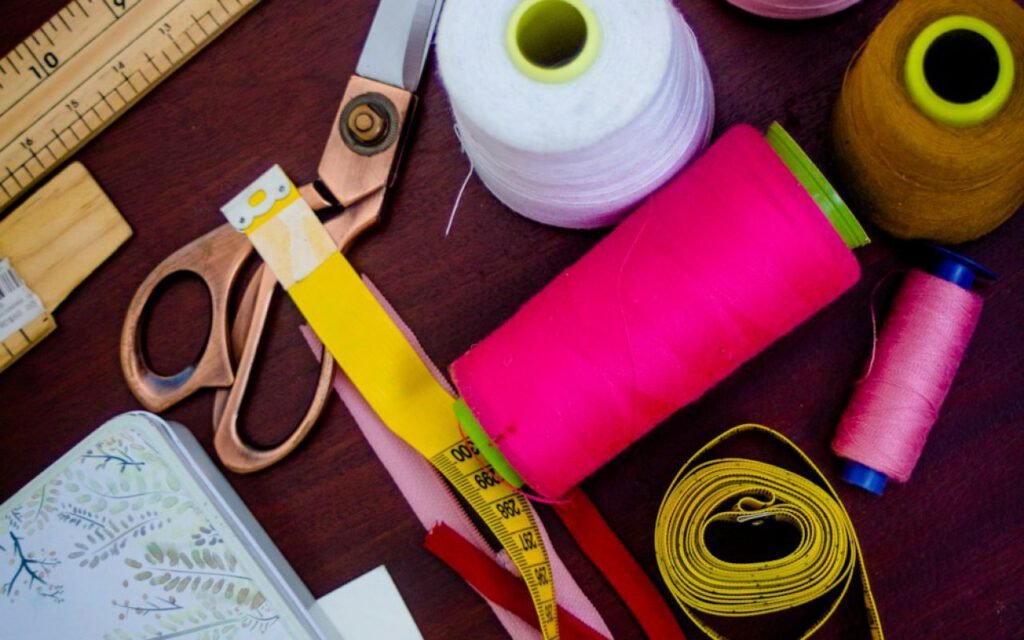

Hannah Brooks
Hannah covered state politics for twelve years before co-founding Maple & Main. She lives in the Old North End and bikes to every council meeting.

A hole in my favorite jeans used to mean goodbye. Now it means a Sunday afternoon project. I pour a cup of tea, pull the button jar off the shelf, spread the damage across my lap and spend a happy hour or two giving something I love a second life. The jeans in question are on their fourth patch now, and I honestly think they look better than the day I bought them.
Mending is quiet, satisfying and good for your wallet. It is also one of the friendliest places to start if you are new to sewing, because the stakes are low and the garment is already finished. You are not cutting into expensive new fabric or following a complicated pattern. You are just closing a gap, reinforcing a thin spot or replacing a button that wandered off. Today I want to walk you through how I approach repairs, the small kit I keep by the couch and the three techniques I use more than any others.
 Sponsored · Quilt Haven FabricsFat quarters from $3.50Thousands of prints, ships in a day.Shop fabric
Why I started repairing
A few winters ago I counted the clothes I had given away in a single year because of small damage. A sweater with a moth nibble at the cuff. Two pairs of socks with worn heels. A linen shirt missing its second button. A tote bag with a split seam. None of it was truly worn out. It just needed fifteen minutes of attention I had never learned how to give.
So I made myself a promise: before anything left the house, it had to sit in my mending basket for one month. If I could fix it in that time, it stayed. The basket filled up quickly at first, and I will admit a few things sat there far longer than a month. But slowly the habit took root. These days the basket rarely holds more than three or four pieces, and I look forward to emptying it the way some people look forward to a crossword.
There is a bigger reason, too. Every garment carries the water, energy and labor that went into making it. Keeping it in use a little longer is one of the simplest, most practical ways I know to waste less. I am not perfect about it, and I still buy new things, but repairing has made me choosier and far more attached to what I own.

My mending kit
You do not need a sewing machine or a craft room to mend. My whole kit fits inside an old cookie tin, and I keep it next to the couch so there is no excuse to put things off. Here is what lives inside:
- A pack of assorted hand-sewing needles, including a couple of large-eyed darning needles
- Neutral all-purpose thread in black, white, navy and gray
- Embroidery floss in a handful of bright colors for visible repairs
- A small pair of sharp scissors that never touch paper
- A thimble, a few pins and a seam ripper
- Scraps of denim, cotton and felt saved from old projects
- A darning egg, plus a skein or two of wool thread
- The famous jar of buttons
That button jar deserves a word of its own. It started with my grandmother, who snipped buttons off every shirt before it went to the rag bag. Now I do the same. When a button goes missing, I tip the jar out on a tea towel and hunt for a match, or sometimes for a deliberate mismatch. A single cheerful red button on a plain gray cardigan is one of my favorite tiny design choices.
Visible mending
Bright thread and a contrasting patch turn a repair into decoration. Instead of trying to hide the damage, visible mending celebrates it. It is freeing, because a visible repair does not have to be invisible-perfect. It just has to be strong and, ideally, a little bit joyful.
How I patch a pair of jeans
For a knee or a thigh hole, I cut a patch from sturdy fabric about an inch larger than the damaged area on every side. I turn the jeans inside out, pin the patch behind the hole and flip them back to the right side. Then, working with a contrasting embroidery floss, I stitch rows of simple running stitches across the whole area, about a quarter inch apart. This style of dense running stitch, often called sashiko-inspired stitching, anchors the frayed edges and spreads the stress across the patch so the hole does not simply reopen next to your repair.
Once the rows are done, I trim any long loose threads from the original hole and give everything a good press with a warm iron. The result is soft, flexible and lovely to look at. On my oldest pair I have used blue, mustard and a faded pink, and people stop me to ask where I bought them.
A mended thing is a loved thing.
Hannah
I say that line to myself every time I pick up a needle. It reminds me that the goal is not to make the garment look new. The goal is to make it last, and to leave a little record of the care that went into it.

Darning socks
A darning egg (or a light bulb) and wool thread will save your favorite pair. Darning is a little different from patching. Instead of covering a hole with new fabric, you weave brand-new fabric right into the gap, which makes it perfect for knitted items like socks, sweaters and mittens.
- Slip the darning egg inside the sock so the worn area is stretched gently over it. If you do not have one, a smooth light bulb or even a round orange will do in a pinch.
- Thread a darning needle with wool that roughly matches the weight of the sock. Do not knot the end; just leave a short tail.
- Starting well outside the thin area, sew parallel vertical lines across the hole, picking up a little of the healthy knitting at the top and bottom of each pass.
- Turn the work and weave horizontally, going over and under each vertical thread like a tiny loom.
- Keep the tension relaxed. A darn that is pulled too tight will pucker and rub inside your shoe.
- Weave the tails into the back of the knitting and trim.
The first darn I ever made was lumpy and lopsided, and I still wore those socks for another year. Practice on a pair you do not mind experimenting with, and you will notice your weaving becomes neater after just two or three tries.
Key takeaway: catch thin spots early. A worn heel is far easier to reinforce than a heel that has already split open, so check your socks when you fold the laundry.
Buttons, seams and quick fixes
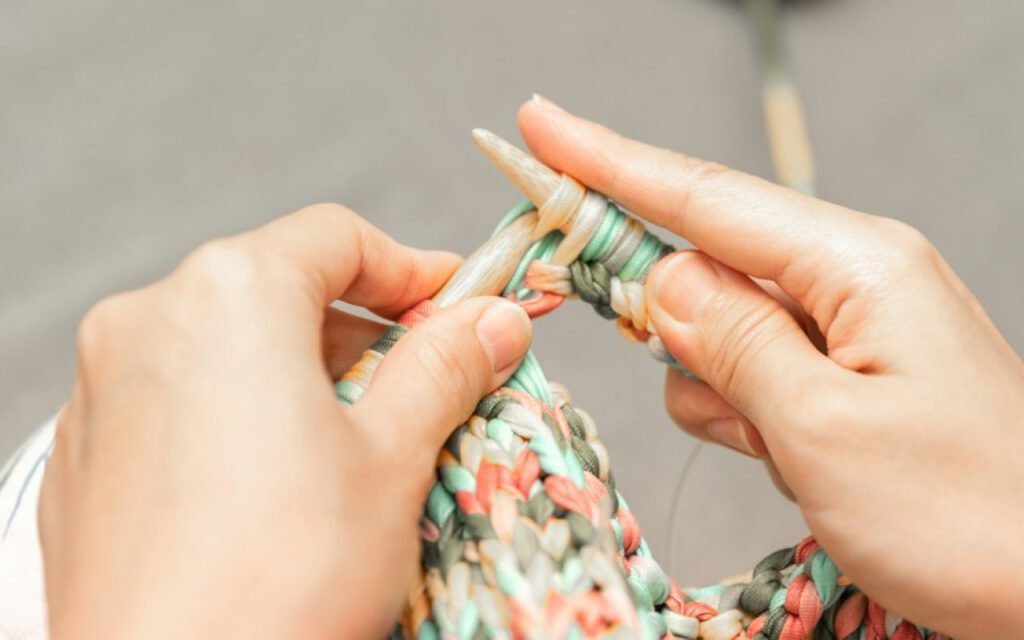
Not every repair needs a whole afternoon. Some of my favorite mending moments take less than ten minutes. A loose button gets a few fresh stitches and a thread shank wound underneath so it sits comfortably in the buttonhole. A split seam on a tote bag gets a neat backstitch from the inside. A dropped hem gets a few slip stitches that disappear into the fold.
I keep a sticky note on the inside of my mending tin with a short list of whatever is waiting, so when I have a spare moment during a phone call or a movie, I can grab the quickest job. Those little wins add up. Over a year, they easily rescue a dozen pieces that would otherwise have ended up in a donation bag or worse.
If a repair feels beyond you, like a broken zipper on a winter coat or a torn lining in a good blazer, a local alterations shop is a wonderful option. Paying a professional a modest fee to fix a well-made garment is still mending, and it supports a skilled trade in your neighborhood.
Start your own mending basket
If you take one thing from this post, let it be this: find a basket, put your damaged favorites in it and give yourself a gentle deadline. Pick the easiest piece first. Sew on that button. Patch that knee with the brightest thread you own. Darn one sock and admire your little woven square.
Mending changed the way I look at my closet. Everything in it has a story now, and many of those stories include a Sunday afternoon, a cup of tea and a jar of buttons. I would love to hear what you rescue first, so come back and tell me about it in the comments. Happy stitching, friends.
Hannah Brooks
Hannah covered state politics for twelve years before co-founding Maple & Main. She lives in the Old North End and bikes to every council meeting.


Start the conversation