Where Is Your Main Water Shut-Off?
Find it now, not during a flood.
 Ramon Ortega6 min read
The first question we ask on every emergency call: did you shut off the water? It sounds simple, but it is the single most important thing a homeowner can do when a pipe bursts, a water heater splits or a supply line under the sink lets go. Every minute that water keeps flowing means more soaked drywall, warped flooring and ruined belongings. Yet most people don’t know where the valve is, and they spend those precious minutes searching with a flashlight while water spreads across the floor. This guide will help you find yours today, while everything is dry and calm.
Why the shut-off matters so much
A broken supply line can release several gallons of water every minute. Under normal household pressure, a burst pipe in a wall or ceiling can soak a room before a plumber even gets in the truck. Our technicians are fast, but nobody is faster than a homeowner who can walk straight to the valve and turn it.
The main shut-off stops all water entering the house. Once it is closed, the leak slows to whatever is left in the pipes, and you can start moving furniture, towels and electronics out of harm’s way. It also makes repairs safer, since our team can work on the line without fighting pressure. Insurance adjusters often ask how quickly the water was stopped, so knowing your valve can help in more ways than one.
We hear the same story often. A family wakes up to the sound of water, finds the hallway carpet soaked and spends twenty minutes searching the yard in the dark while the leak keeps running. When our technician arrives, the valve turns out to be hidden behind a shrub or under a decorative rock just a few feet from the front door. With the water off right away, that same leak might have meant a few wet towels. Instead, it meant new drywall, new baseboards and a week of fans running in the hallway. The difference between those two outcomes is usually just knowing where to go.
Where to look
In Phoenix it is usually near the front hose bib or in a box near the curb. Many homes in the Valley have two valves that matter: the homeowner’s main shut-off near the house, and the city meter valve out by the street. Start with the one closest to the house, since it is designed for you to use.
Common spots in desert homes
- Near the front hose bib: Look for a pipe coming up out of the ground along the front wall, often with a round handle or a lever.
- In the garage: Some newer homes place the main valve on the wall near the water heater or the water softener loop.
- Inside a utility closet: Townhomes and condos often have a valve in a closet or behind an access panel.
- In the curb box: The meter box near the sidewalk holds the city meter and sometimes a valve you can turn with a meter key.
If you live in another part of the country, the valve may be in a basement, crawl space or under a kitchen sink instead. Older home inspection reports often note the location, so it is worth digging out your paperwork. If you rent, ask your landlord or property manager to show you the valve on move-in day.

How to shut it off safely
There are two common valve styles, and they turn differently. Knowing which one you have saves confusion in a hurry.
A ball valve has a lever handle. Turn it a quarter turn so the handle sits across the pipe instead of in line with it, and the water is off. A gate valve has a round wheel handle. Turn it clockwise, the way you would close a jar lid, until it stops. Gate valves can take several full turns. Don’t force a stuck wheel with a wrench, because older gate valves can break inside.
When you need to shut off the water in an emergency, follow these steps:
- Close the main shut-off valve completely.
- Open a faucet at the lowest point in the house to drain the remaining water from the lines.
- If the leak is near the water heater, turn the heater off or set a gas unit to pilot.
- If water is near outlets or appliances, stay clear and switch off power at the breaker only if you can reach it safely while dry.
- Call a licensed plumber and take photos of the damage for your records.
Tie a bright tag on the valve. Your future self will thank you.
Lena, ClearFlow Plumbing dispatcher
Test it twice a year
Old valves seize. Turn it off and on so it works when it matters. Valves that sit untouched for years build up mineral deposits, especially with our hard water, and the moving parts can lock in place. The worst time to discover a frozen valve is during a flood.
We suggest pairing the test with something you already do twice a year, like changing the clocks or replacing smoke detector batteries. Close the valve, open a faucet to confirm the water stops, then open the valve again slowly. If the handle feels stiff, turns but doesn’t stop the flow, or starts to drip around the stem, call us. Replacing an old valve is a quick, planned job. Replacing it during an emergency is not.
Know your other valves too
The main shut-off stops everything, but smaller valves let you isolate a single problem and keep the rest of the house running. Take ten minutes to find each one and make sure it turns:
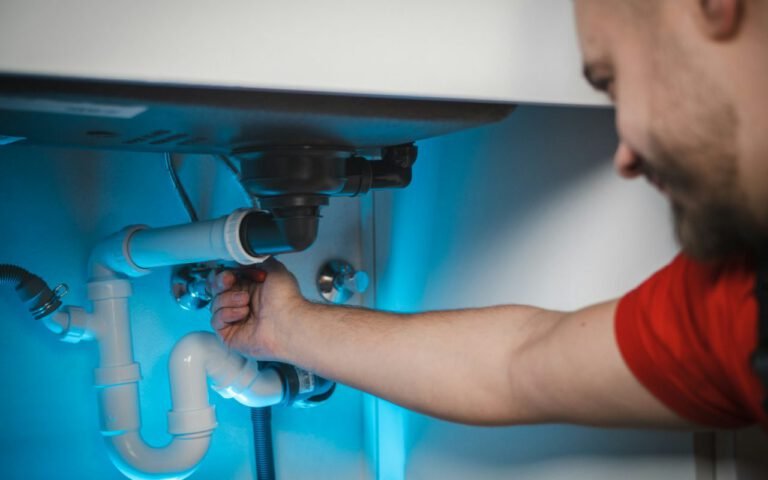
- Under each sink, two small valves control the hot and cold supply lines.
- Behind each toilet, one valve controls the fill line.
- At the water heater, a valve on the cold inlet stops water entering the tank.
- Behind the washing machine, two valves control the hoses, which are a common source of floods.
- Near the refrigerator, a small valve may control the ice maker line.
While you are there, look at the hoses themselves. Rubber washing machine hoses wear out over time, and braided stainless steel hoses are an easy upgrade. A cracked toilet supply line or a bulging ice maker line is worth replacing before it fails.
Key takeaway: Find your main valve, tag it, show everyone in the house how it works and test it twice a year. Those four steps can turn a disaster into an inconvenience.
A five-minute family drill
Once you know where everything is, make it part of your household routine. Walk older kids, roommates and anyone who house-sits through the location of the main valve and the smaller ones. Keep a meter key or valve tool next to it if your valve needs one. Save our number in your phone under something easy to find, like Plumber, so nobody has to search when their hands are wet.
If you can’t find your shut-off, or you find one that won’t turn, ClearFlow Plumbing can help. We locate valves, replace seized ones and add easy lever-style valves that anyone in the family can turn in seconds. It is one of the smallest jobs we do, and one of the most valuable. Find it now, not during a flood.

Ramon Ortega
Ramon has fixed Phoenix pipes since the 1990s.



2 Comments
Sharing this with my friends.
Saved this one for later. Really useful.