What Happens on Installation Day
Most systems go up in one or two days.
 Marco Silva6 min read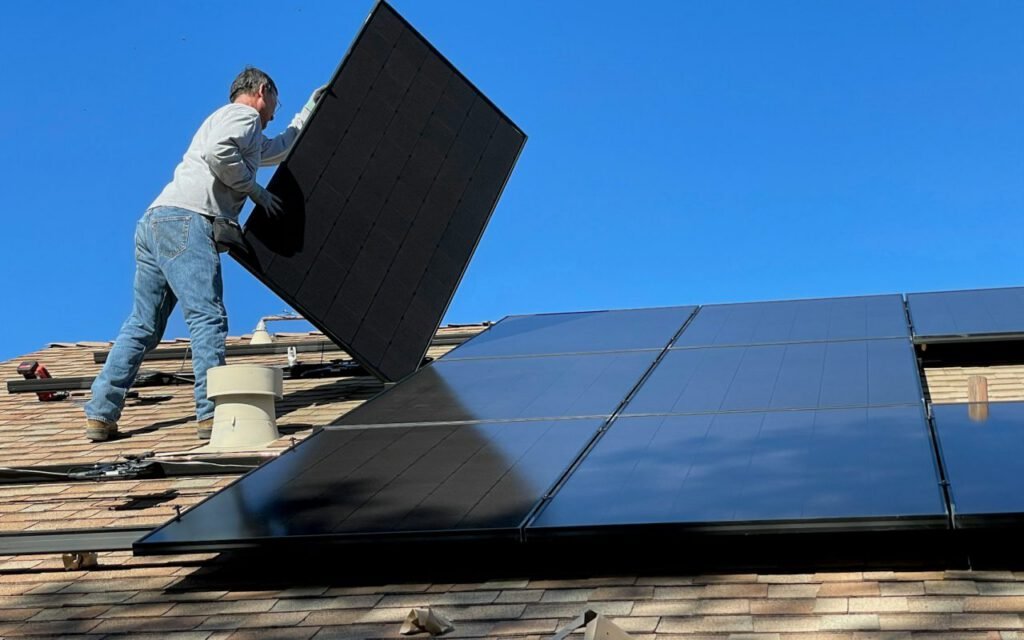

Marco Silva
Marco has been on more than 2,000 local roofs.


The paperwork takes weeks. The install is quick. After all the design reviews, permit applications and utility forms, many homeowners are amazed when our truck pulls up at seven in the morning and the panels are on the roof before dinner. Most residential systems we install around San Diego go up in a single day, with a second day reserved for larger or more complicated homes.
Here is what to expect when our crew arrives. We have walked through the whole day from the first knock on the door to the final walkthrough, so you know what is happening on your roof, in your garage and at your electrical panel.
Before the crew arrives
A few days before the install, your project coordinator calls to confirm the date and run through a short list. Installation depends on dry, calm weather, so if heavy rain or high wind is in the forecast, we will move the date rather than work on a slick roof.
- Clear the driveway so the truck and materials can park close to the house
- Make sure the crew can reach your electrical panel and the spot where the inverter will go
- Unlock side gates and secure pets for the day
- Let us know about any attic access points or areas you would like the crew to avoid
- Plan to be home for the first hour and the final walkthrough if you can
You do not need to be home all day. Many families head to work after the morning check-in and come back to a finished system. We send a quick text at midday and when the crew wraps up.
Morning: racking
Mounts are sealed into the rafters and flashed so the roof stays watertight. This is the most important part of the entire install, and it is where we spend the most care. The panels themselves are only as good as the structure they sit on.
The crew starts with a safety setup. Ladders are tied off, roof anchors go in and every installer on the roof wears a harness. Then the lead installer finds the rafters, the wooden beams under the roof surface, and marks the exact spots for each mount based on the approved design. Mounts that miss a rafter are not acceptable, so the crew double-checks every location.
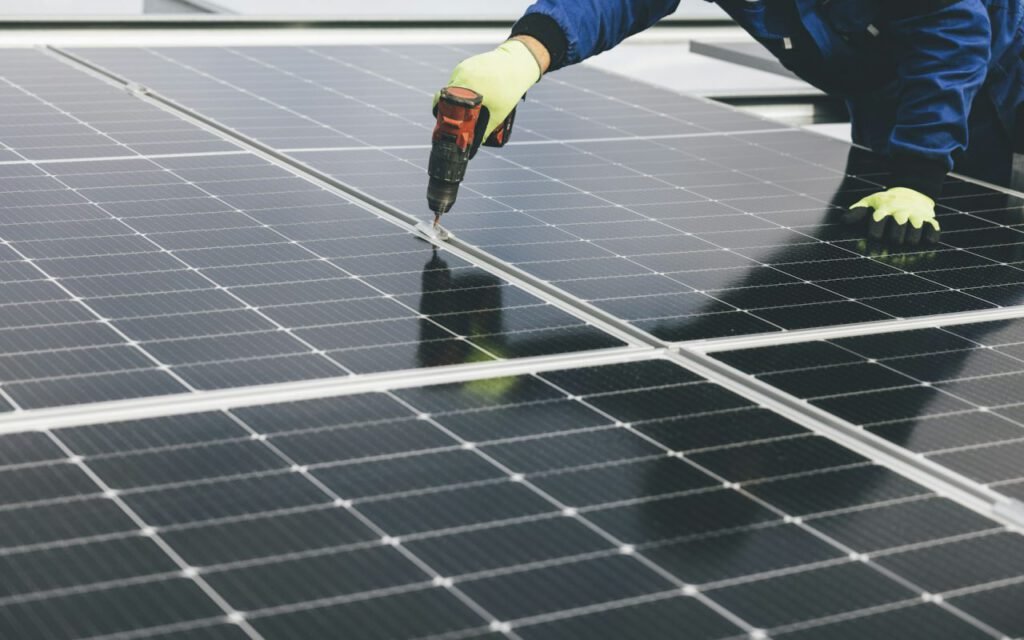
Keeping the roof watertight
At each mount, the installer drills a pilot hole, fills it with sealant and fastens the mount with long structural screws. A metal flashing piece slides under the shingles above the mount so rainwater flows over it instead of into the hole. The method varies slightly for tile, metal and other roof types, but the goal is always the same: a roof that sheds water just as well after the install as it did before.
Once the mounts are in, aluminum rails are bolted across them in long rows. The crew checks that each rail is straight and level, because the rails decide how neat the finished array will look from the street. Grounding equipment is attached along the way to meet electrical code.
Afternoon: panels and wiring
Panels clip on, wires run to the inverter and we test every string. By early afternoon, the roof is ready for the part everyone has been waiting for.
Panels are carried up one at a time and handed carefully along the roof. Each one is clamped to the rails and connected to its neighbor with weatherproof plugs. Depending on your system, each panel may also have a small electronic device mounted underneath that helps it produce power more efficiently and allows it to shut down quickly in an emergency. The wiring is tucked neatly under the panels and secured so it never rests on the roof surface.
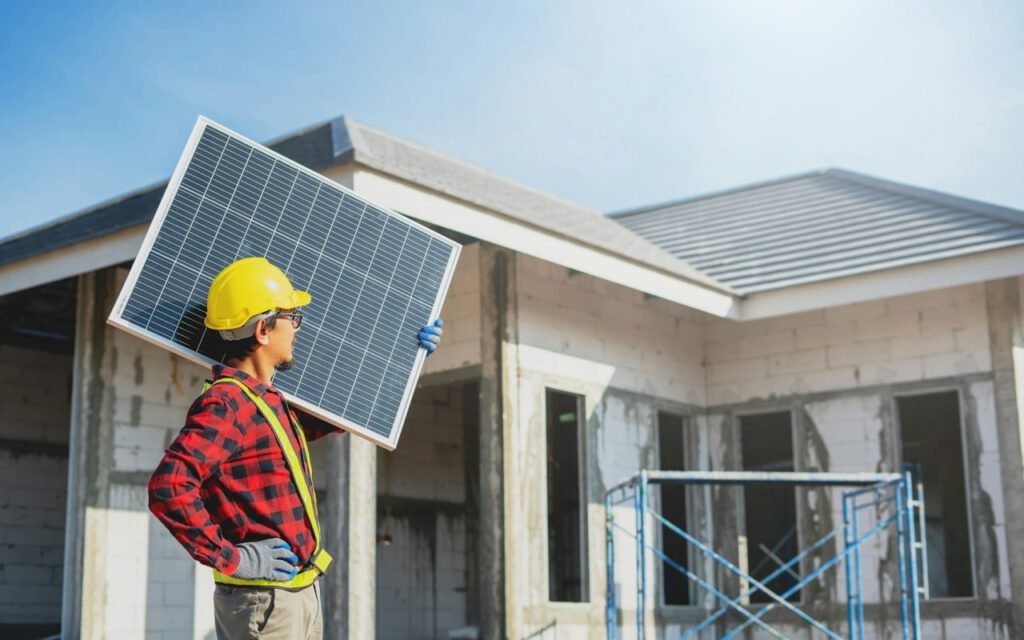
Down at the electrical panel
While part of the crew finishes the roof, an electrician works on the ground. Wires run from the array through conduit down the side of the house to the inverter, which turns the direct current from the panels into the alternating current your home uses. A disconnect switch is installed nearby so the system can be shut off quickly if needed. Finally, the system is connected to your main electrical panel. If your panel is older or near capacity, it may need an upgrade, which we identify during the design stage so it never comes as a surprise.
Testing every string
Before anyone leaves, the crew tests each string of panels, measuring voltage and checking connections. Any loose plug or damaged wire shows up here, not months later. The system is not switched on for good yet, but we know it is ready.
Key takeaway: mornings are for mounts and rails, afternoons are for panels and wiring, and nothing is finished until every string has been tested.
If something does not test right, the crew fixes it on the spot. Most of the time it is a plug that did not click fully into place or a connector that needs to be reseated. Finding it now means a short climb back up the ladder instead of a service visit weeks after the system is switched on.
Cleanup and walkthrough
The last hour of the day belongs to cleanup. The crew picks up packaging, sweeps the driveway and walks the yard for stray screws or bits of wire. Then the lead installer walks you through the system: where the inverter is, how the disconnect works, what the indicator lights mean and how to download the monitoring app. If you were not home, we send photos and a short video instead, and schedule a call to answer questions.
The array will look finished, but please do not switch it on yourself. There are still two important steps before your panels can start sending power into your home.
Inspection and the green light
Then the city inspects and the utility flips the switch — usually within three weeks.
Marco
Marco, who leads our installation crews, gets this question more than any other. Why does the system sit on the roof without running? The answer is that local building departments must inspect the work to confirm it matches the approved plans and meets code. We schedule the inspection, meet the inspector and handle any notes.
After the inspection passes, we submit the final paperwork to your utility. The utility reviews the system and gives permission to operate, sometimes with a new meter. Once that approval arrives, we send you a message with simple instructions for turning the system on. From that day on, the sun goes to work for you, and the monitoring app shows exactly how much power your roof is making.
What to watch in the first month
Open the monitoring app every few days during the first month. You will start to see a pattern: production rising in the morning, peaking around midday and tapering off in the late afternoon. Cloudy days will dip, and that is normal. If a section of panels shows zero or something looks off, call us. Our warranty covers our workmanship, and we would much rather check a small issue early than let it linger.
If you are planning a solar install, give our office a call. We will walk you through the paperwork, the install day and the final switch-on, one clear step at a time.
Marco Silva
Marco has been on more than 2,000 local roofs.



Start the conversation