



 DIY ProjectsBuild Your First Raised Garden BedWood, soil and what to plant first.
Written by
Rosa Bell
Rosa is a master gardener who grows 40 kinds of tomatoes and names none of them.
11Articles
2026Writing since
Starting seeds indoors gives you a head start and more variety than garden-center plants. Walk into any nursery in spring and you will find the same few tomato and pepper varieties everyone else is buying. Open a seed catalog and you will find hundreds: striped heirloom tomatoes, purple basil, tiny lunchbox peppers and flowers you have never seen at a big-box store. Growing your own seedlings also stretches your season, especially in places with short summers like Minnesota or Vermont, and a packet of seeds costs about the same as a single potted plant. All it takes is a sunny spot or a simple light, a few trays and a little patience.
What you need to get started
You do not need a greenhouse or expensive gear. A basic seed-starting setup fits on a kitchen counter, a bookshelf or a folding table in the basement.
- Containers. Seed trays with cell inserts, small pots or clean yogurt cups with drainage holes poked in the bottom.
- Seed-starting mix. A light, fine, sterile mix made for seeds, not regular potting soil or garden dirt.
- A clear cover. A humidity dome or plastic wrap to keep moisture in while seeds germinate.
- Light. A very sunny window or, better, a simple LED grow light or shop light.
- Labels. Plastic tags or wooden craft sticks and a waterproof marker.
- A spray bottle. For gentle misting that will not wash tiny seeds away.
A seedling heat mat is a nice extra, especially for warmth-loving crops like peppers and eggplant, which germinate slowly in cool rooms.
Timing your start
The most common beginner mistake is starting too early. Seedlings that sit indoors too long grow tall, weak and root-bound before it is warm enough to plant them outside. Work backward from your area’s average last frost date, which you can find through your county extension office or local gardening groups.
As a general guide, many popular crops follow similar timing:
- Onions and leeks: 10 to 12 weeks before the last frost.
- Peppers and eggplant: 8 to 10 weeks before.
- Tomatoes: 6 to 8 weeks before.
- Broccoli, cabbage and kale: 4 to 6 weeks before.
- Squash, cucumbers and melons: 3 to 4 weeks before, or sow directly outside.
Always check the seed packet, which usually lists the recommended timing. Our month-by-month garden calendar can also help you plan a starting schedule for your region.
Sowing step by step
Moisten your seed-starting mix before filling containers. It should feel damp but not soggy, a lot like a wrung-out sponge. Fill each cell nearly to the top and press gently to level it.
Plant seeds at a depth of about two to three times their width. Tiny seeds, like lettuce and many flowers, can simply be pressed onto the surface, since some need light to germinate. Sow two or three seeds per cell in case some do not sprout. Cover with the humidity dome, label every tray right away and place it somewhere warm. Most vegetable seeds sprout best between 65°F and 80°F.
The waiting game
Some seeds pop up in three days; others, like peppers and parsley, may take two weeks or more. Check daily, mist if the surface looks dry and resist the urge to dig them up to see what is happening. As soon as the first green loops appear, remove the cover and get them under light.
Light is everything
A sunny window helps, but a simple grow light prevents leggy seedlings. Seedlings stretch toward light. If they do not get enough, they grow long, pale and floppy, and they often struggle once they go outside. Even a bright south-facing window usually provides fewer hours of strong light than seedlings need in late winter.
A basic LED shop light or grow light fixes the problem. Hang it just a few inches above the tops of the seedlings, usually 2 to 4 inches for fluorescent tubes or as the manufacturer recommends for LEDs, and raise it as the plants grow. Run the lights about 14 to 16 hours a day. A simple outlet timer makes this effortless. Seedlings also need some darkness, so do not leave lights on around the clock.
A small fan set on low nearby is a helpful extra. Gentle air movement encourages sturdier stems and helps prevent damping off, a fungal problem that makes young seedlings suddenly collapse at the soil line.
Seedlings want light, not love. Don’t drown them.
Rosa Bell, master gardener (fictional)
Watering, thinning and potting up
Overwatering is the second most common seedling problem after poor light. Water when the surface of the mix feels dry to the touch, ideally from below: pour water into the tray and let the cells soak it up for 15 to 20 minutes, then pour off any extra. This keeps stems dry and encourages roots to grow down.
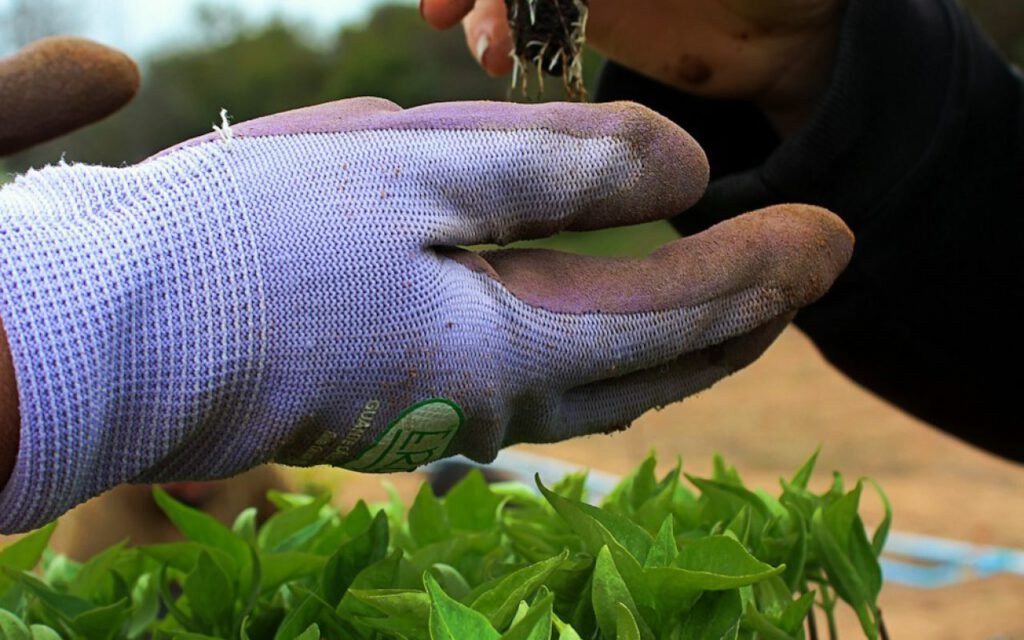
When seedlings develop their first set of true leaves, which look like small versions of the adult plant, thin each cell to the strongest seedling. Snip the extras at soil level with small scissors instead of pulling them out, so you do not disturb the roots of the keeper.
Fast growers like tomatoes may outgrow their cells before it is time to plant outside. Move them into larger pots, about 3 to 4 inches across, and begin feeding with a diluted liquid fertilizer, following the label.
Harden off
Move seedlings outside gradually over a week before planting. Indoor seedlings have never felt wind, strong sun or cool nights. Moving them straight into the garden can shock them or scorch their leaves. Hardening off lets them toughen up step by step.
Start by placing trays in a sheltered, shady spot outdoors for an hour or two. Each day, increase the time and gradually add more sun. By the end of about seven to ten days, they should handle a full day outside and, if the weather allows, a night as well. Bring them in if temperatures drop near freezing or a storm rolls in. After that, plant on a calm, cloudy day or in the evening and water them in well.
Saving money and seeds
Seed starting can be very affordable. Clean, reused nursery pots, egg cartons and cut-down milk jugs all work as containers as long as they have drainage holes. Many public libraries now run free seed-lending programs where you can borrow a packet in spring and return saved seeds in the fall. Store leftover seeds in a sealed jar in a cool, dark, dry place, such as a closet shelf, and most will stay viable for two to four years. Write the year on every packet so you know which to use first.
Key takeaway: Start on the right date, give seedlings strong light for 14 to 16 hours a day, water from below and harden them off slowly before planting.
Your first trays
For your first year, start small with three or four easy crops, such as tomatoes, basil, marigolds and lettuce. Keep notes on what you sowed and when, and what worked. By next spring, you will have your own timeline and the confidence to try that unusual heirloom variety from the catalog. There is something special about planting a garden full of plants you raised from a seed smaller than a grain of rice, and once you have done it, the garden-center rack will never look quite the same.
Written by
Rosa Bell
Rosa is a master gardener who grows 40 kinds of tomatoes and names none of them.
11Articles
2026Writing since
Read next
DIY ProjectsBuild Your First Raised Garden BedWood, soil and what to plant first. DecorA Living Room Refresh for Under $500Paint, light and the art of moving furniture.
 DecorHouseplants That Are Nearly Impossible to KillPothos, snake plants and other forgiving friends.
 GardenBackyard Chickens: What Nobody Tells YouCoops, rules and a lot of fresh eggs.
 DIY ProjectsPotting Bench Projects for a WeekendA simple build that organizes everything.
 GardenGrowing Tomatoes: From Seedling to SandwichSun, support and steady water.
 HouseplantsRepotting Houseplants: When and HowRoots, pot size and fresh soil.
 DIY ProjectsComposting at Home: Easier Than You ThinkGreens, browns and a little patience.HouseplantsLow-Light Plants for North-Facing RoomsGreen even without much sun.
2 Comments
Thanks for explaining this so clearly.
Great reporting — please keep following this story.