




 DIY ProjectsBuild Your First Raised Garden BedWood, soil and what to plant first.

Written by
June Alvarez
June keeps six hens, three raised beds and one very loud rooster (illegally, she admits).
6Articles
2026Writing since
Most painting mistakes happen before the first brushstroke. Drips on the floor, crooked lines at the ceiling, peeling patches a year later and color that looks blotchy in afternoon light almost always come from skipped preparation, not shaky hands. Professional painters know this, which is why they often spend more time getting a room ready than actually rolling paint. The good news is that their methods are not secret, and you do not need special talent to use them. Follow the same order the pros follow, prep, cut in and roll, and your next room can look as if you hired someone.
Gather the right supplies
Good tools make a dramatic difference. A cheap brush sheds bristles and leaves streaks, while a quality angled sash brush lets you paint a crisp line along the ceiling. You do not need much, but buy decent versions of the basics:
- A 2- to 2½-inch angled sash brush for cutting in
- A 9-inch roller frame and an extension pole
- Roller covers with the right nap: about ⅜ inch for smooth walls, ½ inch for light texture
- A sturdy paint tray with disposable liners, or a 5-gallon bucket with a grid
- Painter’s tape, canvas drop cloths and a step ladder
- Spackle, a putty knife, a sanding sponge and a damp sponge or cloth
- Primer if you are covering stains, patches or a dramatic color change
Canvas drop cloths are worth the small extra cost. Unlike plastic sheets, they absorb drips, do not slide underfoot and can be reused for years.
How much paint?
One gallon typically covers about 350 to 400 square feet with one coat. Measure each wall’s width and height, multiply, add the totals, subtract big windows and doors, and plan for two coats. Our room-refresh budget estimator does this math for you and adds supplies to the total.
Prep well
Clean walls, fill holes and tape trim. This is the part of the job that separates a good finish from a great one, and it is where most DIY painters rush.
- Clear the room. Move furniture to the center and cover it. Remove outlet covers, switch plates and wall hangings, and keep screws in a labeled bag.
- Clean the walls. Wipe away dust, cobwebs and grease with a damp sponge and a little mild soap, especially in kitchens and near light switches. Paint sticks poorly to dirty surfaces.
- Fill holes and cracks. Press spackle into nail holes and small dents with a putty knife. Once dry, sand smooth and wipe off the dust.
- Prime patches. Spot-prime filled areas and stains so they do not show through as dull spots.
- Tape the trim. Apply painter’s tape along baseboards, window frames and door casings, pressing the edge down firmly with a putty knife to stop paint from bleeding underneath.
- Lay drop cloths. Cover the floor along every wall you are painting.
It can feel like a lot of steps before any color goes on, but each one pays off. A room that is properly cleaned, patched and taped is far faster and calmer to paint.
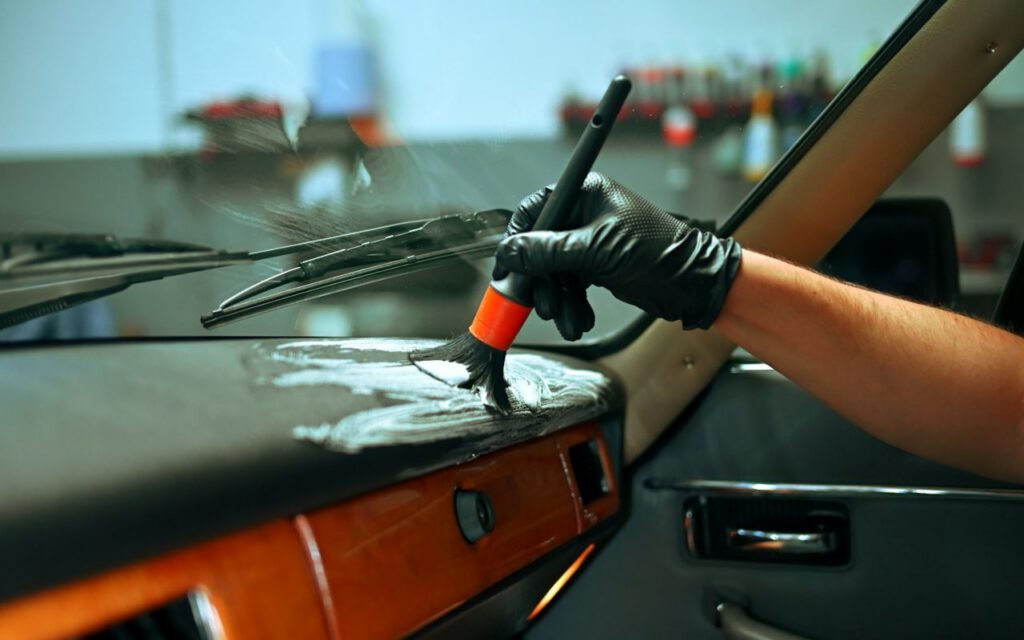
Good prep is 80% of a good paint job.
Theo Hart, home editor
Cut in first
Brush the edges, then roll the middle while edges are wet. “Cutting in” means painting a band of about 2 to 3 inches along the ceiling line, corners, baseboards and around trim, where a roller cannot reach neatly.
Cutting in like a pro
Dip only the first third of the bristles into the paint and tap off the excess on the side of the can. Start a little away from the edge, then gently press so the bristles fan out and slowly glide the brush along the line, letting the angled tip do the work. Long, steady strokes make a straighter line than short dabs. With practice, many people find they can cut a clean ceiling line without any tape at all.
Work one wall at a time. If you cut in the whole room and then go back to roll, the brushed edges will have dried, and you may see a visible band where the textures meet, known as picture framing. Cutting in a wall and rolling it right away lets the two blend.
Roll it right
Load the roller evenly by rolling it back and forth in the tray until the nap is full but not dripping. Start about a foot from a corner and roll a large “W” or “M” shape about 3 feet wide, then fill it in with parallel vertical strokes without lifting the roller. Work from the top of the wall to the bottom.
The secret to a smooth finish is keeping a wet edge. Always roll back into the paint you just applied while it is still wet, overlapping each section slightly. Do not press hard; let the roller do the work. If you see lines or thin spots, reload the roller instead of pushing harder.
Second coat
Let the first coat dry fully, following the time on the can, which is often 2 to 4 hours for latex paint. Then cut in and roll again. Two coats almost always look richer and more even than one, even with paint-and-primer products.

Finish and clean up
Remove painter’s tape while the final coat is still slightly damp, pulling it slowly at a 45-degree angle. Waiting until the paint is fully dry can cause it to peel away with the tape. If a little paint does bleed under, touch it up with a small artist’s brush once dry.
Clean brushes and rollers right away with warm, soapy water for latex paint, until the water runs clear. Wrap brushes in their original cover or a paper towel to keep the bristles straight as they dry. If you are taking a short break between coats, wrap brushes and rollers tightly in plastic to keep them from drying out.
Seal paint cans tightly by tapping the lid with a rubber mallet, and label them with the room and date. Store leftovers somewhere that does not freeze. Let the room air out with open windows, and wait a day or two before pushing furniture back against the walls so the paint can cure.
Safety reminders
Keep windows open and a fan running while you work so fresh air moves through the room. Set your ladder on a flat, stable surface, never stand on the top step and move the ladder instead of overreaching. If your home was built before 1978, older layers of paint may contain lead, so do not sand or scrape them until you have tested or talked to a certified professional. Keep pets and young children out of the room until the paint is dry and the tools are put away, and store leftover paint out of their reach.
Key takeaway: Prep thoroughly, cut in one wall at a time, roll while the edges are wet and always give the room two full coats.
Step back and enjoy
Painting a room is one of the most affordable ways to transform a home, and doing it well is mostly a matter of patience and order. Prep, cut in, roll, in that order, every time. When the tape comes off and the furniture goes back, take a moment to admire those crisp lines and even color. You did that yourself, and the next room will be even easier.
Written by
June Alvarez
June keeps six hens, three raised beds and one very loud rooster (illegally, she admits).
6Articles
2026Writing since
Read next
DIY ProjectsBuild Your First Raised Garden BedWood, soil and what to plant first. DecorA Living Room Refresh for Under $500Paint, light and the art of moving furniture.
 DecorHouseplants That Are Nearly Impossible to KillPothos, snake plants and other forgiving friends.
 DecorCreate a Cozy Reading Nook in Any CornerA chair, a lamp and a blanket.
 DIY ProjectsPotting Bench Projects for a WeekendA simple build that organizes everything.
 DecorChoosing Paint Colors Without RegretTest big, test in daylight, test at night.
 DecorSmall Space Living: Making 500 Square Feet Feel BiggerMirrors, multi-use furniture and smart storage.
 DecorPatio Lighting Ideas for Long Summer NightsString lights, lanterns and safe outdoor wiring.
 DIY ProjectsComposting at Home: Easier Than You ThinkGreens, browns and a little patience.
Start the conversation