Golden Hour Explained (and Why It’s Worth Waiting For)
The hour before sunset does the editing for you.
 Ivy Lambert7 min read
If you take one tip from me, take this: shoot in the hour before sunset. I have photographed engagements on windy bluffs, newborn families in tiny apartments and executives who gave me exactly eleven minutes, and nothing I own, not a lens, not a light, not a clever editing preset, has improved my pictures as much as simply showing up at the right time of day. Golden hour is free, it happens every evening, and most people walk right past it on the way to dinner.
The light is low, warm and soft, and it flatters absolutely everyone. Skin looks healthier, eyes pick up a little sparkle, and even an ordinary parking lot starts to glow. If you have ever wondered why your vacation photos from noon look flat while a friend’s sunset snapshot looks like a movie still, this is the whole secret. Let me explain what is actually happening, and how I plan every outdoor session around it.
Why it works
Low sun means long, gentle shadows instead of harsh ones under the eyes. At midday the sun sits almost directly overhead. Light falls straight down onto the face, so brows cast dark pockets over the eyes, noses throw a shadow onto the lips, and the tops of heads and shoulders burn out to pure white. People squint. They look tired even when they are not.
As the sun drops toward the horizon, three things change at once. First, the angle flattens out, so light hits the face from the front or side instead of from above. Those eye-socket shadows disappear. Second, the light travels through much more atmosphere to reach you, which scatters the cooler blue wavelengths and leaves the warm oranges and golds. That is where the honey color comes from. Third, the overall brightness falls, so the difference between the brightest and darkest parts of the scene shrinks. Your camera, and your phone, can hold detail in both the sky and the faces without anything going muddy or blown out.
Put those together and you get light that wraps around people instead of hitting them. It is the same effect studio photographers spend thousands of dollars on big soft boxes to recreate, and the sky hands it to you every clear evening.
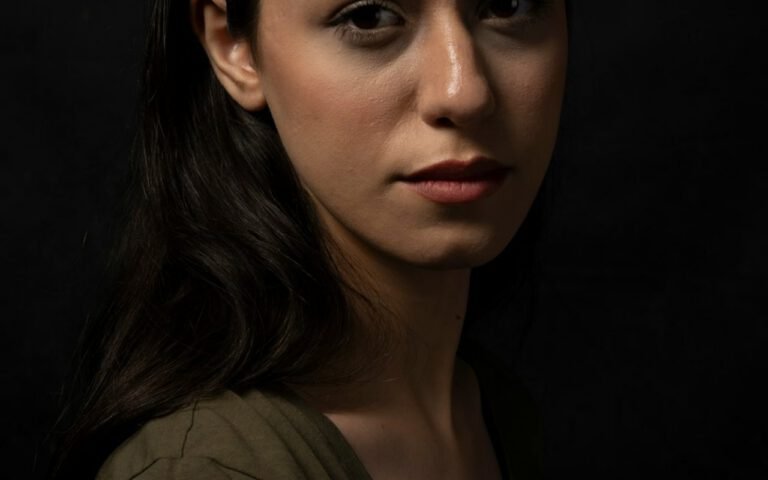
What golden hour does to a portrait
I tell my clients that the hour before sunset does the editing for you, and I mean it literally. When I shoot at noon, I spend real time afterward warming up skin tones, pulling back highlights and softening shadows. When I shoot at golden hour, I barely touch the files. The color is already there.
Backlight and rim light
My favorite trick is to put the sun behind my subject. When it is low, it outlines hair and shoulders with a thin glowing edge, a rim light, and it separates people from the background so they almost float. Their faces sit in soft, open shade, so nobody squints. You will need to expose for the face, not the sky, which means the background will brighten and go a little hazy. That haze is not a mistake. It is the dreamy look half of my clients ask for by name.
Side light for texture
If backlight feels too soft, turn your subject so the sun hits them from the side. You get more shape, more dimension and a bit of drama, which works beautifully for men’s portraits, older faces with character and anyone wearing textured fabric like wool or linen. Just keep the sun low enough that it does not throw hard lines across the nose.
Golden hour is the closest thing photography has to magic.
Ivy
Plan your session
Check the sunset time and start about 75 minutes before it. That is the rule I give every client, and it is the rule I follow for every outdoor session on my calendar. Seventy-five minutes gives us time to warm up while the light is still a little bright, move into the best stretch as the sun drops, and finish with a few frames in the afterglow once it slips below the trees.
Here is how I build an evening session, step by step:
- Look up the exact sunset time for the date and the location. A weather app works fine. Remember that sunset in Denver in June is very different from sunset in Atlanta in November.
- Scout the spot at the same time of day if you can. Hills, buildings and tall trees can block the sun 30 or 40 minutes before the official sunset, which quietly shortens your window.
- Find your direction. Know where the sun will set so you can plan backlit shots facing one way and side-lit shots facing another.
- Arrive 20 minutes early. Park, unpack, say hello, take a few test frames. Nervous people need a few minutes before they relax.
- Save the best spot for last. The final 20 minutes before sunset are usually the warmest. That is when I shoot the frames I expect to print.
On cloudy evenings I do not panic. A thin layer of cloud acts like a giant diffuser and can produce gorgeous, even light, just without the gold. Heavy overcast is trickier, so I keep a rain date on the calendar for every outdoor booking.
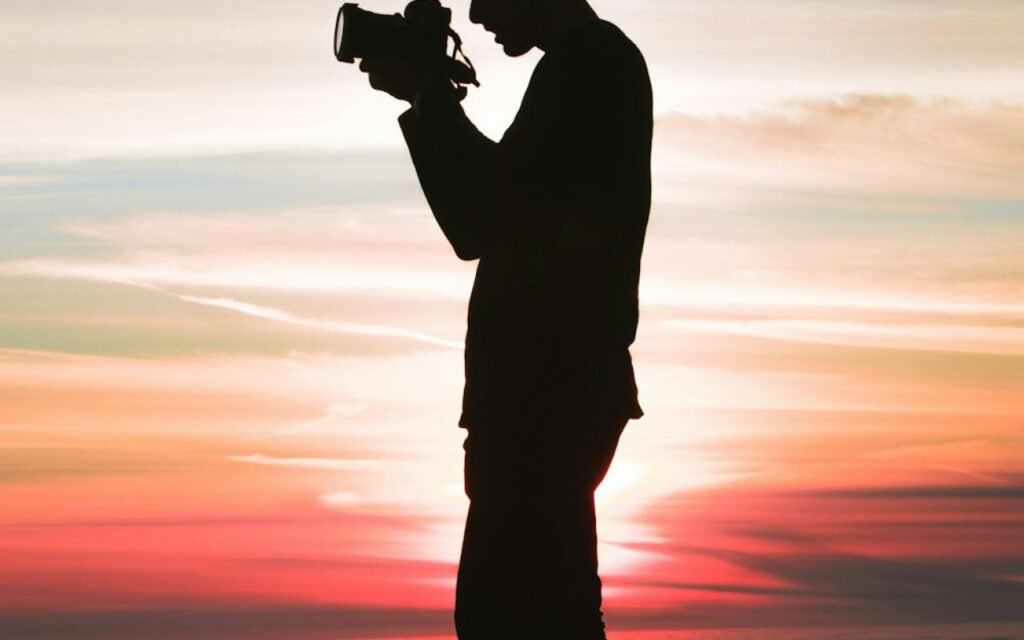
Shooting golden hour on any camera
You do not need professional gear to use this light. I have seen beautiful golden hour frames from five-year-old phones. A few small habits make the difference:
- Tap to expose on the face. On a phone, tap your subject and slide the brightness down slightly if the sky is washing out too much.
- Turn off the flash. It will flatten the warm light you came for.
- Shoot a little wider than you think. The glow in the background is part of the story.
- Watch for lens flare. A little is lovely. A lot hides faces. Shift your angle a few inches to control it.
- Keep shooting after sunset. The ten to fifteen minutes after the sun disappears often bring soft pink and lavender skies, sometimes called blue hour, which is perfect for quiet, moody frames.
If you shoot with a dedicated camera, raise your ISO gradually as the light fades rather than slowing your shutter too much. Motion blur from a laughing child is charming once, but not in every frame. I usually keep my shutter speed at 1/250 of a second or faster for families and let the ISO climb.
Key takeaway: the time you choose matters more than the camera you bring. Pick the hour first, then everything else.
Morning counts too
There is a second golden hour, right after sunrise, and it is wildly underrated. The light is just as soft, the parks are empty, the air is cooler in summer and there is often a little mist hanging over grass and water. The catch, of course, is the alarm clock. I book sunrise sessions mostly for couples, landscape work and anyone who hates crowds. Toddlers, honestly, are often at their happiest early in the morning too.
Morning light tends to be a touch cleaner and less orange than evening light, so if you prefer a more natural, airy look, sunrise might suit you better. Either way, the planning is the same: look up the time, scout the direction and give yourself a generous buffer.
Worth the wait
When clients ask why I will not book an outdoor session at 2 p.m. on a Saturday, this is the answer. I could do it. The photos would be fine. But fine is not why you hire someone, and it is not why you will frame a picture and look at it for twenty years. Waiting an extra few hours for the sun to lower itself costs nothing and changes everything.
So the next time you want a photo that matters, whether it is your kids in the backyard, a new puppy or a quiet portrait of your partner, check the sunset time, count back 75 minutes and go outside. Let the light do the heavy lifting. You will see the difference on the very first frame, and I suspect you will never schedule a photo at noon again.
Ivy Lambert
Ivy photographs portraits, weddings and Pacific Northwest landscapes.






2 Comments
Sharing this with my friends.
Saved this one for later. Really useful.