Patio Lighting and Clean Edges: The Finishing Touches Most Yards Skip
How to layer warm outdoor lighting and choose the right edging for beds and lawns.
 Erin Walsh6 min read
Erin Walsh
Erin designs water-wise gardens for Texas yards.



Most of the patios we build in Austin get used from about 7:00 p.m. until midnight between April and October. That is when the heat finally breaks and people actually want to sit outside. Yet many backyards are designed only for daylight. The pavers are beautiful at noon, then the sun goes down, someone switches on a single floodlight by the back door, and the whole space feels like a parking lot. A good lighting plan, together with clean edges between lawn and beds, is what turns a nice yard into a place people linger.
Erin here. These two finishing touches are the ones I see homeowners skip most often, and they make the biggest difference for the money. Here is how we approach both.
Think in layers, not fixtures
Outdoor lighting works best when you plan it in three layers, just like the lighting inside your house.
- Ambient light sets the overall mood: string lights over a patio, a soft wash on a wall or a pergola.
- Task light helps you do things safely: step lights on stairs, path lights along a walkway, a fixture near the grill.
- Accent light adds drama: an uplight on a live oak, a spotlight on a stone wall, a glow beneath a bench.
When all three layers are present but none of them is too bright, the space feels comfortable and inviting. When only one layer exists, usually a bright floodlight, it feels harsh.
Choosing the right color and brightness
Color temperature is measured in kelvin. For outdoor spaces, we use 2700K for almost everything. It matches the warm glow of candlelight and flatters skin tones, wood and limestone. Anything above 3500K starts to look blue and clinical outdoors. Use cooler light only for a specific effect, such as moonlighting from high up in a tree.
Brightness is where most DIY lighting goes wrong. Your eyes adjust to darkness, so you need far less light than you think. As a rough guide:
- Path lights: 100 to 200 lumens each, spaced 6 to 8 feet apart and staggered rather than lined up like a runway.
- Step lights: 50 to 100 lumens, one per step or every other step.
- Tree uplights: 200 to 600 lumens, depending on the size of the tree.
- Wall washes: 150 to 300 lumens, set 12 to 18 inches from the wall.
Low-voltage LED systems are the standard for good reason. They are safe to install near plants and patios, use very little power and last 15 years or more. A typical backyard system of 12 to 18 fixtures with a transformer and timer usually costs between $2,500 and $5,500 installed in Austin, depending on fixture quality and how much trenching is involved.
Light the things you want to see, not the space itself. The darkness between the glowing spots is what makes a yard feel magical.
Erin Walsh
Patio lighting ideas that work here
String lights done right
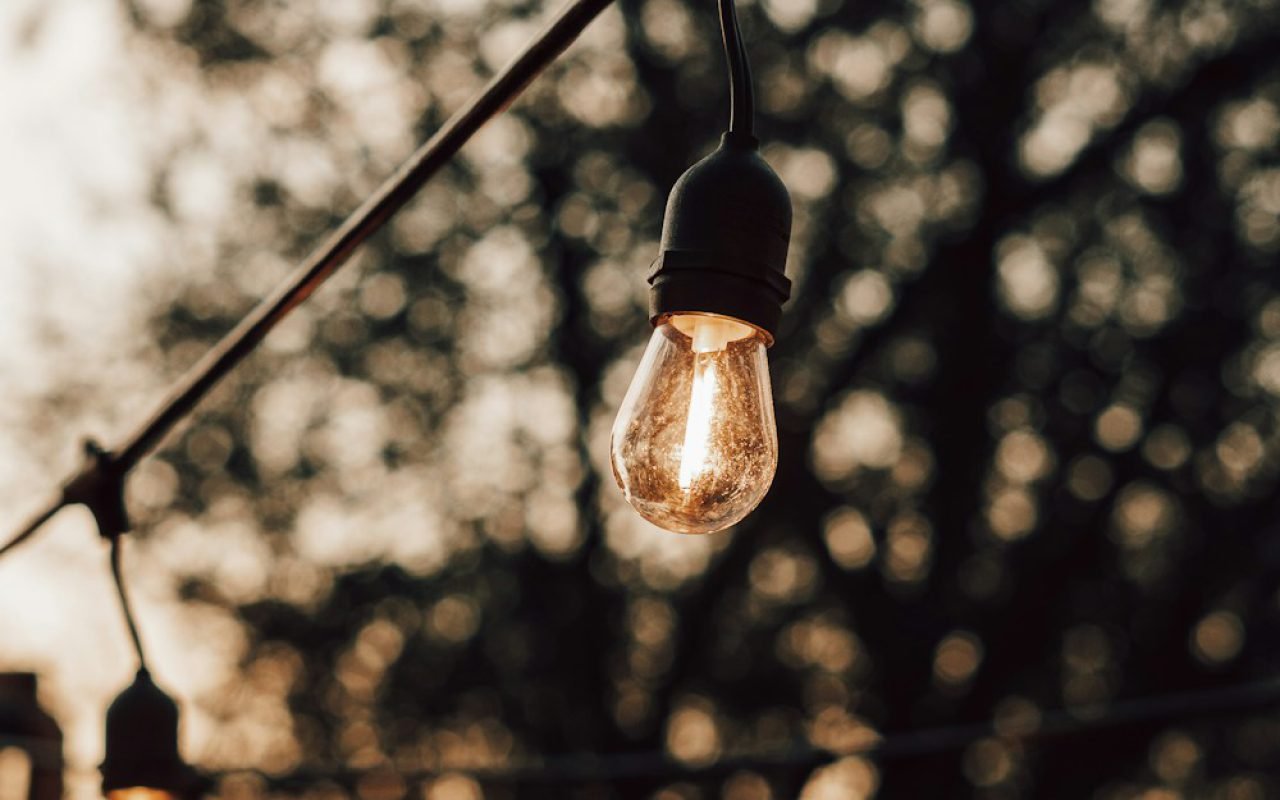
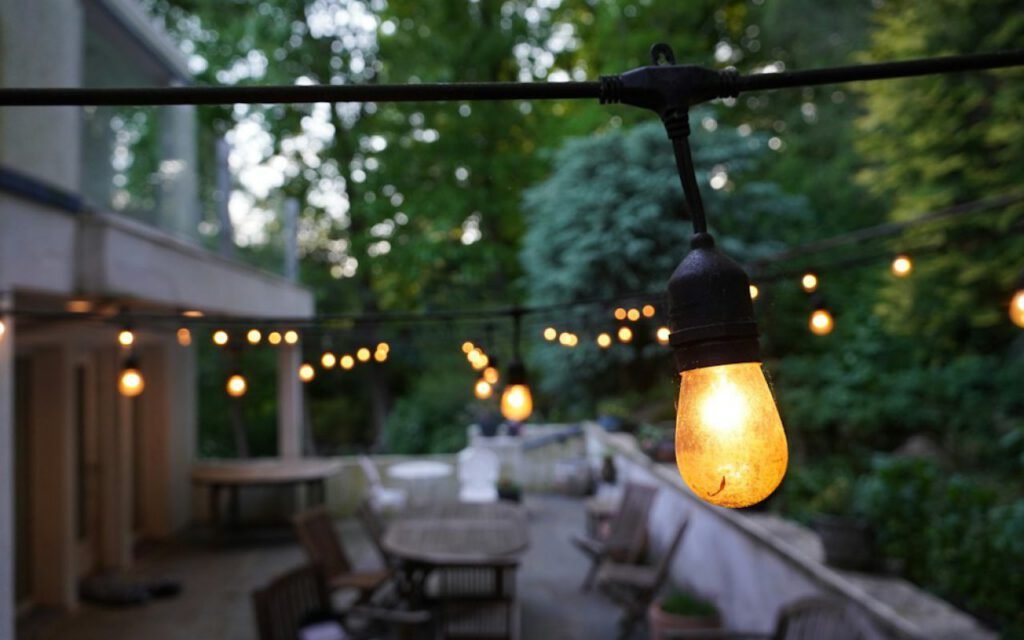
String lights are popular because they work, but they look best with structure. Mount them on steel posts or cedar posts set in concrete, or attach them to a pergola, rather than draping them from the gutters. Keep them at least 8 feet high and hang them with a slight sag. Use commercial-grade strands with shatterproof bulbs and a dimmer, since full brightness is rarely needed.
Pergola and wall lighting
Small downlights tucked into the beams of a pergola create pools of light on the table below without glare. On a limestone or stucco wall, a few wash lights at the base show off texture beautifully, especially on Austin’s rough-cut stone.
Trees and plants
Live oaks were made for uplighting. Two fixtures aimed at the trunk and lower branches from different angles create depth and a moonlit canopy. Agaves, yuccas and sotol have bold shapes that cast striking shadows when lit from below.

Edging: the line that makes a yard look finished
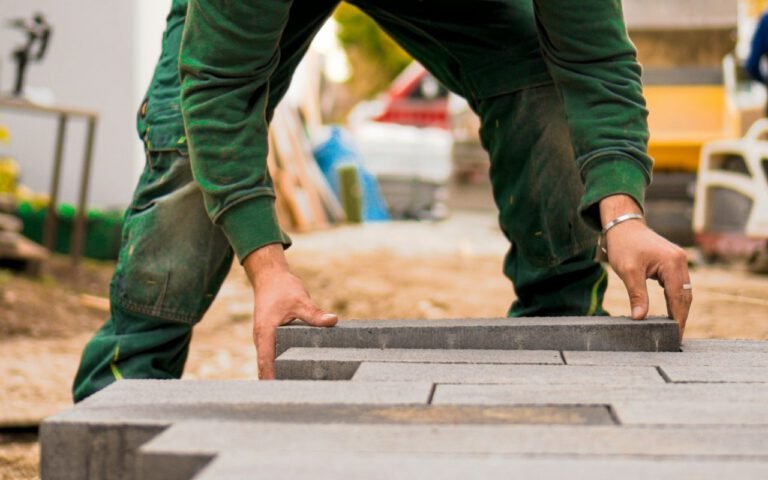
Edging separates lawn from beds, holds mulch in place and stops Bermuda from creeping into your flower beds. Even a simple yard looks sharper with a crisp line, and a good edge saves a surprising amount of weeding. These are the materials we install most:
Steel edging
Our first choice for most projects. A 14-gauge or thicker steel edge creates a thin, clean line that nearly disappears. It bends smoothly for curves, lasts for decades and is strong enough to stop grass runners. Natural steel develops a rust patina that looks great with native plantings. Expect about $9 to $14 per linear foot installed.
Limestone and stone
Chopped limestone blocks or flat flagstone pieces fit the Hill Country look and work well around raised beds. Stone does not fully block grass, though, so pair it with a buried barrier where Bermuda is a problem. Installed costs range from $12 to $25 per linear foot.
Poured concrete curbing
A mow strip, a concrete band 6 to 8 inches wide set flush with the lawn, lets one mower wheel ride along the edge so you never need to string trim. It is ideal for St. Augustine lawns next to beds.
Natural spade edge
The simplest option is cutting a clean 3-inch trench with a flat spade and maintaining it a few times a year. It costs nothing but time and suits informal gardens.
Safety, timers and upkeep
A lighting system should take care of itself. We set every transformer on an astronomical timer, which adjusts to sunset automatically through the year, and most clients choose to have the lights switch off at 11:00 p.m. or midnight. Photocells alone tend to get fooled by shade and porch lights, so we pair them with a timer when we use them at all.
Shield your fixtures. Path and uplights should have hoods or glare guards so the bulb itself is never visible from the patio or from your neighbor’s bedroom window. Aim tree lights so they hit branches, not the sky, which keeps the night darker for everyone and is kinder to birds and insects.
Plan on a quick checkup twice a year. Plants grow, mulch shifts and fixtures get bumped by mowers. Every spring and fall, walk the yard after dark, straighten anything that has tilted, trim leaves that block a beam and clean lenses with a damp cloth. Most systems need nothing more than that.

Plan lighting and edging together
The best time to add lighting is while beds are being edged or rebuilt. Low-voltage wire can run along the inside of a steel edge or under mulch, and fixtures can be placed while plants are still small. Retrofitting lights into a mature bed is possible, but it means more digging around roots.
Before you buy anything, step outside on a warm evening and notice where you actually walk, sit and look. Those are the places to light. Then trace the outline of each bed with a garden hose to test the curve before committing to an edge. Smooth, wide curves look better and are far easier to mow than tight wiggles.
If you would like help, our design team can stop by after sunset with a few portable test lights so you can see the effect before anything is installed. Call us at 555-0142 or email design@greenline.example to schedule an evening visit.


2 Comments
We moved our string lights from the gutter to cedar posts and the patio feels like a different place.
The tip about 2700K is so true. Our first set of path lights looked like an airport runway.