Setting Up a Back-Friendly Home Office
Screen height, chair and feet.
 Dr. Jason Reed7 min read
Dr. Jason Reed
Jason has helped Twin Cities patients move better since 2014.



Small changes to your desk can make a big difference by Friday. We see it every week at TrueAlign: a patient comes in on Monday with a stiff neck, a sore lower back and a tight spot between the shoulder blades, and by the end of the week, after a few simple adjustments to their workstation, they are moving more freely. Not because they bought an expensive new setup, but because they stopped fighting their own furniture for eight hours a day.
Here is our quick setup checklist. It is the same one we walk through with patients who work from a kitchen table, a spare bedroom or a corner of the living room. You can do most of it in twenty minutes with things you already own, and the rest can wait until you know what actually helps.
Screen at eye level
Raise your laptop on a stand and use a separate keyboard. This is the single change we recommend most often, and for good reason. When a screen sits low on a desk, your head drifts forward and down to meet it. Your head weighs roughly as much as a bowling ball, and every inch it moves forward asks the muscles at the back of your neck and upper back to work harder to hold it up. Over a full workday, that adds up to the familiar ache at the base of the skull.
The goal is simple: the top of the screen should sit at or slightly below eye level, about an arm’s length away. If you do not have a laptop stand, a sturdy stack of books works fine. Once the laptop is raised, its built-in keyboard is too high to type on comfortably, which is why a separate keyboard and mouse matter. Wireless or wired, inexpensive or fancy, it does not make much difference. What matters is that your hands can rest low while your eyes look straight ahead.
If you use two monitors
Put the screen you use most directly in front of you, not off to the side. If you split your time evenly, center the gap between the two screens on your nose. Twisting your neck fifteen degrees to the left all day is a slow, quiet way to build a one-sided stiffness that shows up when you check your blind spot on the drive home.
Chair and lower back support
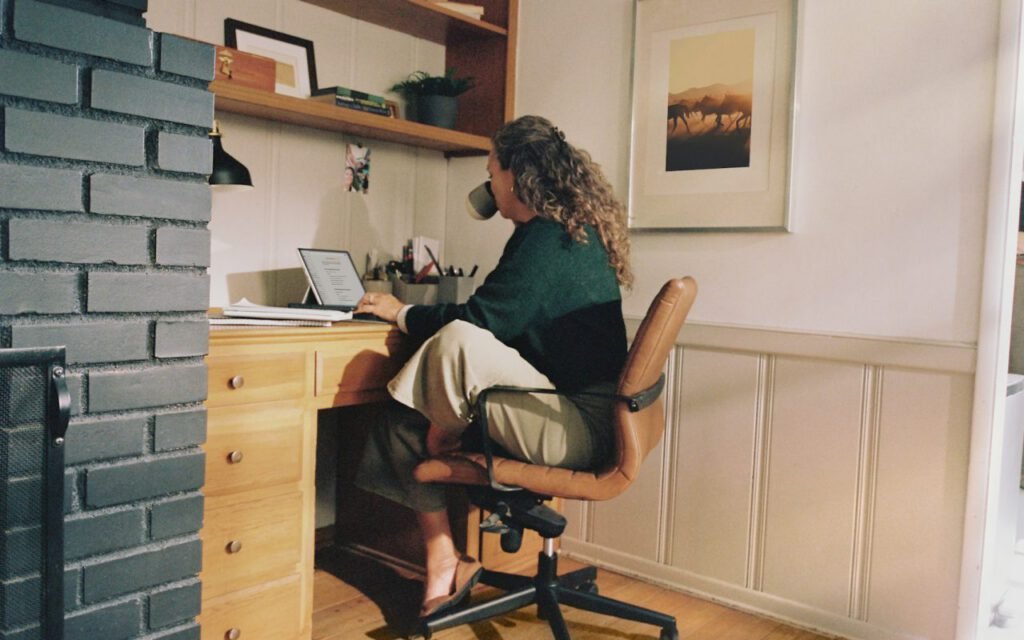
You do not need a $900 chair to sit well. You need a chair that lets your hips sit slightly higher than or level with your knees, and something that fills the natural curve in your lower back. Most kitchen and dining chairs are flat and upright, which encourages you to slump into a C shape after about twenty minutes.
A rolled towel behind your lower back works as well as a fancy cushion.
Jason, chiropractor at TrueAlign
Jason says that to nearly every new patient who works from home, and it is true. Roll a bath towel into a cylinder about three or four inches across and place it at belt height between your back and the chair. It gently supports the inward curve of your lower spine, so your upper body stacks over your hips instead of collapsing forward. If it feels like too much, unroll it a turn. If you forget it is there after a few minutes, it is about right.
A few other chair details worth checking:
- Seat depth: You should be able to fit two or three fingers between the front edge of the seat and the back of your knees.
- Armrests: If they push your shoulders up toward your ears, lower them or remove them. Shoulders should feel relaxed and heavy.
- Elbows: Aim for elbows near your sides at roughly 90 degrees, with forearms resting lightly on the desk or armrests.
- Wheels and swivel: Helpful, because they let you turn your whole body instead of twisting your spine to reach things.
Feet flat
Knees near hip height, feet flat on the floor or a footrest. This is the part of the setup people skip, and it is often the missing piece. When a chair is raised to match a tall desk, shorter people end up with their feet dangling or perched on tiptoe. That small change tips the pelvis, pulls on the lower back and puts pressure on the backs of the thighs.
If your feet do not reach the floor comfortably, bring the floor up to them. A purpose-made footrest is nice, but a shoebox, a sturdy storage bin or a couple of thick books under the desk do the same job. Your thighs should be roughly parallel to the floor, with your weight spread evenly through both feet. Crossing your legs now and then is fine. Sitting with one leg tucked under you every afternoon is a habit worth retiring.
Key takeaway: Set your setup up from the floor first: feet, then chair height, then lower back support, then the screen. Each step makes the next one easier.
Light, reach and the little things
Once the big pieces are in place, a few small details make the whole workstation easier on your body. Put the things you reach for most, like your phone, a notebook and a water glass, within easy arm’s reach so you are not leaning and twisting all day. Keep the mouse close to the keyboard instead of out at the far edge of the desk, which slowly drags your shoulder forward.
Lighting matters more than people expect. If a bright window sits behind your screen, you will squint and lean in. If it sits behind you, glare on the screen does the same thing. Side light is best. A simple desk lamp aimed at your papers rather than your eyes helps on gray winter afternoons, and it keeps you from hunching forward to read.

Phone calls deserve their own mention. Cradling a phone between your ear and shoulder while you type is one of the fastest ways to irritate your neck. Use earbuds, a headset or speakerphone, and save your neck for looking around.
Move every 30 minutes
Here is the honest truth: there is no perfect posture you can hold for eight hours. The best posture is your next one. Even an ideal setup becomes uncomfortable if you sit perfectly still in it all day. Bodies are built to move, and the discs, joints and muscles of your spine stay happier when they get regular changes of position.
We suggest a simple rhythm. Every thirty minutes, stand up for a minute or two. Refill your water, walk to a window, take a call standing. Every couple of hours, try a short reset:
- Stand tall and gently roll your shoulders back five times.
- Tuck your chin slightly, as if making a double chin, and hold for five seconds. Repeat five times.
- Place your hands on your lower back and lean back gently, just a few inches, three times.
- Take a short walk, even if it is only down the hall and back.
If you have a standing desk, use it in short sessions rather than all day. Standing still for hours has its own problems. Alternating between sitting and standing, with plenty of walking in between, is what most people find comfortable.

When to get it checked
A better desk setup helps most everyday aches, but it is not a cure for everything. If you have pain that wakes you at night, numbness or tingling that runs down an arm or leg, weakness in a hand, or discomfort that keeps getting worse despite changes, it is time to have it looked at by a qualified professional. Your primary care doctor, a physical therapist or a chiropractor can help figure out what is going on and what will help.
At TrueAlign, a first visit usually includes a conversation about how and where you work. Sometimes the most useful thing we do is ask a patient to send a photo of their desk. More often than not, the answer is sitting right there: a laptop flat on the table, a chair cranked up high and two feet dangling a few inches above the floor.
Start with one change this week
You do not have to fix everything at once. Pick the change that seems easiest, whether that is a stack of books under your laptop or a towel behind your back, and try it for a week. Notice how your neck and lower back feel by Friday afternoon. Then add the next change.
Most people are surprised by how quickly their body responds when they stop asking it to hold an awkward position all day. A comfortable, back-friendly home office is not about expensive gear. It is about a screen at eye level, feet on the floor, support where your spine curves and a reminder to get up and move. Your back will notice, even if your coworkers never do.



Start the conversation